Integrating Google Tasks with Frontegg allows your application to read, create, update, move, and delete tasks and task lists on behalf of your users — all through Frontegg's integration layer (Google Tasks API v1). You can authenticate with either OAuth 2.0 (recommended when connecting on behalf of individual users) or a Google service account with domain-wide delegation (for acting on behalf of Google Workspace users).
Prerequisites
Prerequisites
- A Google account with access to Google Cloud Console
- A Google Cloud project (you can create one during setup)
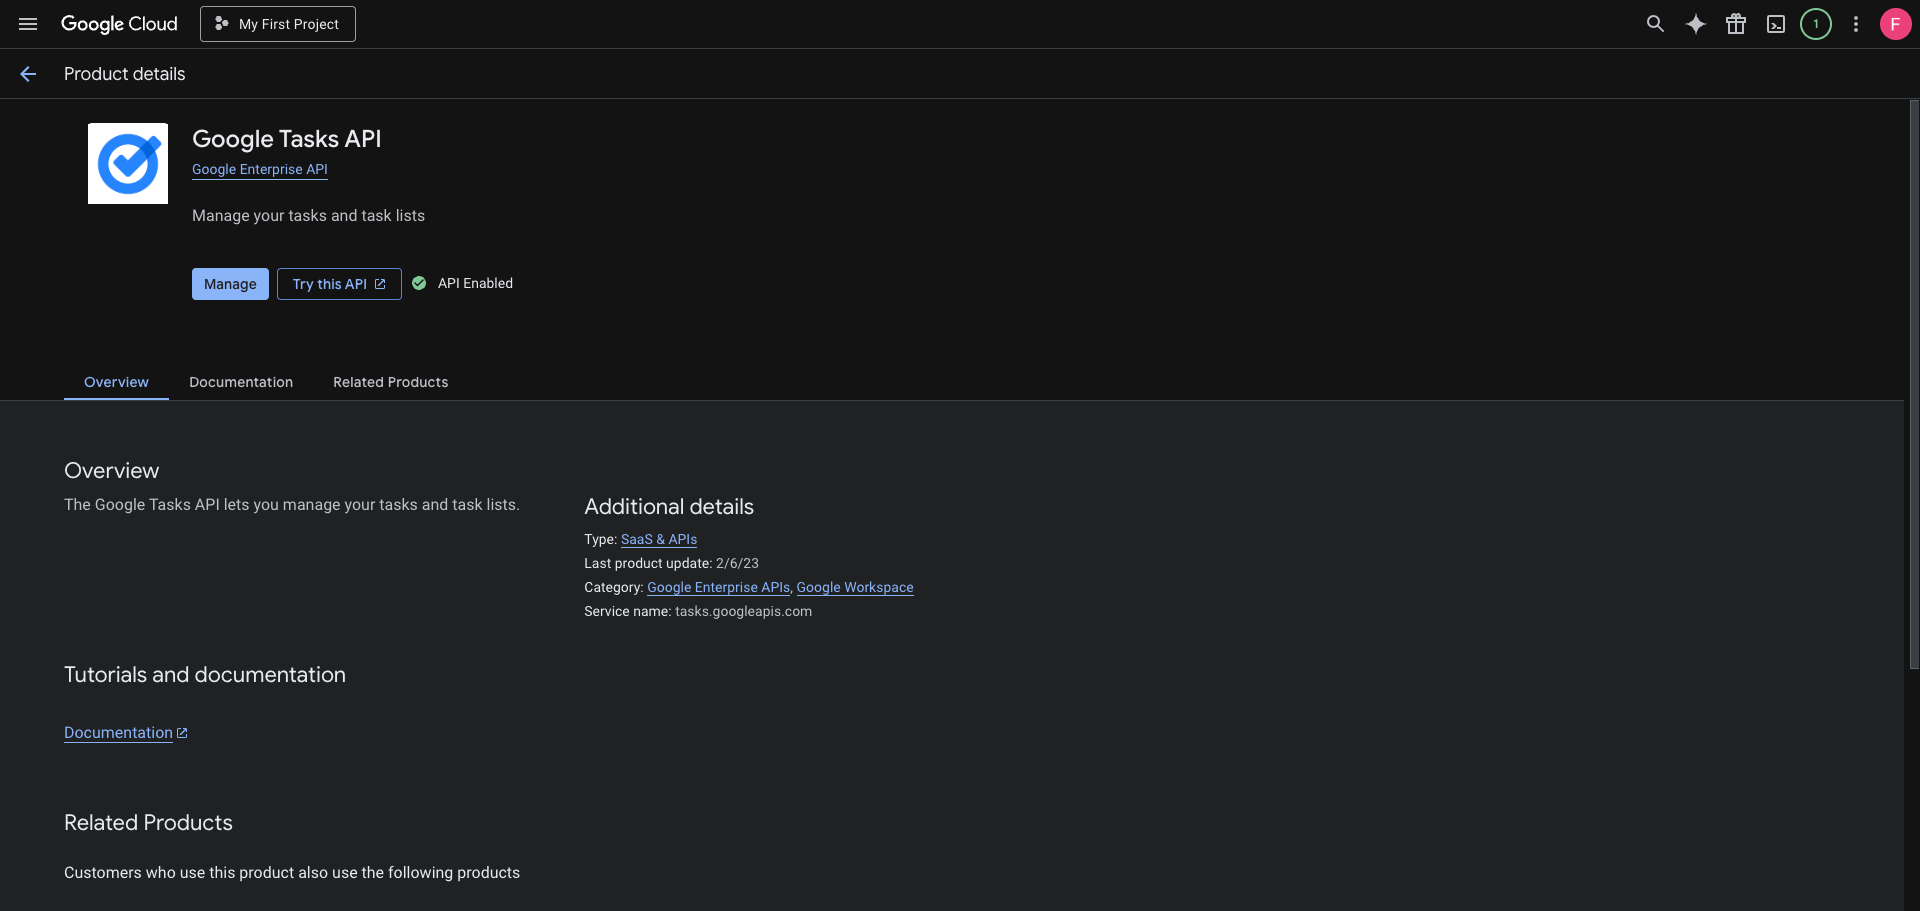
Go to the Google Tasks API page in the Google Cloud Console. Select your project from the top navigation, then click Enable if the API is not yet enabled. If you see Manage and API Enabled, the API is already active.
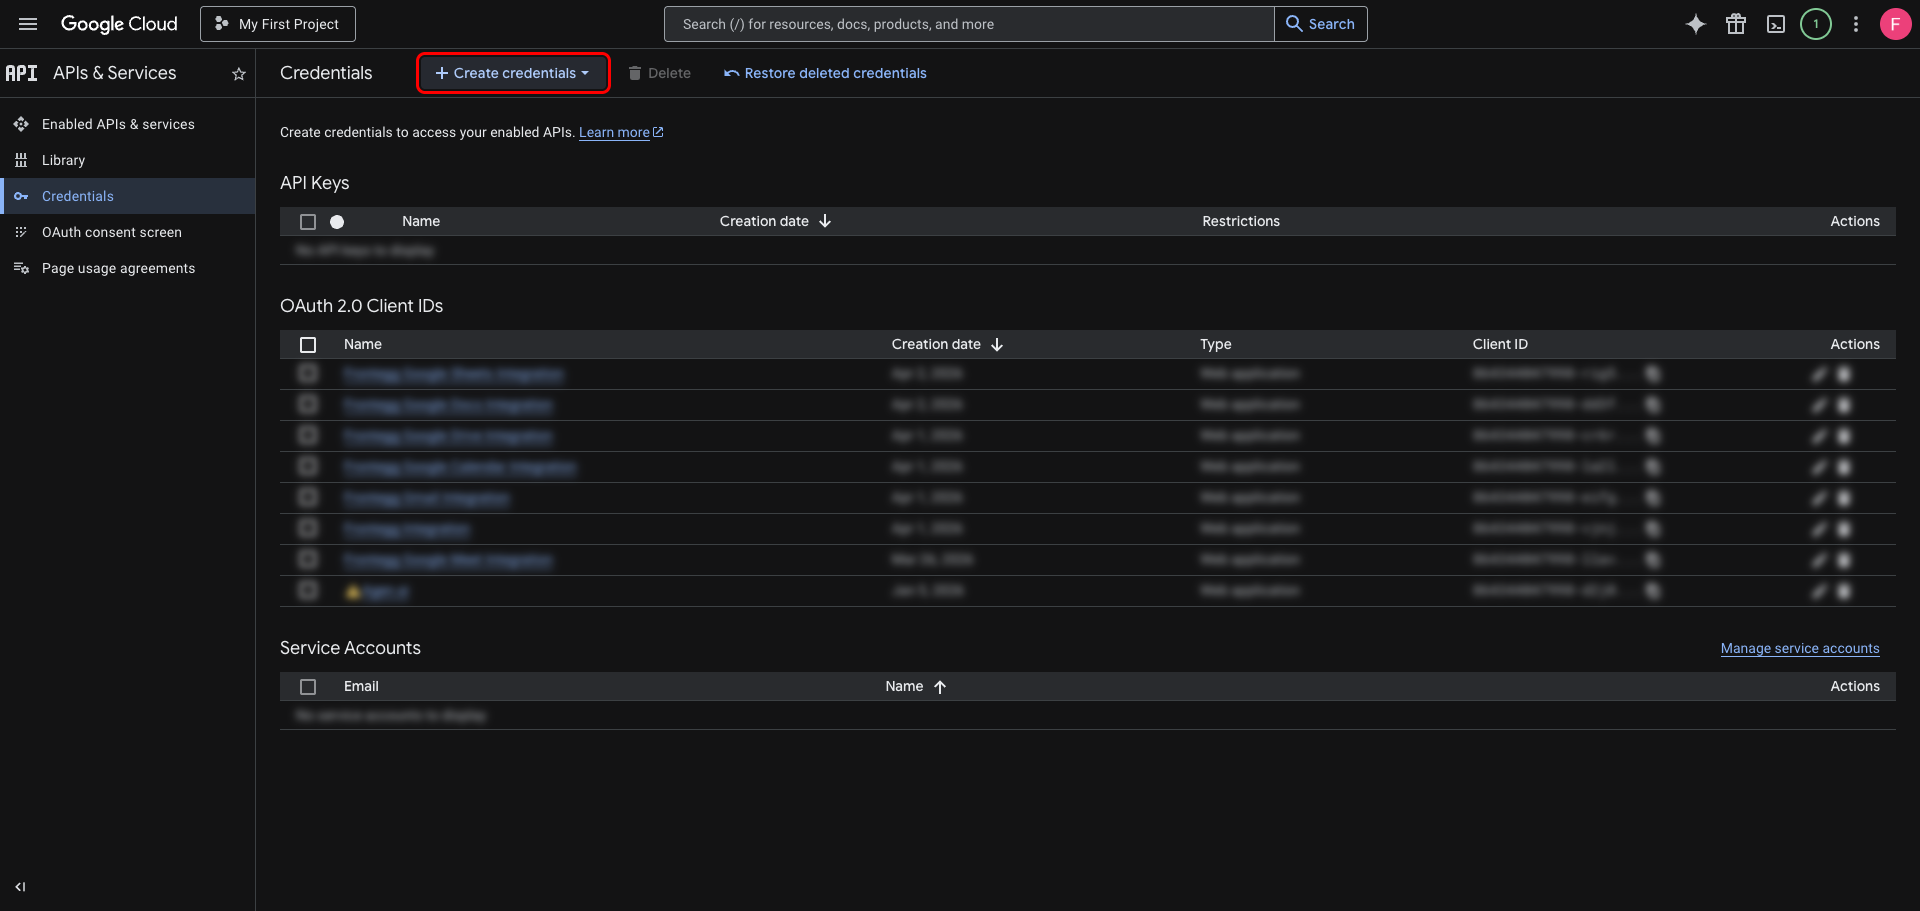
In the left sidebar, navigate to APIs & Services → Credentials. Click Create credentials.
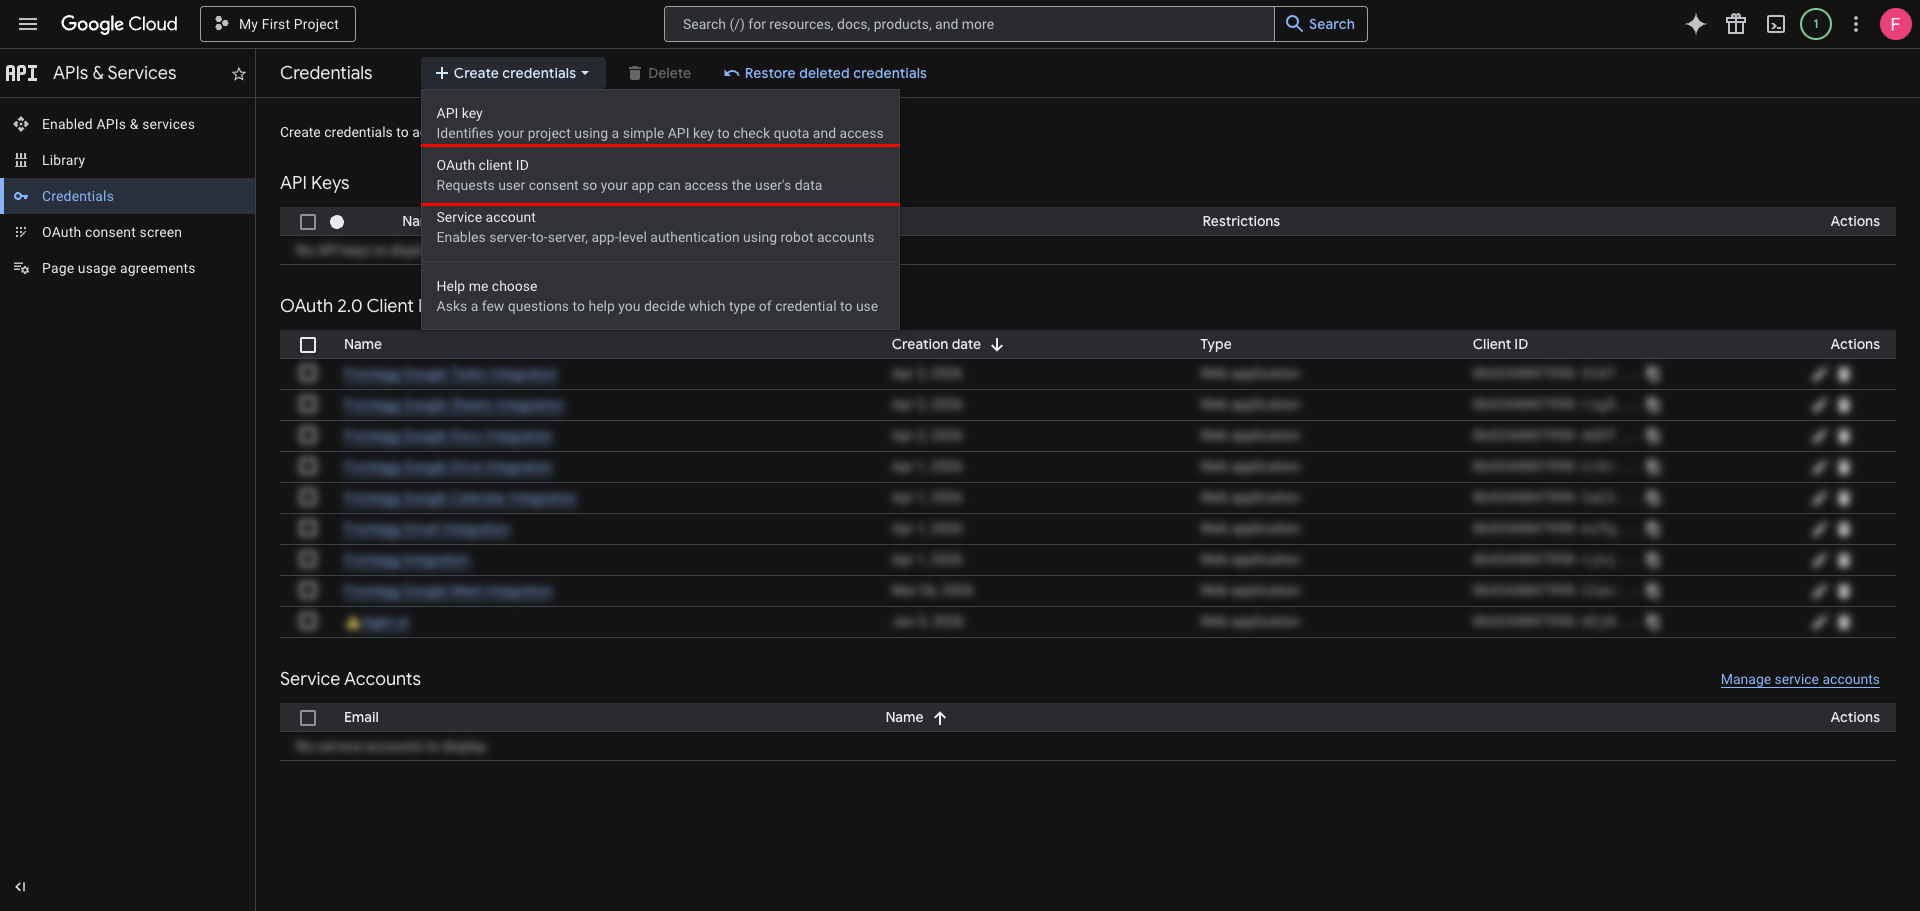
From the dropdown, select OAuth client ID.
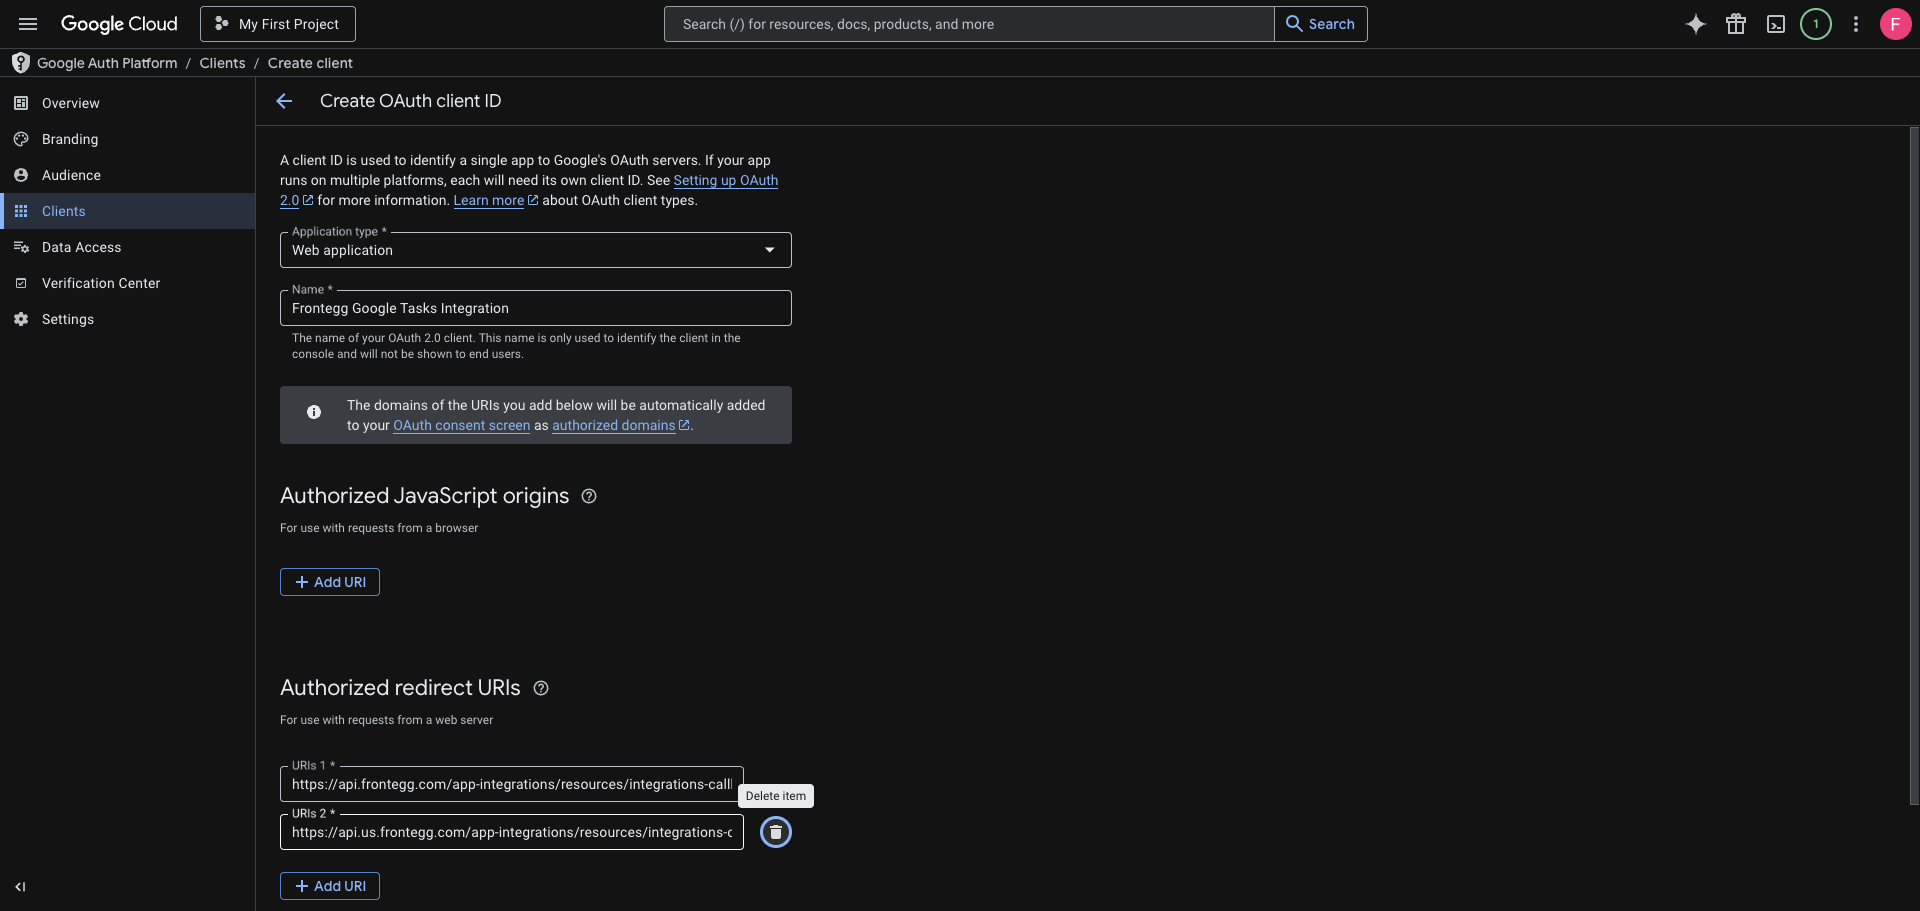
On the Create OAuth client ID page:
- Set Application type to Web application.
- Enter a name for the client (for example,
Frontegg Google Tasks Integration). - Under Authorized redirect URIs, click Add URI and add both of the following:
https://YOUR_MCP_GATEWAY_URL/integration-callback
Click Create.
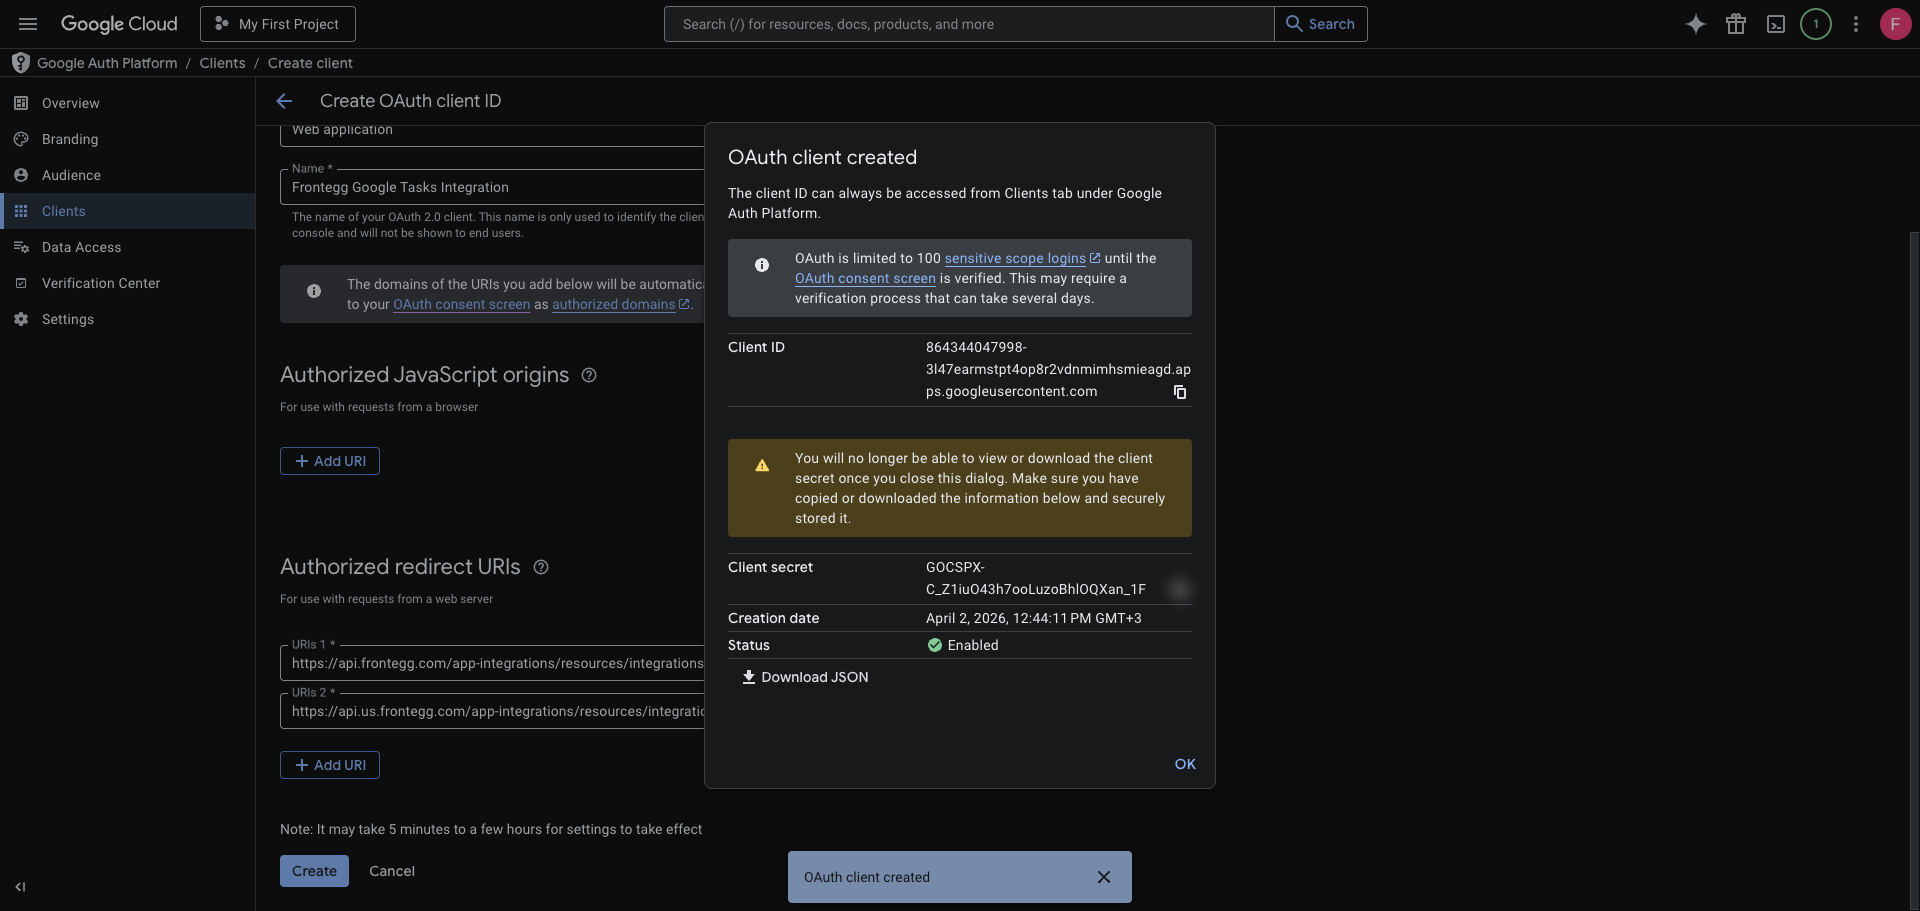
After clicking Create, a dialog displays your Client ID and Client Secret — copy both values and store them securely.
Save your Client Secret now
Save your Client Secret now
The Client Secret is only shown once in this dialog. After you close it, you cannot retrieve it again — you can only create a new secret.
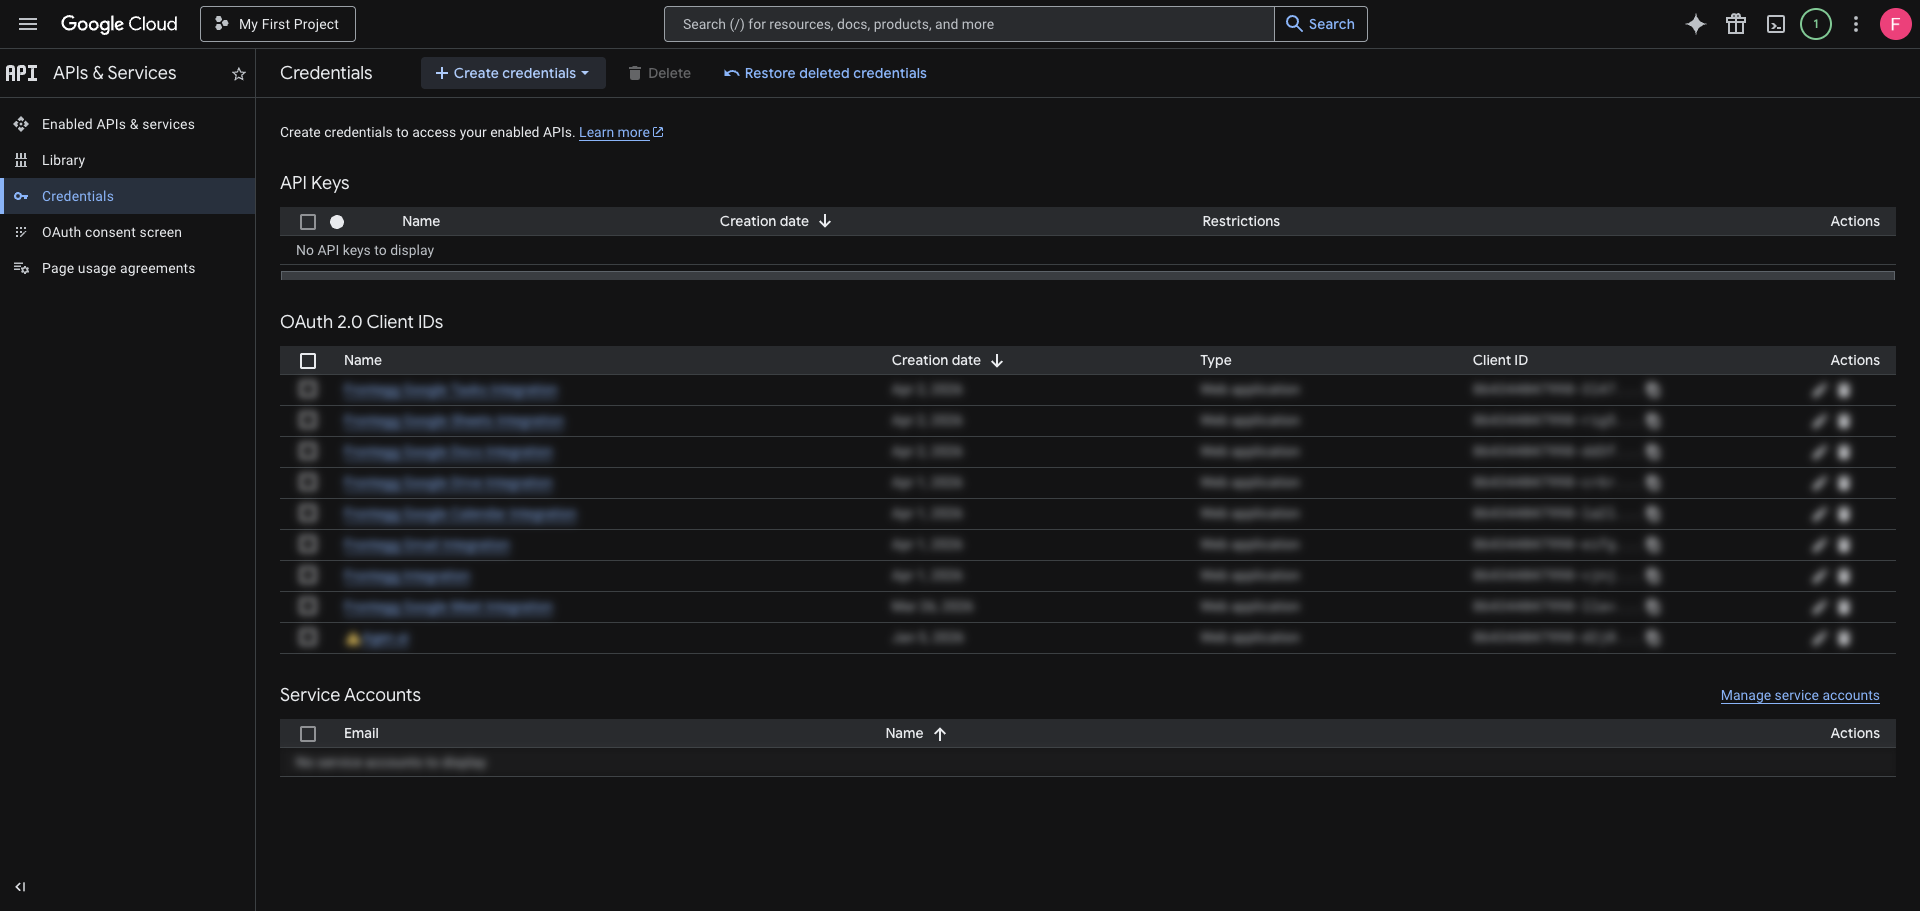
After closing the dialog, your new client appears at the top of the OAuth 2.0 Client IDs list on the Credentials page.
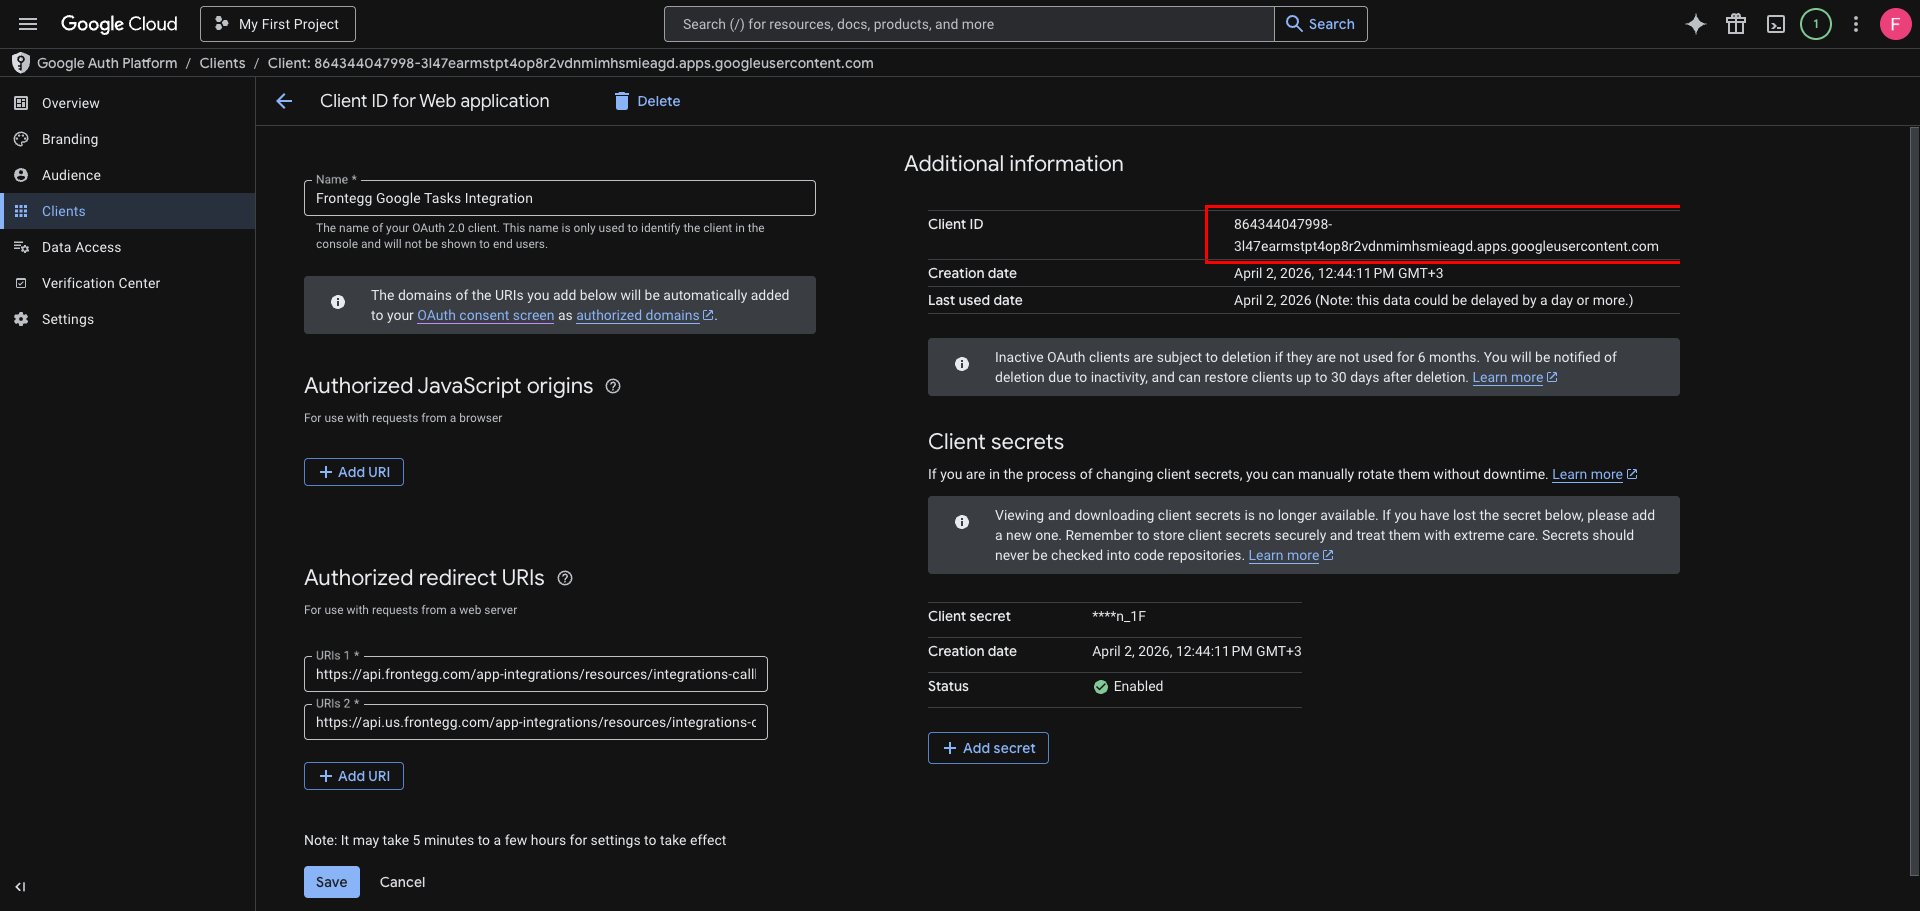
Click the client name to open its detail page. You can view and copy the Client ID at any time from the Additional information section.
If you are connecting on behalf of Google Workspace users rather than having each user authorize the OAuth flow, you can use a service account with domain-wide delegation. Frontegg then impersonates a specific Workspace user on every request.
This method requires a Google Workspace administrator.
In the same Google Cloud project (with the Google Tasks API enabled), go to APIs & Services → Credentials → Create credentials → Service account. Give it a name and create it. Open the service account, go to the Keys tab, click Add key → Create new key, choose JSON, and download the key file. Note the service account's Client ID (a numeric ID under its Details), which you need for the next step.
In the Google Workspace Admin console, go to Security → Access and data control → API controls → Domain-wide delegation. Click Add new, enter the service account's numeric Client ID, and add the scope the integration needs:
https://www.googleapis.com/auth/tasksfor read and write access, orhttps://www.googleapis.com/auth/tasks.readonlyfor read-only access.
Click Authorize.
Keep your service account key safe
Keep your service account key safe
The JSON key grants access to your account through the API. Treat it like a password and never expose it in client-side code or commit it to version control.
Configure the integration in the Frontegg portal using the method you chose:
- Open the Frontegg portal and navigate to [ENVIRONMENT] → Integrations → Google Tasks.
- For OAuth, enter the Client ID and Client Secret. For a service account, paste the full JSON key into the Service Account JSON field and enter the Workspace user to act on behalf of in the User to impersonate field instead.
- Select the required scopes:
| Scope | Description |
|---|---|
https://www.googleapis.com/auth/tasks.readonly | Read-only access to Google Tasks |
https://www.googleapis.com/auth/tasks | Read and write access to Google Tasks |
- Click Save.
Keep your credentials secure
Keep your credentials secure
Never share or commit your Client Secret to version control.