The following topic covers the steps for adding a SAML configuration via Frontegg's self-service within your application. Make sure that SSO page is enabled and published to the environment.
The following topic covers the steps for adding a SAML configuration via Frontegg's self-service within your application.
Frontegg provides detailed walkthrough guides for setting a SAML connection with the following IdPs:
- Okta
- Microsoft Entra ID
- OneLogin
- PingIdentity
- JumpCloud
- Rippling
- Any other IdP that follows SAML 2.0
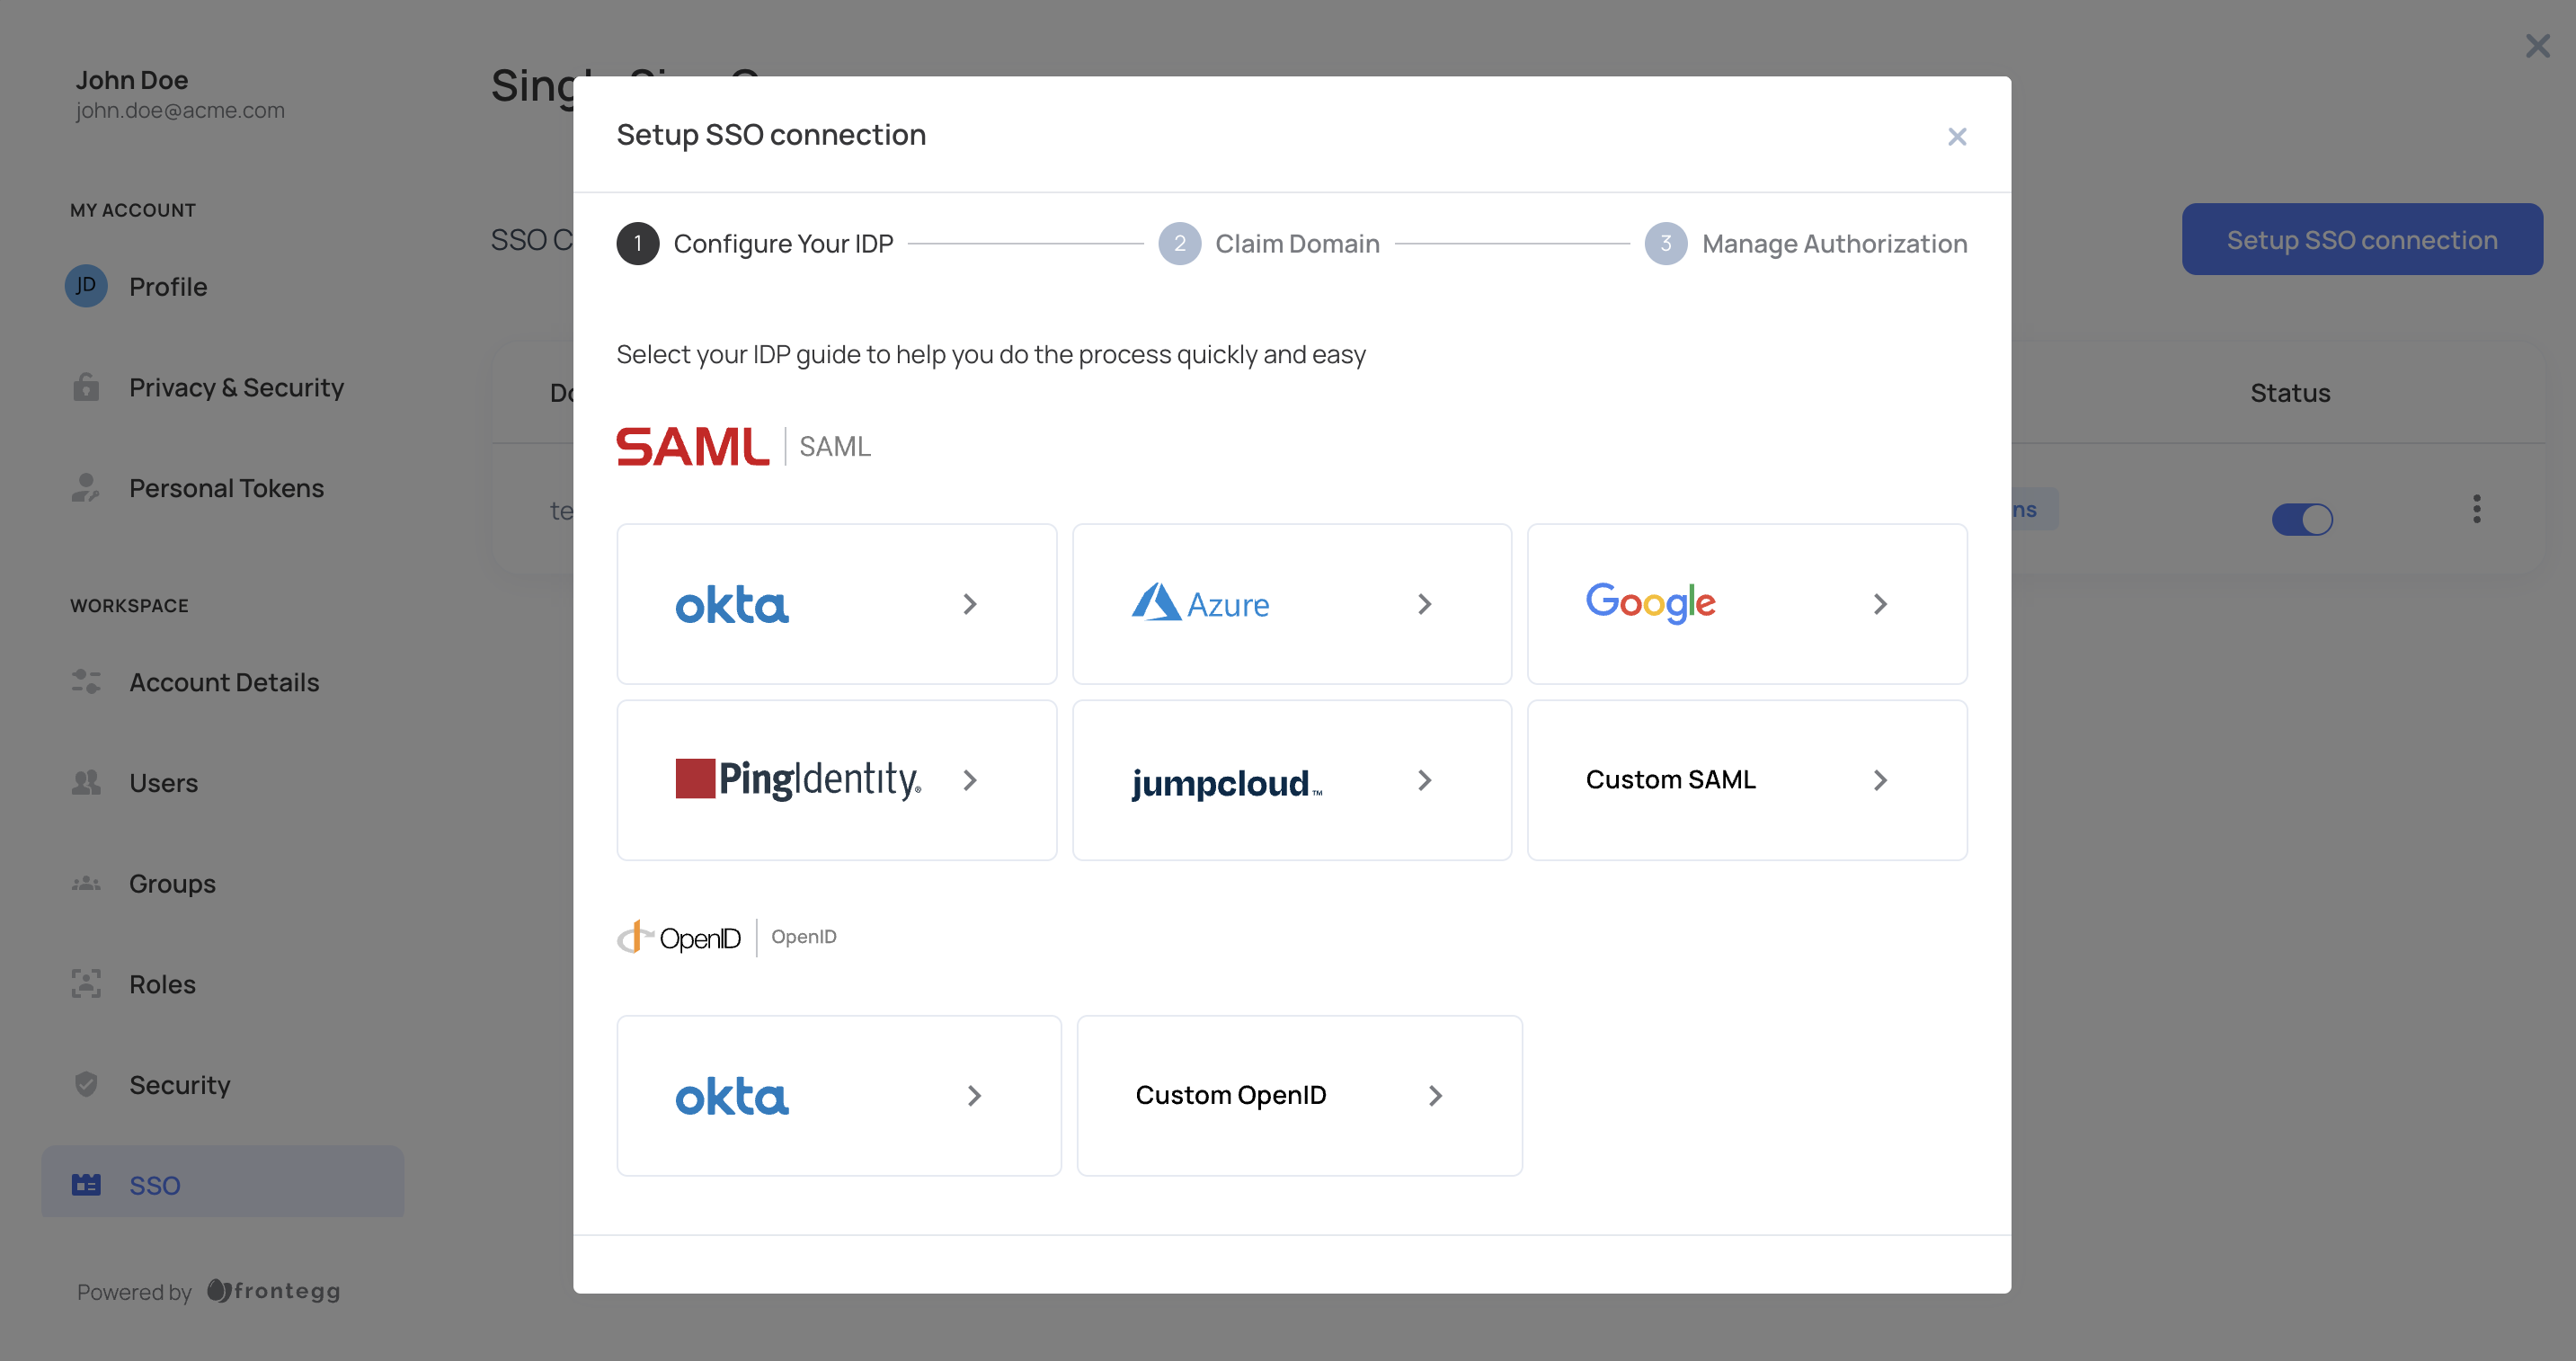
The last step in each of the mentioned guides, will direct users to provide their required IdPs details (SSO endpoint and public certificate). As an optional step, users may follow the optional guidelines for passing groups or other user related attributes.
Frontegg enforces domain validation for SSO connections initiated via self-service to prevent domain abuse and ensure each domain is uniquely tied to an account and environment.
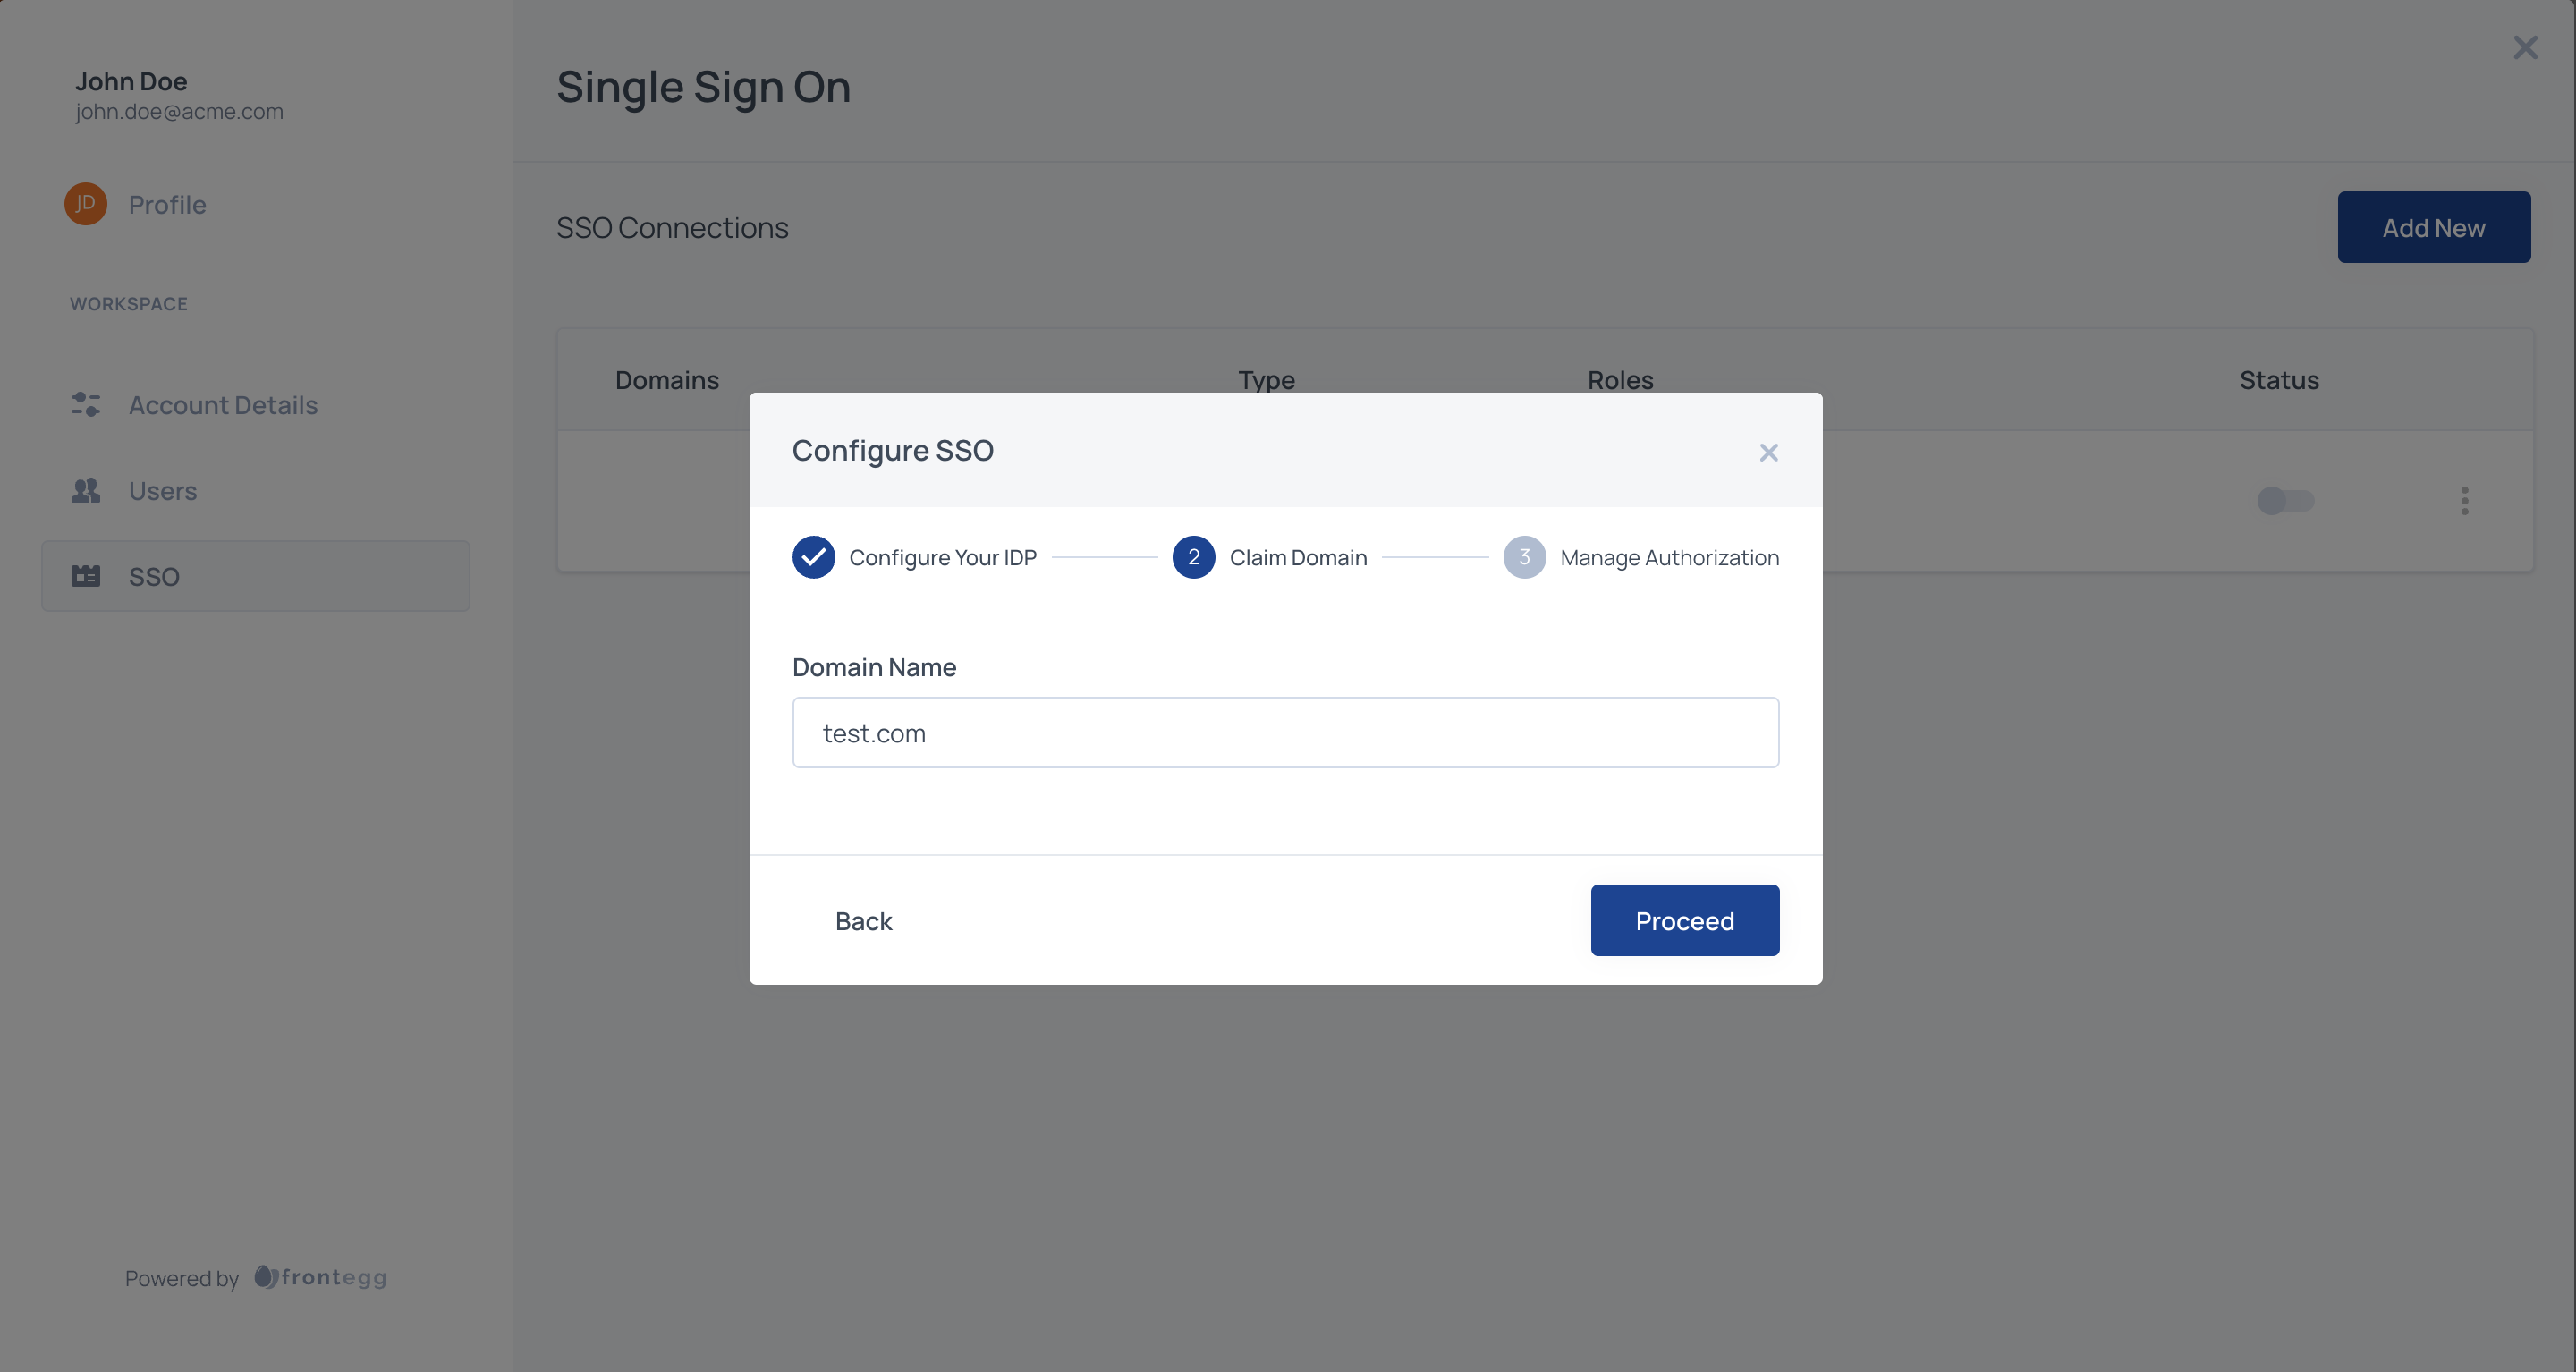
Users will be redirected to the SSO flow based on their email domain. For example, if a user from this organization will be logging in with john.doe@acme.com, configure the following step with acme.com. Claiming one or more domains for the account is necessary to prevent domain abuse.
Domain names
Domain names
Enter SSO domain names in lowercase only (for example, acme.com, not Acme.com). Always use lowercase characters when entering domain names.
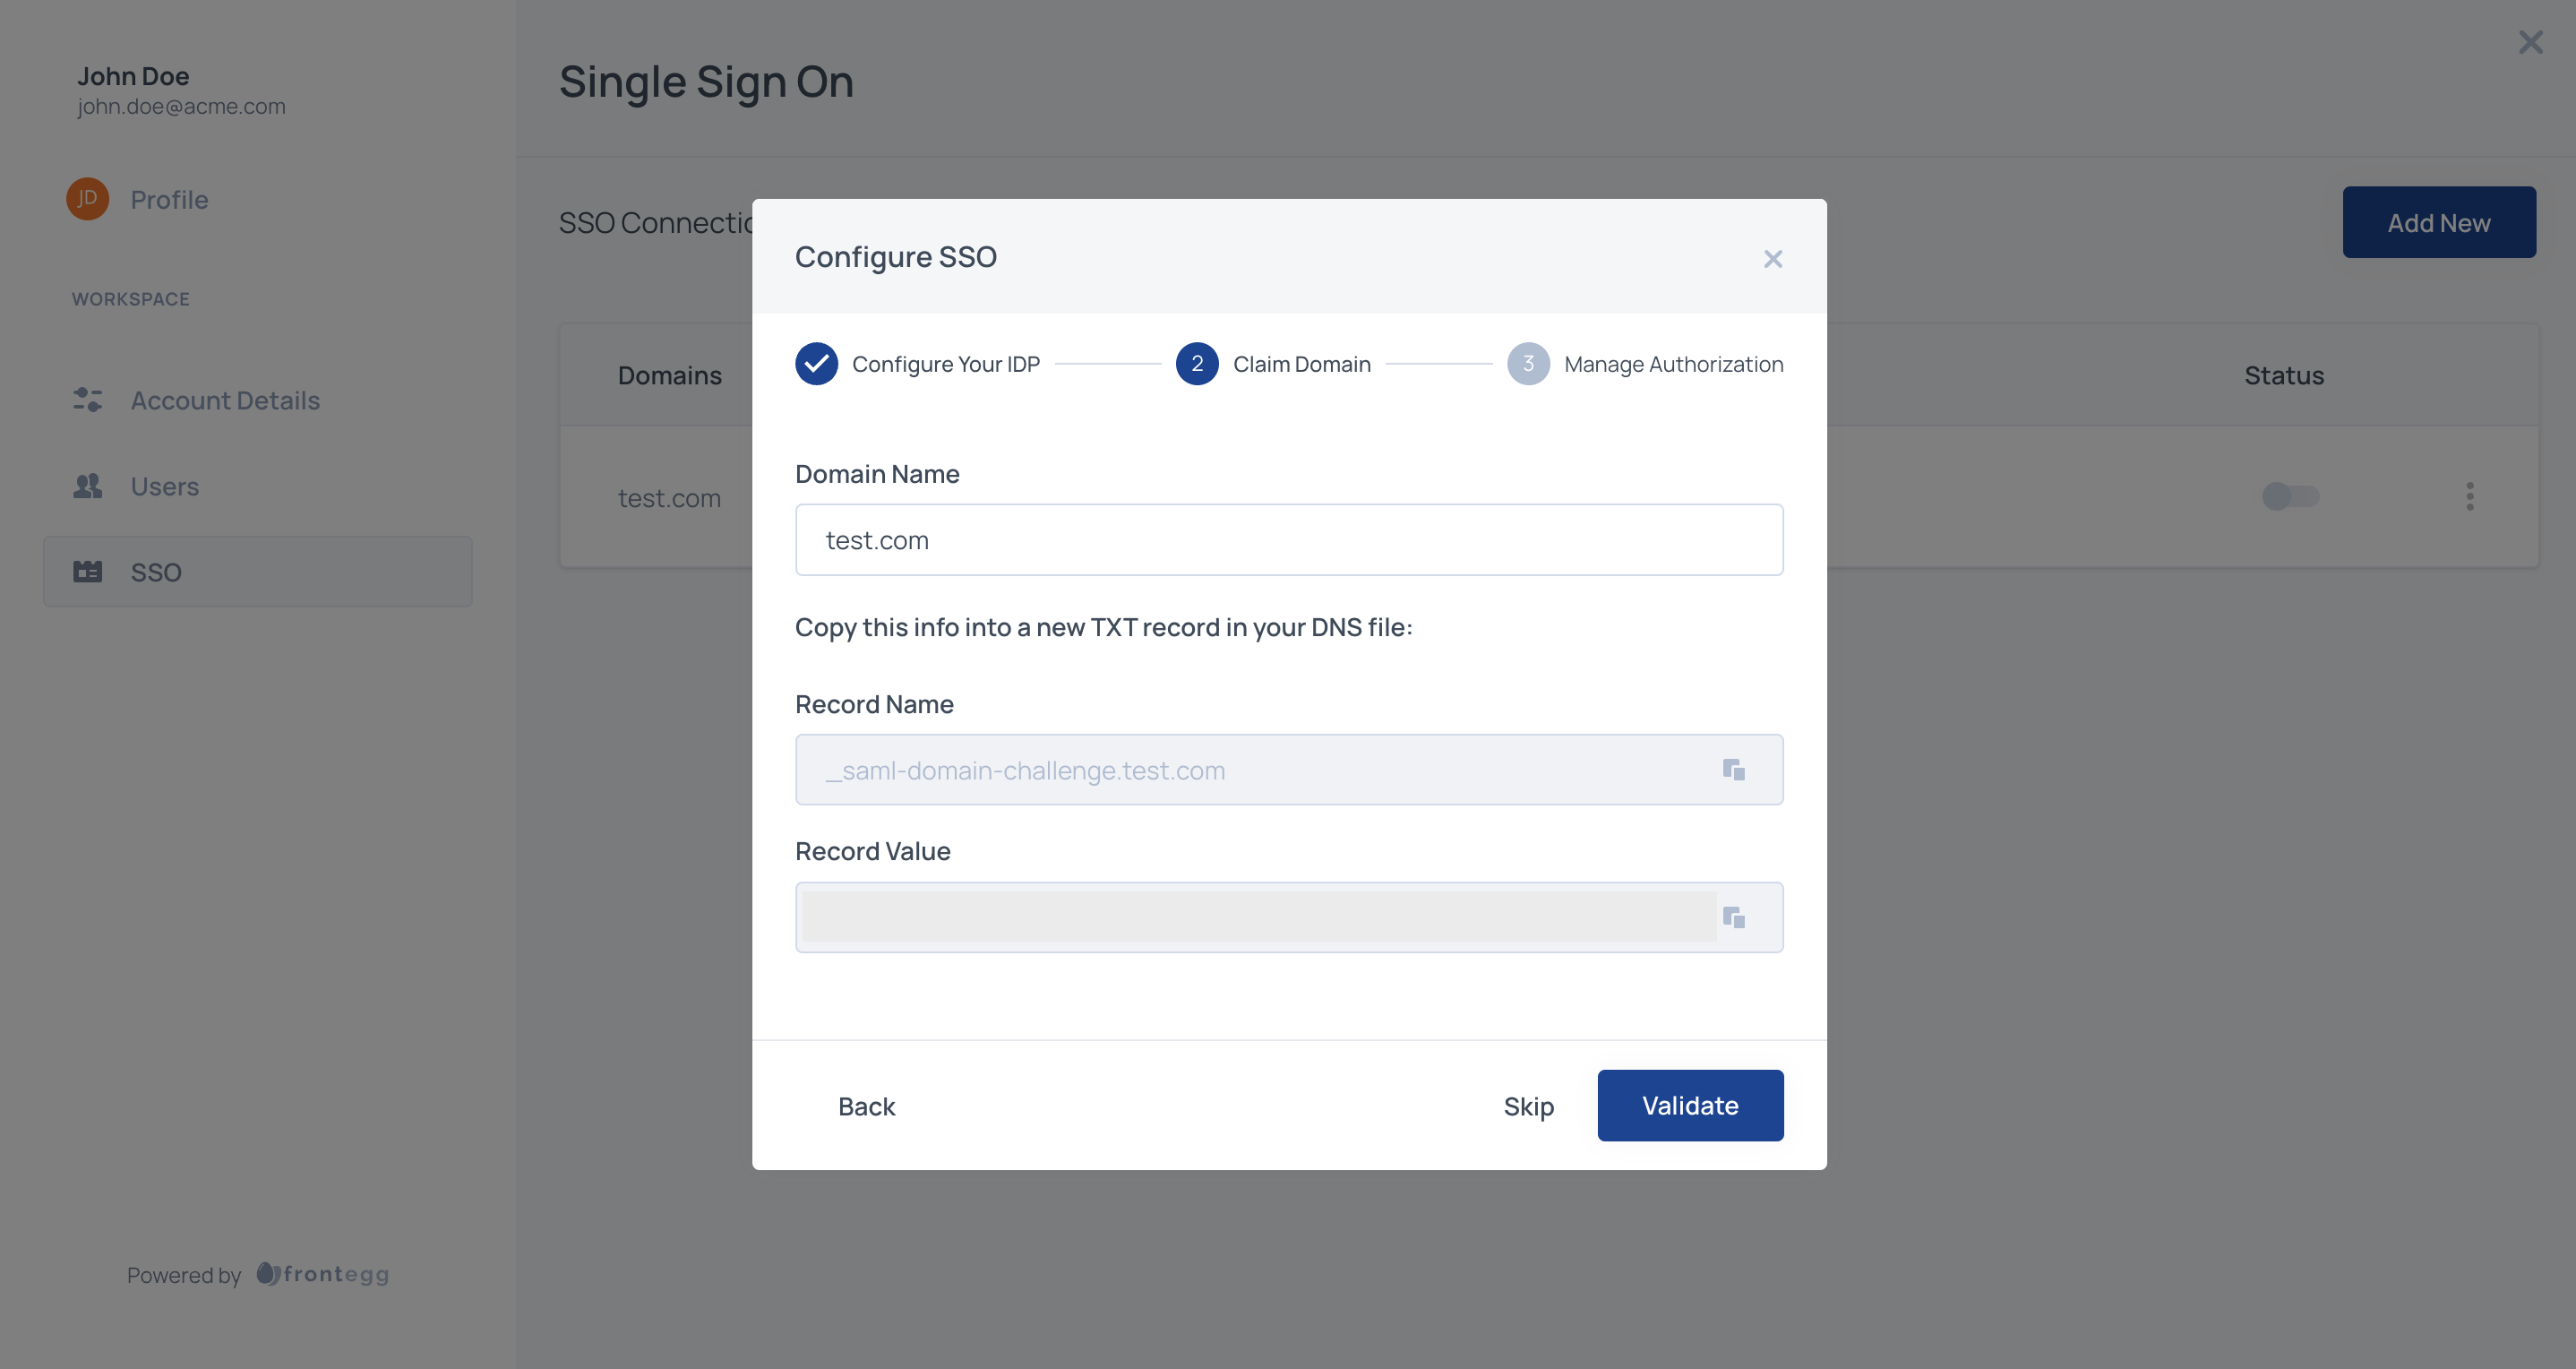
The domain needs to be claimed by copying the TXT record and applying it to your DNS provider. If you cannot obtain access to your organization's DNS, please contact your application Administrator.
You can configure multiple domains for an account. This can be useful if you're using multiple environments for development or multiple production applications on separate domains and need the SSO connection to cover several domains.
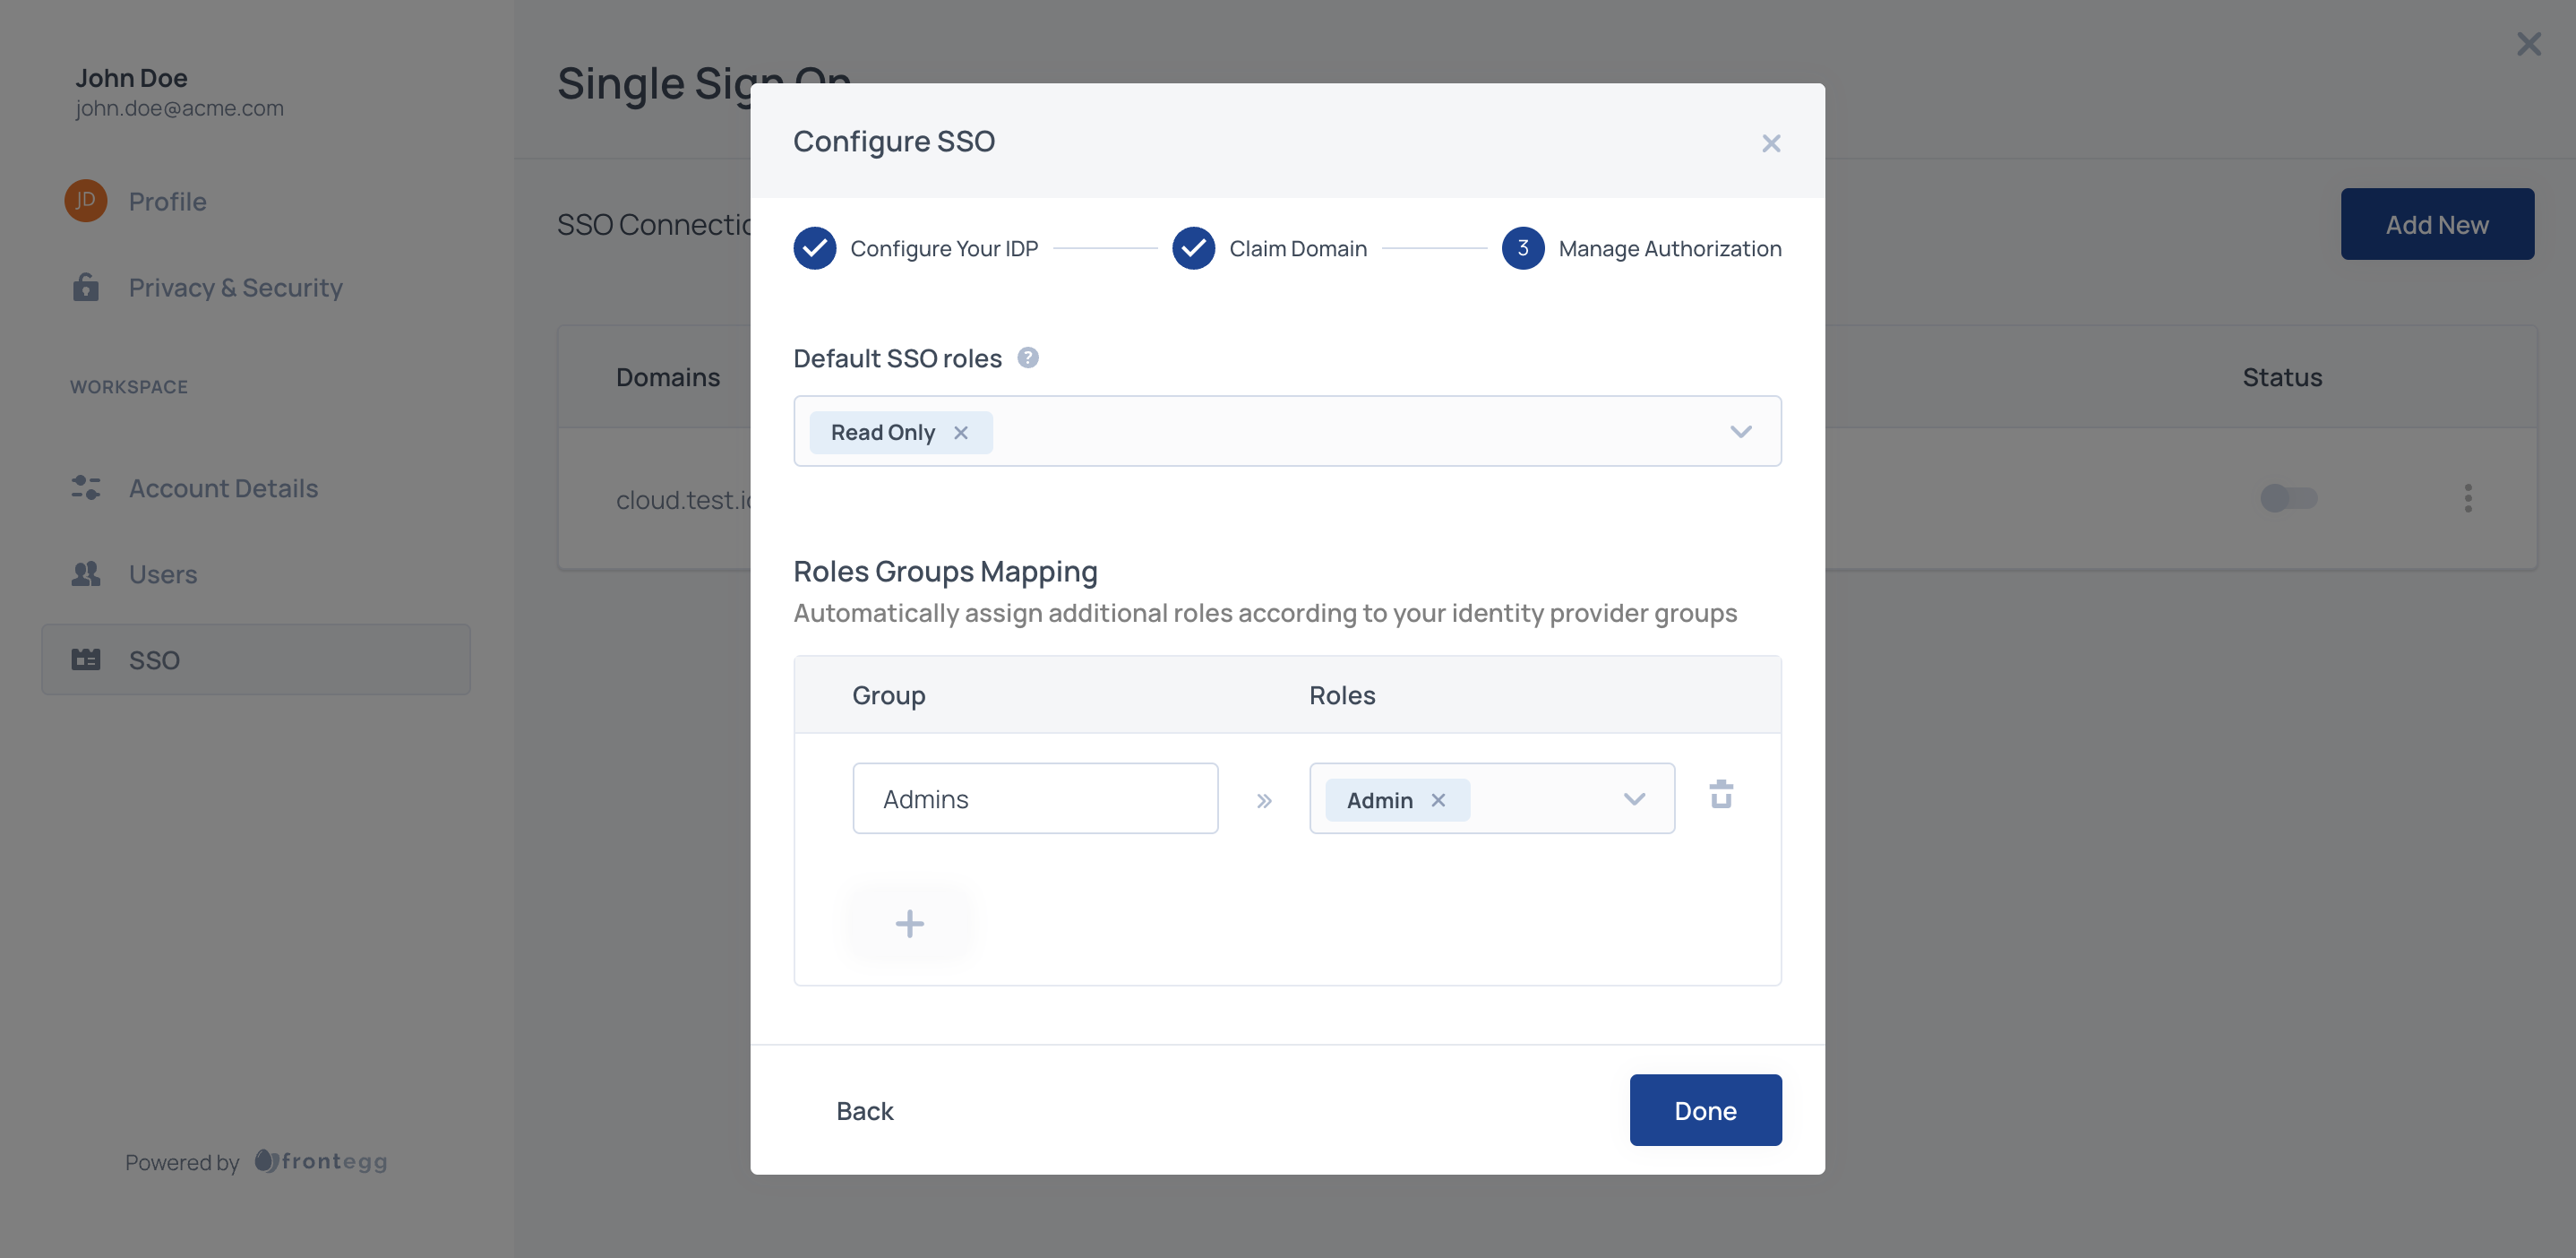
Select which roles should be assigned to SSO users by default and map IdP groups to specific roles. By default, SSO users' roles are assigned only during the first SSO login. To enable group checks and roles re-assignment on every user login, submit a request for your environment.
Assign default roles to all SSO users by adding one or more Frontegg roles from your list of predefined roles.
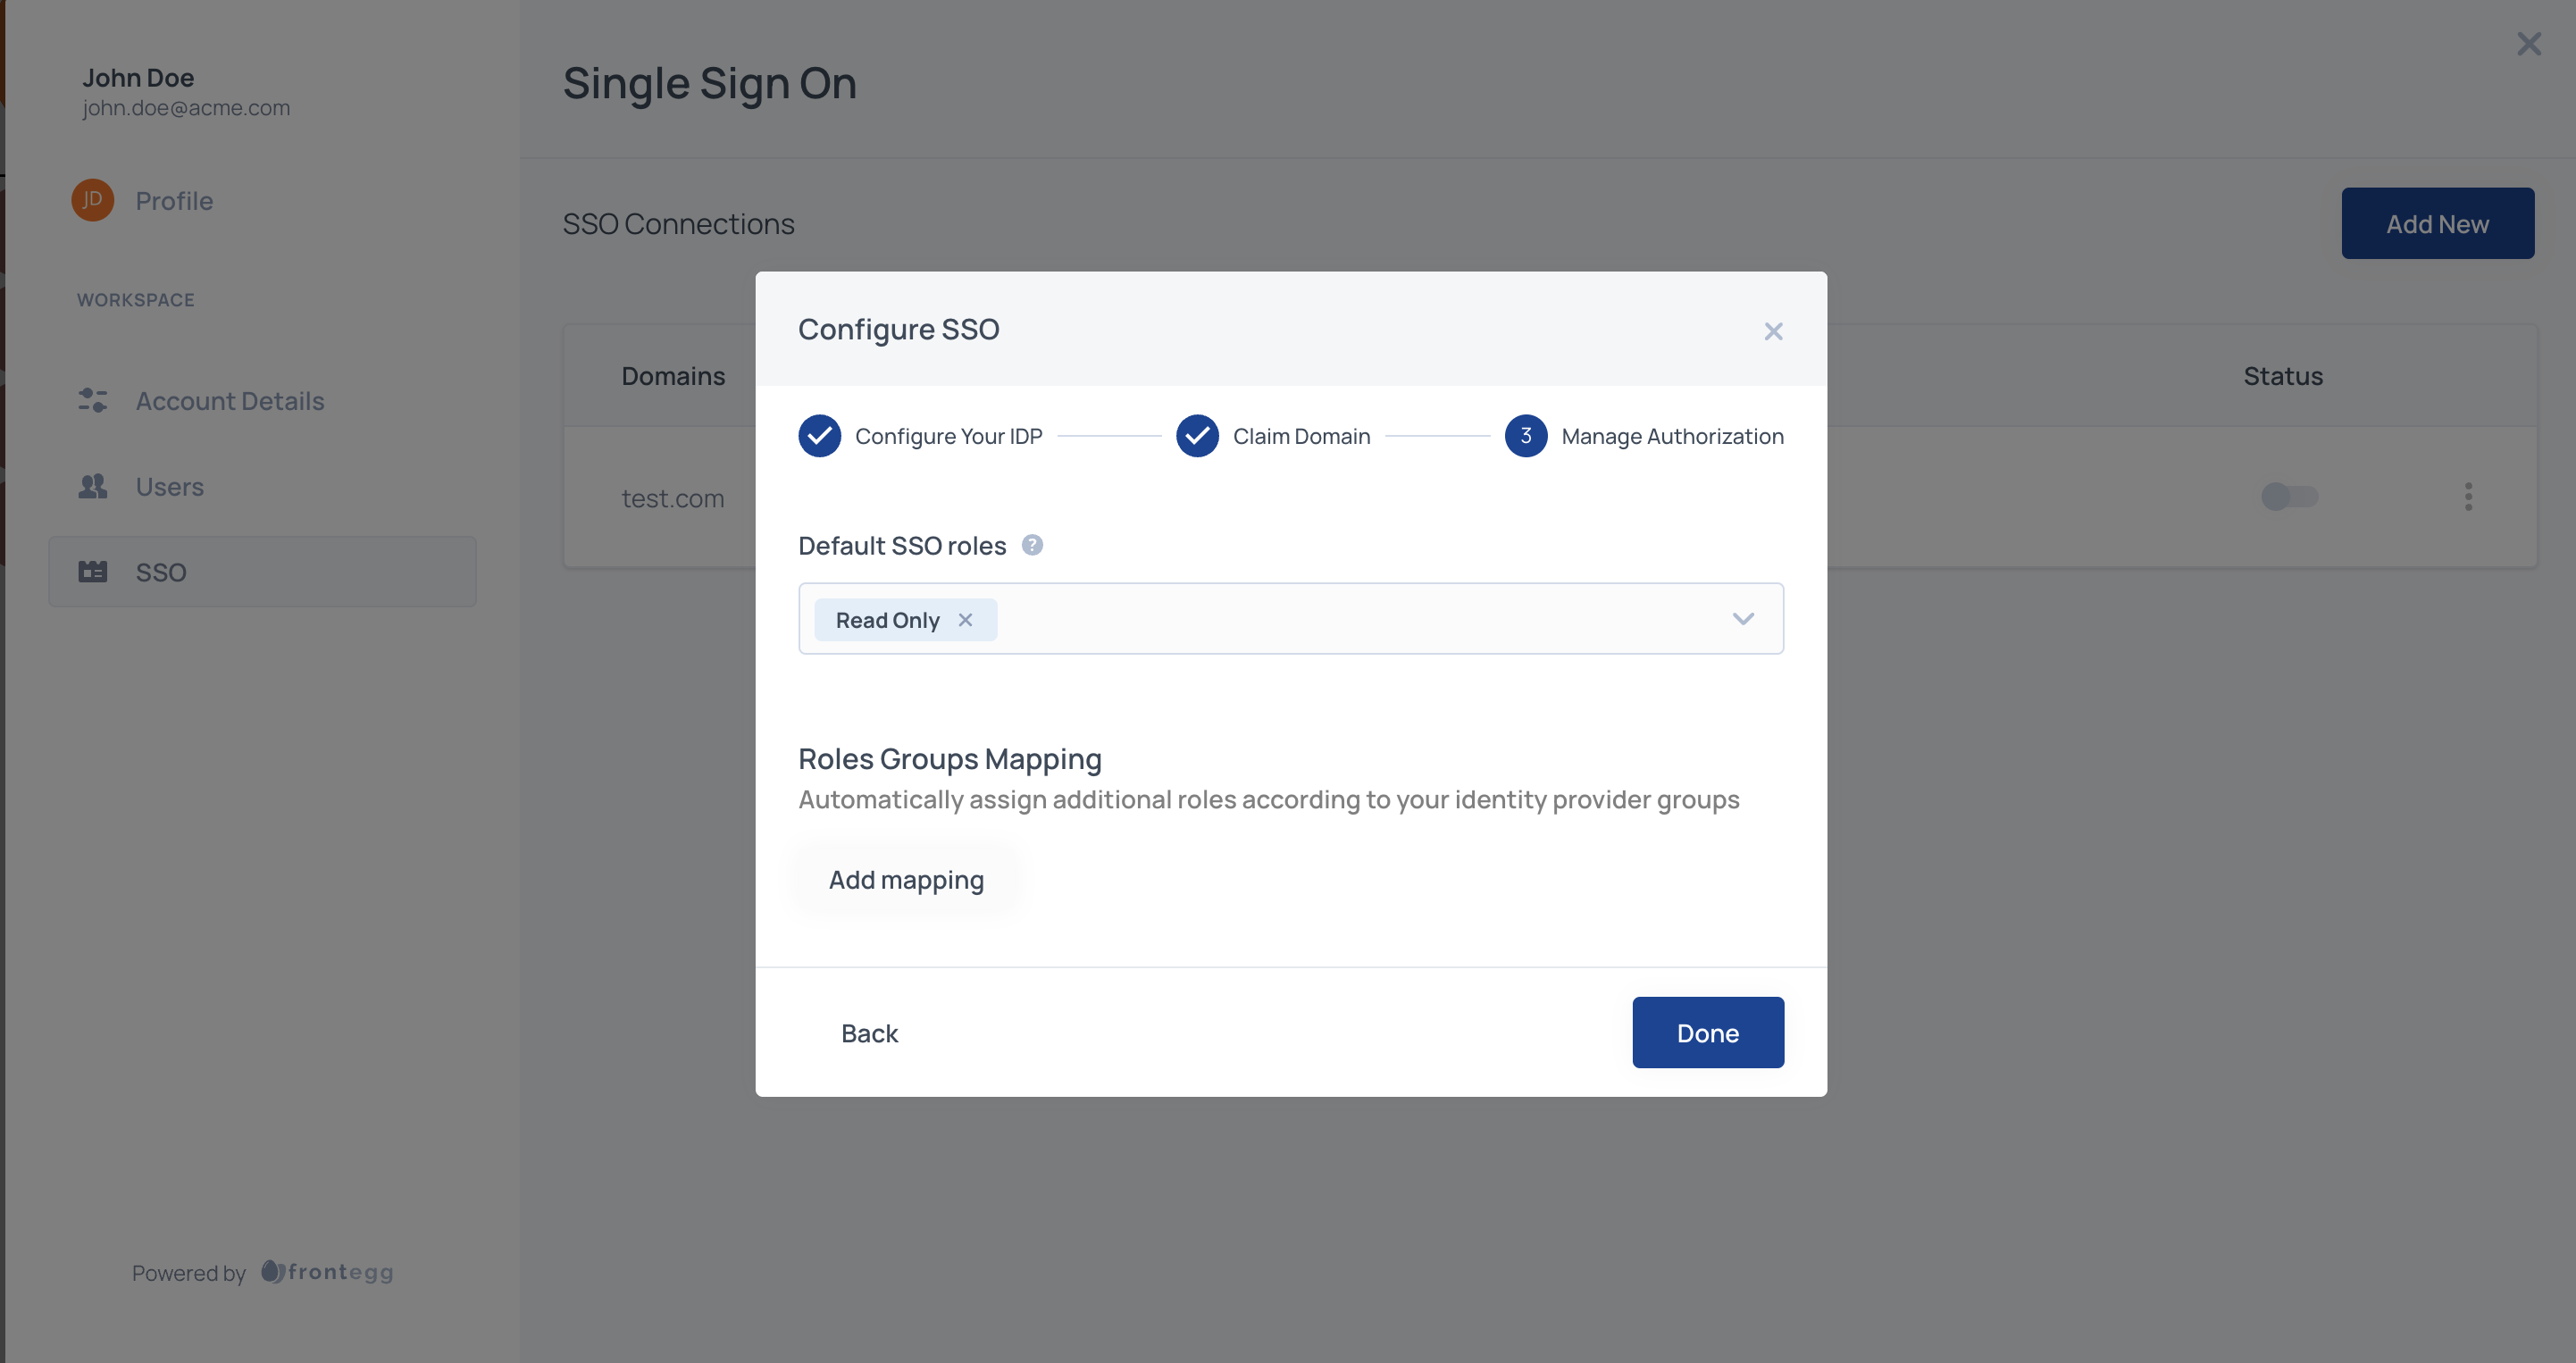
By default, user roles are being assigned on the first SSO login. To enable group check and role assignment on every user login, submit a request for your environment.
When configuring an SSO connection for an account, you have the option to map your IdP groups to roles available in the application. For the mapping to work, make sure that your IdP passes groups attribute that is sent in the SAML response.
In the SSO configuration section of the self service, map the groups that users will be passing to corresponding roles in your application.
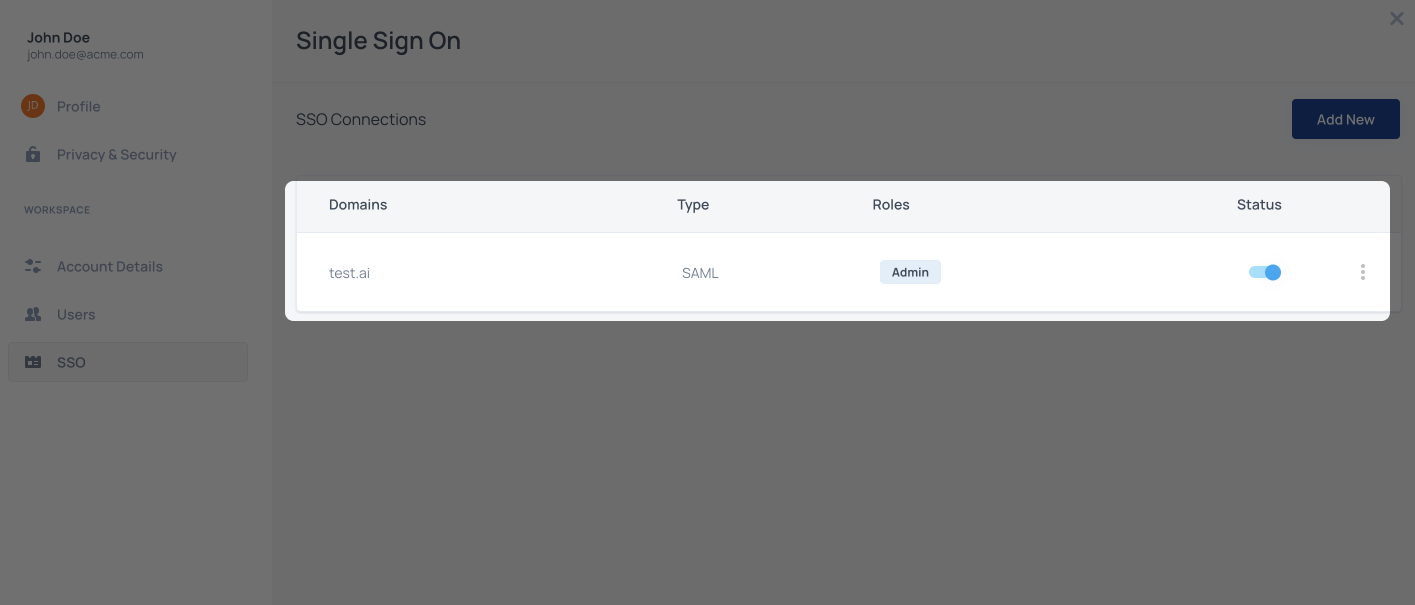
Save the connection and make sure that it is enabled.
When a user is authenticated to Frontegg via IdP (Entra ID (Azure) or Okta) using SAML, logging out of Frontegg sends a logout request to the upstream IdP. The IdP's matching SAML session is terminated—not only the Frontegg session.
For SAML single logout to complete successfully, you must configure the logout URL in your identity provider's SAML application. Without this value, the IdP cannot redirect the logout response back to Frontegg after terminating its session.
Use the following logout URL in your IdP configuration (replace <app_domain> with your Frontegg domain or custom domain):
https://<app_domain>/oauth/federation/logout/callbackFor example: https://app.example.com/oauth/federation/logout/callback.
The field name varies by provider (for example, Logout URL in Entra ID or Single Logout URL in Okta), but the value is the same.
For Okta, you must also upload Frontegg’s SP signature certificate so Okta can verify the signed logout request. Follow Okta’s guide to configure Single Logout in app integrations.