Snowflake is a cloud data platform for data warehousing, data lakes, and data sharing.
It can be connected to Agen.co two ways, matching the Official / In-house filter in the connector picker:
- Official — Agen.co connects through a Snowflake-managed MCP server object you define, so your AI agents only get the exact tools your specification exposes (Cortex Search, Cortex Analyst, Cortex Agents, SQL execution, UDFs, and stored procedures), scoped to the Snowflake role you grant.
- In-house — Agen.co wraps Snowflake's SQL/REST API directly through its own integration layer, executing SQL and browsing objects on behalf of an authenticated user.
Pick Official if you want a fixed, admin-defined set of tools scoped to specific Snowflake objects. Fall back to In-house if you need general-purpose SQL execution and object browsing across the account.
Snowflake MCP integrations are configured using SQL commands in Snowsight, same as the In-house flow — there is no separate developer portal.
Prerequisites
Prerequisites
- A Snowflake account with the ACCOUNTADMIN role (required to create the security integration) and a role with rights to create an MCP server in the target schema
- A warehouse to run the MCP server's tools against
- In the Agen.co portal, go to Connectors → My connectors and click Add connector. In the search bar, type
Snowflake, select it from the results, and select Official. Copy the Callback URL and the Gateway callback URL — you need both in step 3. Leave this panel open. - Sign in to app.snowflake.com and open a new SQL file (Projects → Workspaces → SQL file).
- Create the OAuth security integration for this connector. Replace
FRONTEGG_MCP_INTEGRATIONwith your preferred name, and replace both redirect URI values with the Callback URL and Gateway callback URL you copied in step 1 — copy each one whole, including the path. See How to get your Redirect URL.
CREATE OR REPLACE SECURITY INTEGRATION FRONTEGG_MCP_INTEGRATION
  TYPE = OAUTH
  ENABLED = TRUE
  OAUTH_CLIENT = CUSTOM
  OAUTH_CLIENT_TYPE = 'CONFIDENTIAL'
  OAUTH_REDIRECT_URI = 'https://YOUR_MCP_GATEWAY_URL/integration-callback'
  OAUTH_ALTERNATE_REDIRECT_URIS = ('https://YOUR_MCP_GATEWAY_URL/external-mcp/callback')
  OAUTH_ISSUE_REFRESH_TOKENS = TRUE
  OAUTH_REFRESH_TOKEN_VALIDITY = 7776000
  OAUTH_ENFORCE_PKCE = TRUE
  OAUTH_USE_SECONDARY_ROLES = NONE
  BLOCKED_ROLES_LIST = ('ACCOUNTADMIN', 'SECURITYADMIN', 'ORGADMIN', 'GLOBALORGADMIN');
OR REPLACE rotates the client secrets
OR REPLACE rotates the client secrets
CREATE OR REPLACE makes the command safe to re-run, but if an integration with this name already exists, replacing it issues a new pair of client secrets and invalidates the old ones.
- Create the MCP server object in the database and schema you want your agents to work in, listing the tools it should expose. Replace the database, schema, and object identifiers with your own:
USE DATABASE MY_DATABASE;
USE SCHEMA MY_SCHEMA;

CREATE OR REPLACE MCP SERVER MY_MCP_SERVER
FROM SPECIFICATION $$
tools:
  - name: "run-sql"
    title: "Run SQL"
    type: "SYSTEM_EXECUTE_SQL"
    description: "Execute read-only SQL queries"
    config:
      read_only: true
      warehouse: "MY_WAREHOUSE"
$$;
Add further entries to the tools list to expose Cortex Search (CORTEX_SEARCH_SERVICE_QUERY), Cortex Analyst (CORTEX_ANALYST_MESSAGE), Cortex Agents (CORTEX_AGENT_RUN), or a UDF/stored procedure (GENERIC) — each takes the fully qualified identifier of the underlying object.
- Grant the role your OAuth users authorize with access to the server and everything it touches:
GRANT USAGE ON MCP SERVER MY_DATABASE.MY_SCHEMA.MY_MCP_SERVER TO ROLE MY_MCP_ROLE;
GRANT USAGE ON WAREHOUSE MY_WAREHOUSE TO ROLE MY_MCP_ROLE;
GRANT USAGE ON DATABASE MY_DATABASE TO ROLE MY_MCP_ROLE;
GRANT USAGE ON SCHEMA MY_DATABASE.MY_SCHEMA TO ROLE MY_MCP_ROLE;
Grant MY_MCP_ROLE whatever additional privileges the tools in your specification need on the underlying Cortex Search services, semantic views, UDFs, or stored procedures.
- Set the authorizing user's default role and warehouse — the OAuth session inherits both, and their absence fails the connection:
ALTER USER <username> SET DEFAULT_ROLE = 'MY_MCP_ROLE' DEFAULT_WAREHOUSE = 'MY_WAREHOUSE';- Retrieve your OAuth client credentials:
SELECT SYSTEM$SHOW_OAUTH_CLIENT_SECRETS('FRONTEGG_MCP_INTEGRATION');- Return to the Add Snowflake panel you left open in step 1.
- In the Instance Slug field, enter a slug for this connector instance — it prefixes each imported tool as
slug__tool, so a second instance of the same connector needs a slug of its own. Use lowercase kebab-case. You can change it later from the connector's settings. - In Snowflake account host, enter your account's subdomain (for example
myorg-myaccount.snowflakecomputing.com). - In Database and Schema, enter the database and schema you created the MCP server in (
MY_DATABASE/MY_SCHEMAabove). - In MCP server name, enter the name of the MCP server object (
MY_MCP_SERVERabove). - Paste the OAUTH_CLIENT_ID and OAUTH_CLIENT_SECRET values from step 7 into the matching Client ID and Client Secret fields.
- Click Connect.
- You're redirected to Snowflake to sign in and approve access.
- Return to Agen.co and click Add below the list of tools that were added.
The tools available after connecting are exactly the ones listed in your MCP server's tools specification — there's no fixed Agen.co tool catalog for this flow. Add or remove tools by re-running CREATE OR REPLACE MCP SERVER with an updated specification.
Enabling the Snowflake connector isn't enough on its own. Tool calls remain denied until you create a policy that grants access to the specific tools you want to expose.
Snowflake is a cloud data platform for data warehousing, data lakes, and data sharing. Integrating Snowflake with Frontegg allows your application to execute SQL queries and access data warehouses on behalf of your users using OAuth 2.0.
Prerequisites
Prerequisites
- A Snowflake account with the ACCOUNTADMIN role (required to create security integrations)
Snowflake OAuth integrations are configured using SQL commands in Snowsight. There is no separate developer portal — you create and manage OAuth clients directly within your Snowflake account.
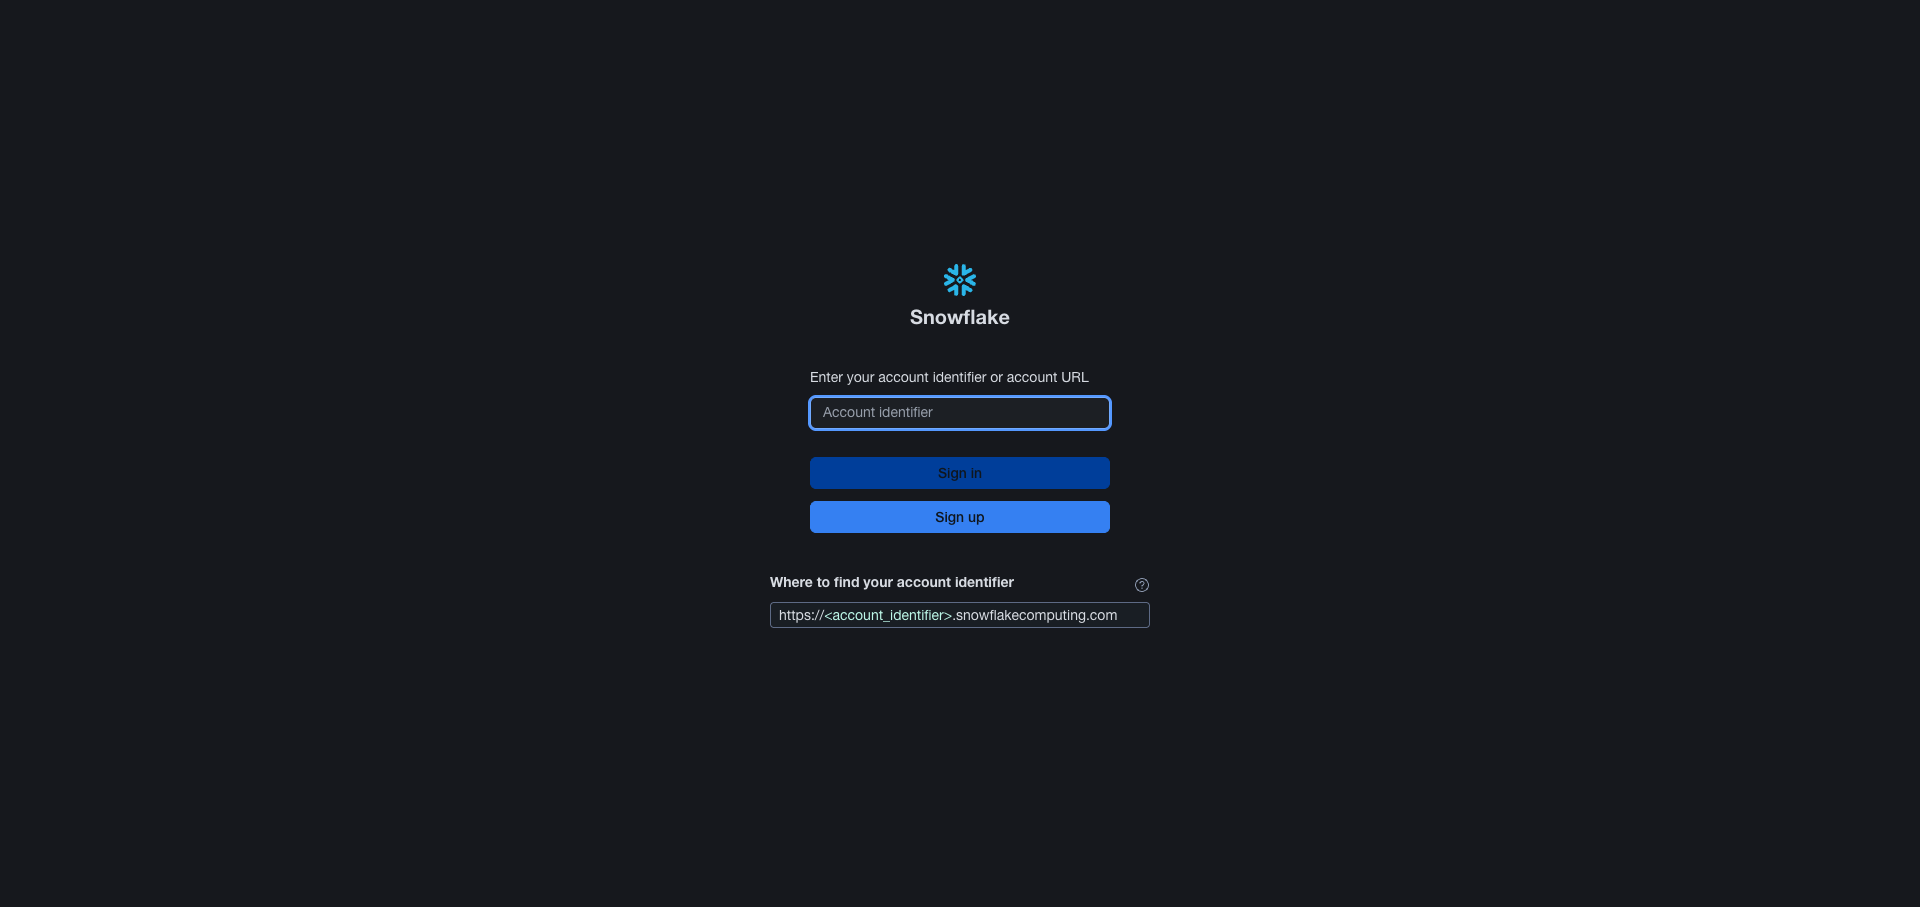
Navigate to app.snowflake.com and sign in to your Snowflake account. The sign-in page asks for your account identifier — the subdomain of your Snowflake URL, either in orgname-accountname form or as an account locator such as xy12345, including any region or cloud segments. Keep it at hand: the same value goes into the Frontegg portal later.
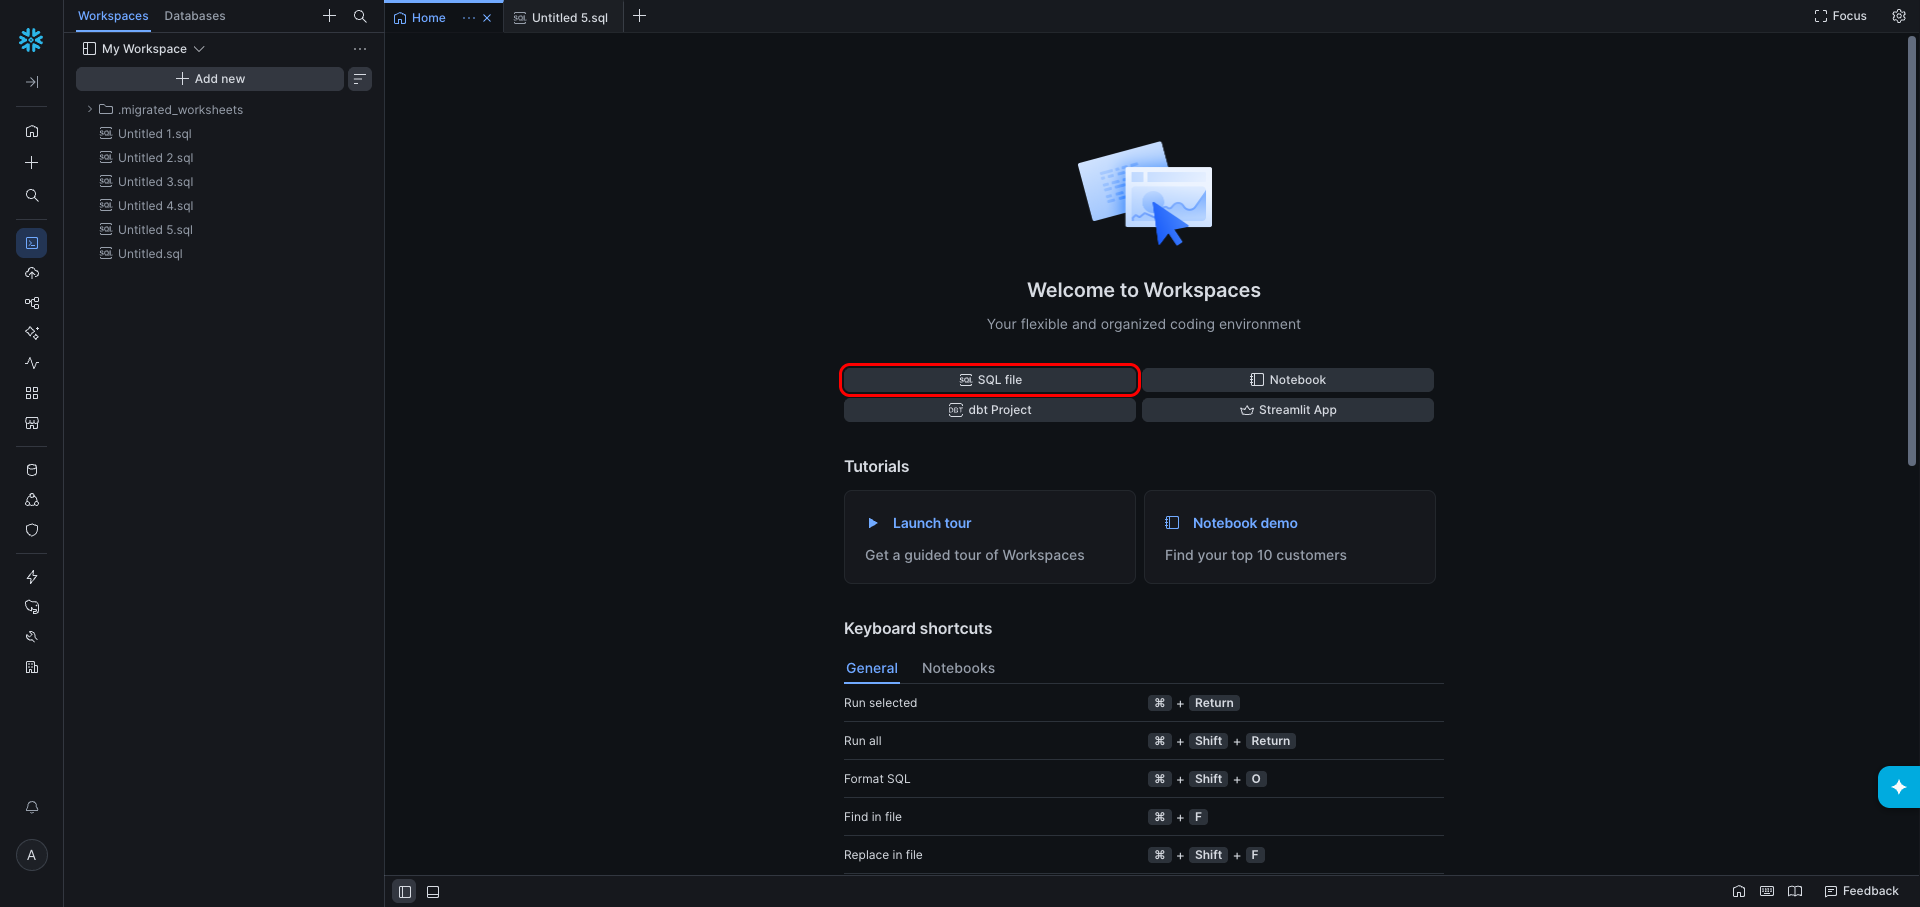
In the left navigation, click Projects — it opens Workspaces, the SQL editor. On the Welcome to Workspaces page, click SQL file to create a new SQL file.
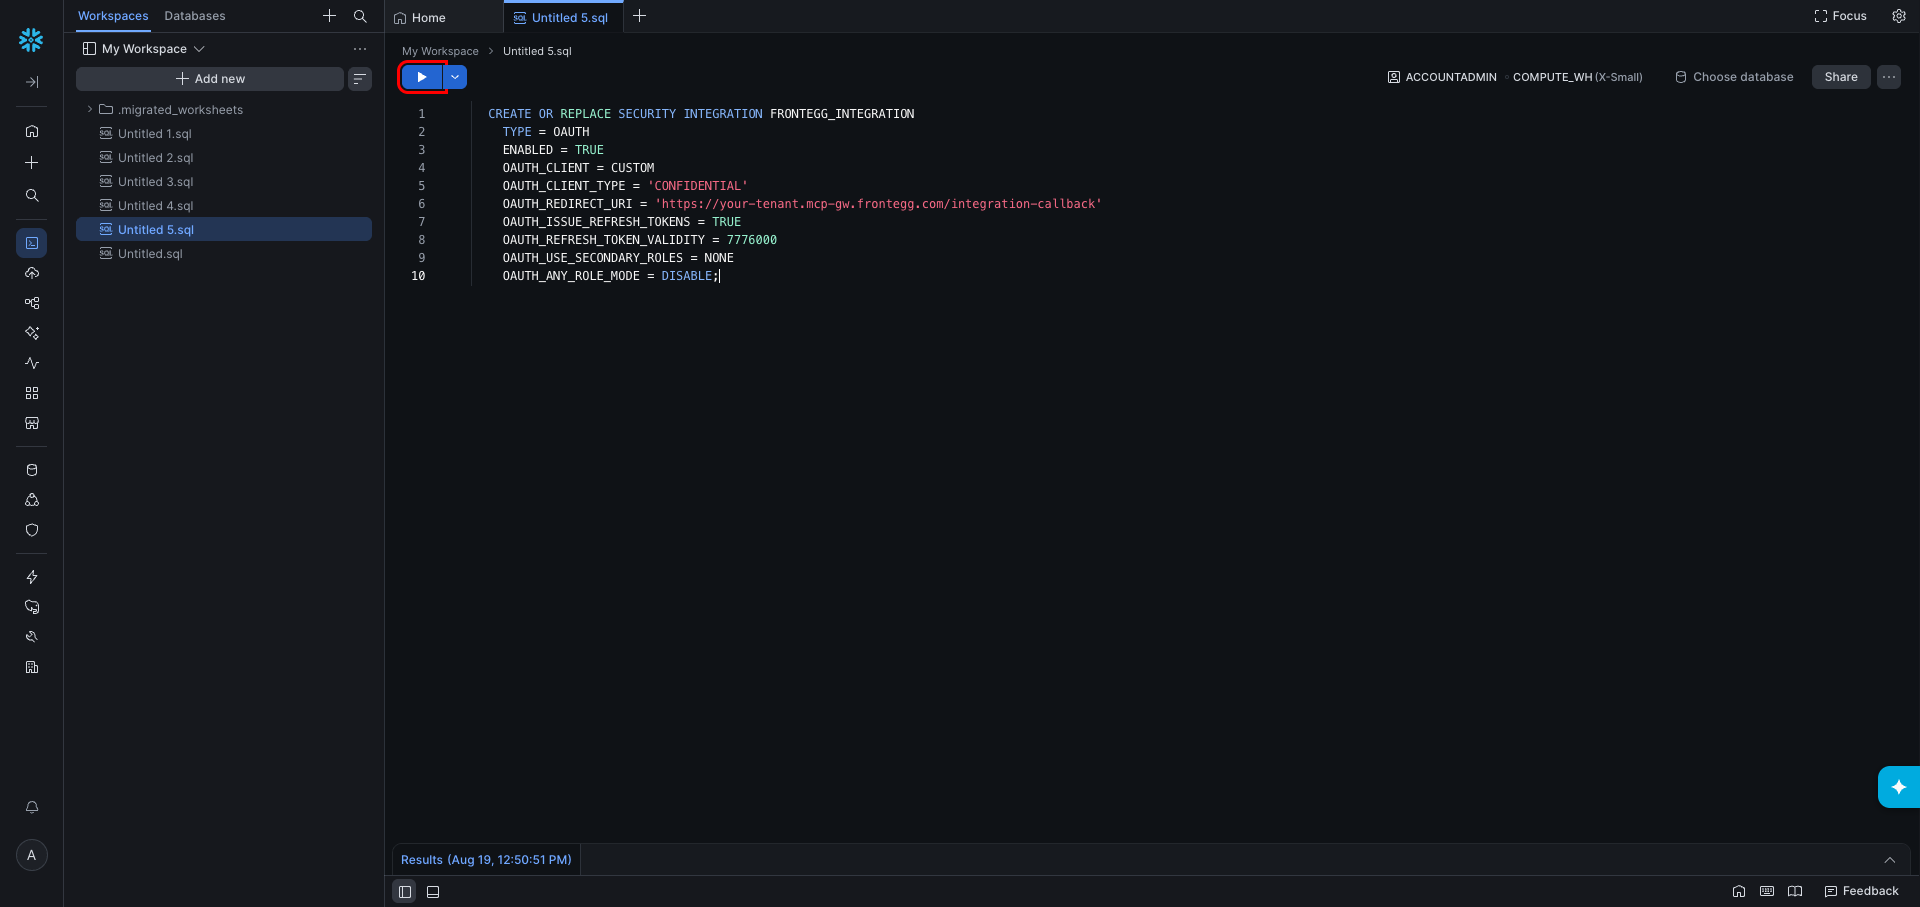
In the SQL file, enter the following command. Replace FRONTEGG_INTEGRATION with your preferred integration name, and replace the OAUTH_REDIRECT_URI value with the redirect URL shown in the Frontegg portal for this integration — copy it whole, including the path. See How to get your Redirect URL.
CREATE OR REPLACE SECURITY INTEGRATION FRONTEGG_INTEGRATION
  TYPE = OAUTH
  ENABLED = TRUE
  OAUTH_CLIENT = CUSTOM
  OAUTH_CLIENT_TYPE = 'CONFIDENTIAL'
  OAUTH_REDIRECT_URI = 'https://YOUR_MCP_GATEWAY_URL/integration-callback'
  OAUTH_ISSUE_REFRESH_TOKENS = TRUE
  OAUTH_REFRESH_TOKEN_VALIDITY = 7776000
  OAUTH_USE_SECONDARY_ROLES = NONE
  OAUTH_ANY_ROLE_MODE = DISABLE;
OAUTH_REFRESH_TOKEN_VALIDITY is expressed in seconds, so 7776000 keeps refresh tokens valid for 90 days.
OAUTH_USE_SECONDARY_ROLES = NONE and OAUTH_ANY_ROLE_MODE = DISABLE are Snowflake's defaults, stated here explicitly because they are what makes the Snowflake role field an actual permission boundary. NONE keeps the user's other roles out of the session; DISABLE stops the session switching to a different role after authorization. Change either one only if you intend the connection to hold wider privileges than the role you configure.
Click Run selected to execute the command.
OR REPLACE rotates the client secrets
OR REPLACE rotates the client secrets
CREATE OR REPLACE makes the command safe to re-run, but if an integration with this name already exists, replacing it issues a new pair of client secrets and invalidates the old ones. Any connector already configured with the previous secret stops working until you paste the new one. Use CREATE SECURITY INTEGRATION without OR REPLACE if you want the command to fail rather than replace an existing integration.
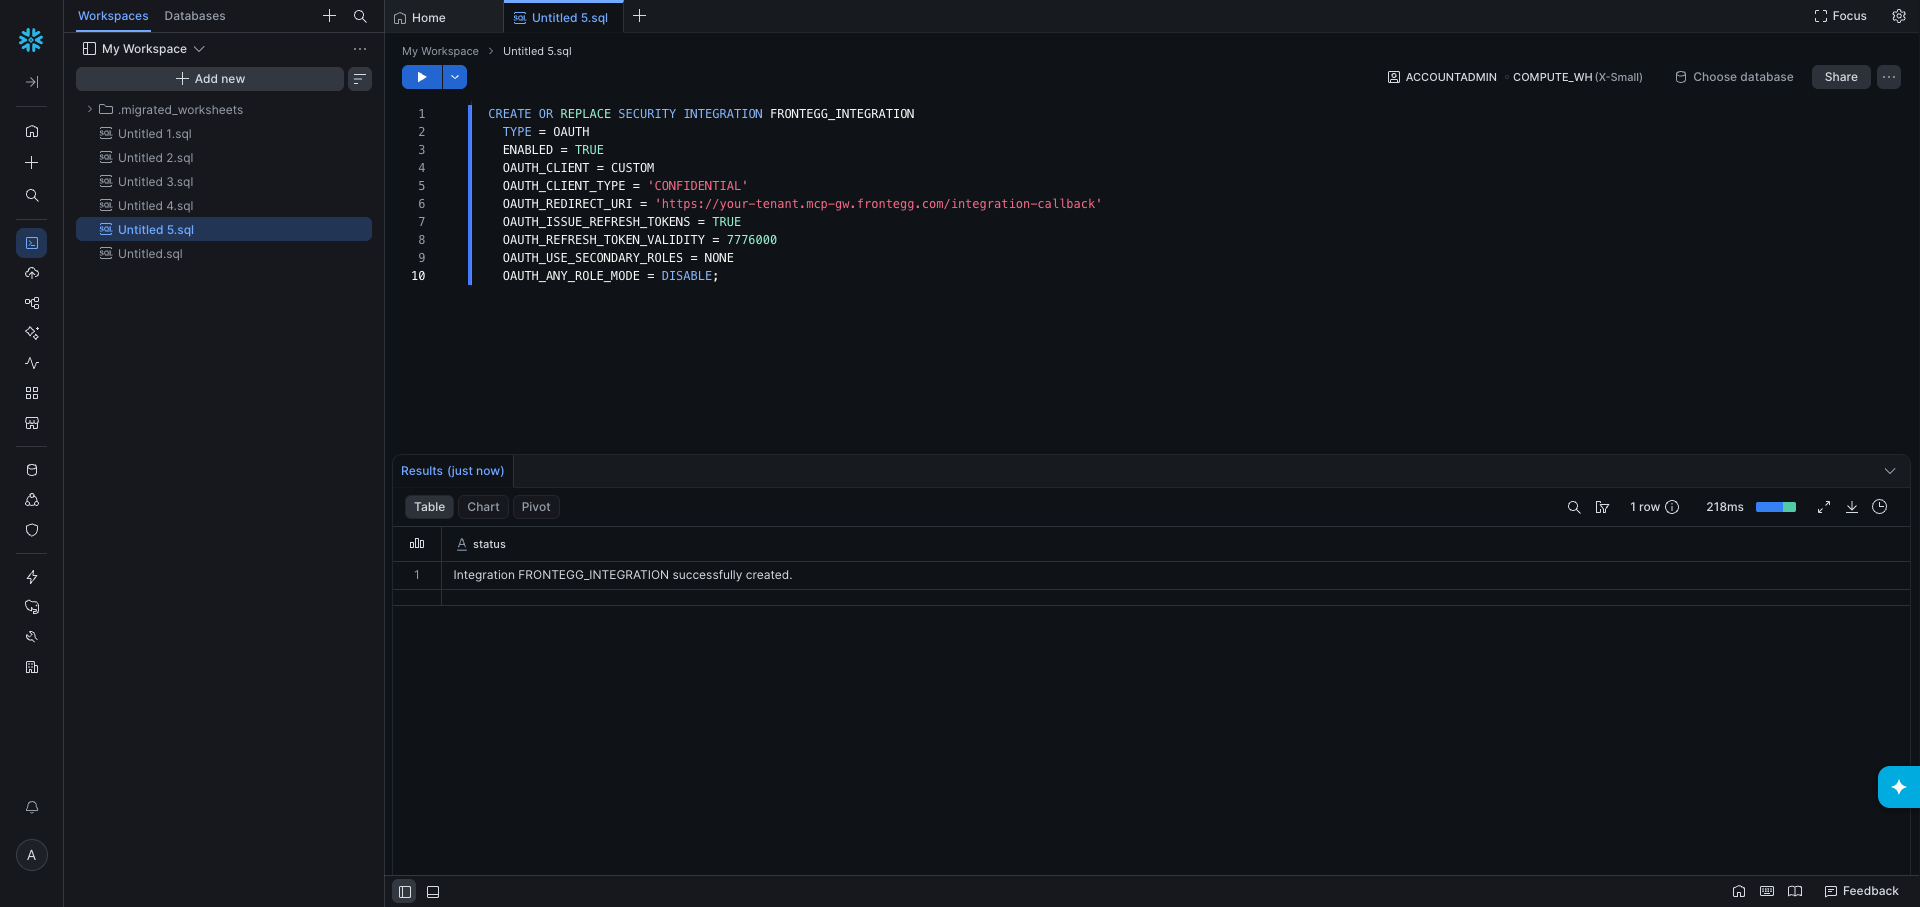
After running the command, the results panel shows a confirmation message.
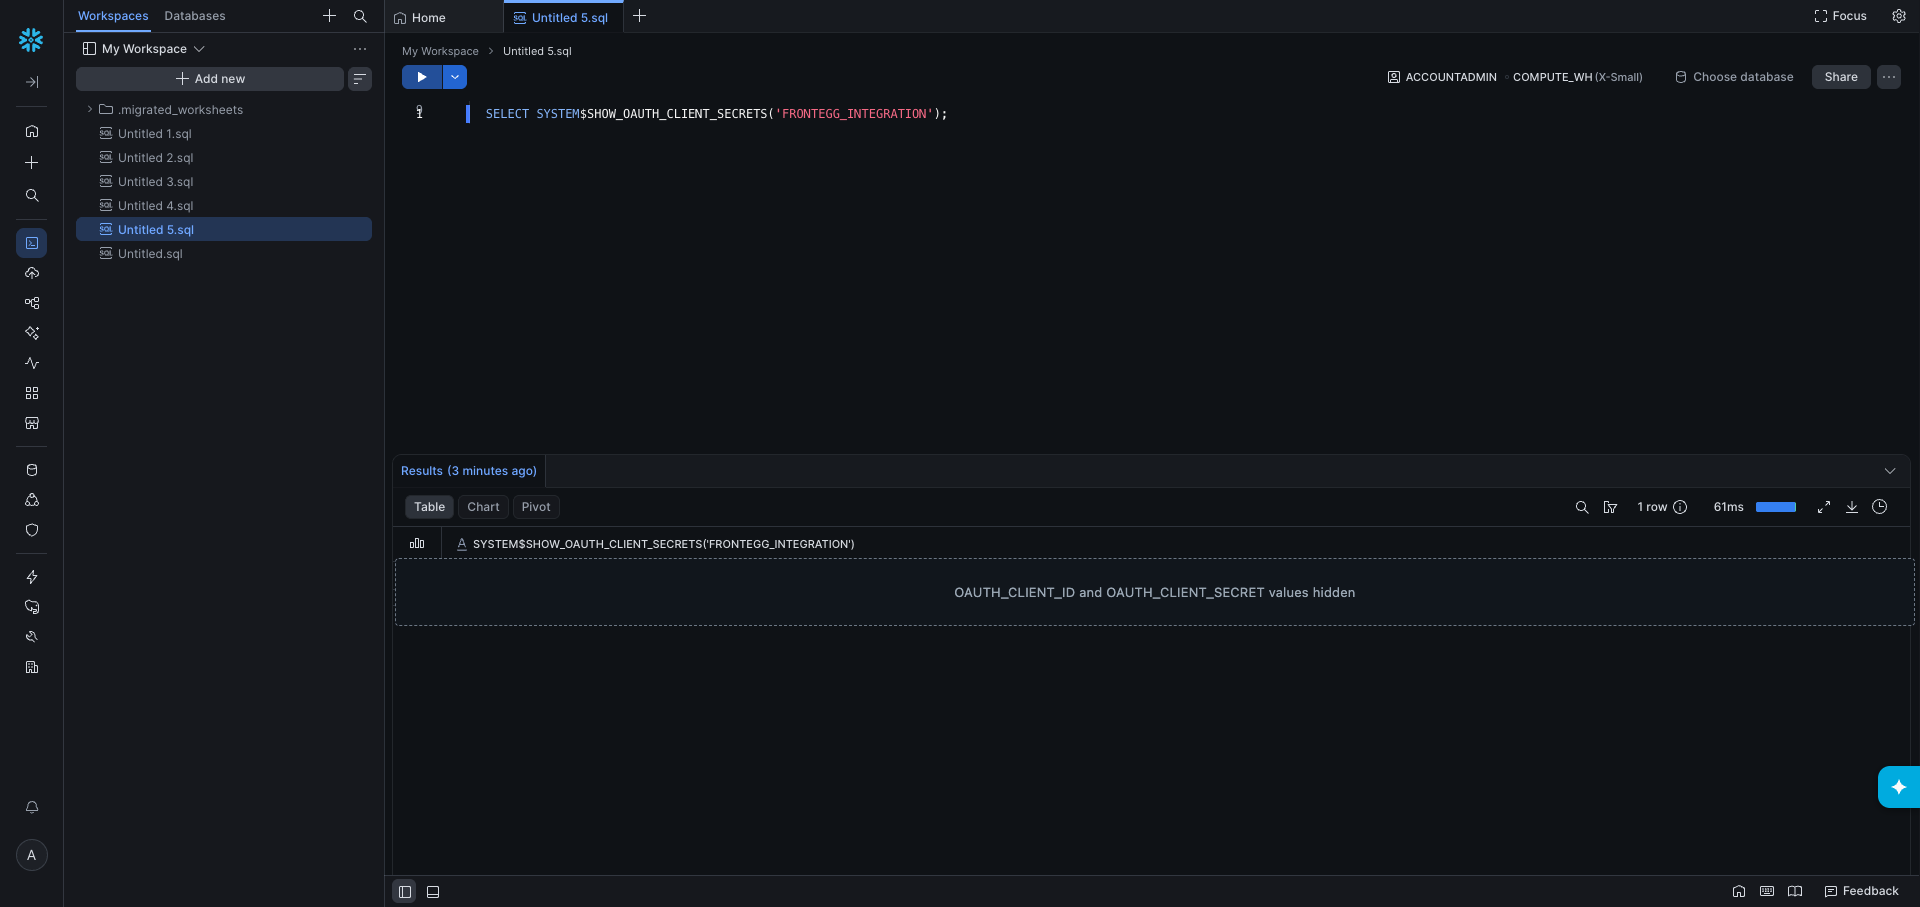
Run the following query to retrieve your OAuth client credentials:
SELECT SYSTEM$SHOW_OAUTH_CLIENT_SECRETS('FRONTEGG_INTEGRATION');The result is a JSON object containing:
| Field | Description |
|---|---|
OAUTH_CLIENT_ID | Your Client ID |
OAUTH_CLIENT_SECRET | Your primary Client Secret |
OAUTH_CLIENT_SECRET_2 | A secondary Client Secret (backup) |
Copy your Client Secret now
Copy your Client Secret now
Copy your Client Secret and store it in a secure location. Snowflake does not display it anywhere else in Snowsight — if you lose it, re-run the command from step 3 to issue a new pair.
The values are redacted in the screenshot below; in your own account the row shows the full JSON.
Once you have obtained your credentials, configure the integration in the Frontegg portal:
- Open the Frontegg portal and navigate to [ENVIRONMENT] → Integrations → Snowflake.
- Fill in the four fields described below.
- Click Save.
The subdomain of your Snowflake URL, in orgname-accountname format. For example, if your URL is https://myorg-myaccount.snowflakecomputing.com, your account identifier is myorg-myaccount.
Accounts whose URL uses an account locator (for example https://xy12345.snowflakecomputing.com) work too — use the locator exactly as it appears in the URL, including any region or cloud segments.
Optional. The Snowflake role activated as the primary role for the OAuth session.
- Default behavior. When this field is empty, the integration runs under the
PUBLICrole — the role auto-granted to every Snowflake user, with minimal privileges. - When to set it. Provide a role name to operate under a specific role (for example, a custom data-access role like
DATA_ANALYST). - Must already be granted to the OAuth user. The role must be granted to the Snowflake user who completes the OAuth flow. If it is not granted, authorization does not complete: after the person enters their credentials Snowflake returns them to the sign-in screen with
The role <ROLE> requested is an invalid role. Please try logging in with a different role, or contact your administrator. - Case-sensitive. The value must match the output of
SHOW ROLESexactly. - Pick a non-admin role.
ACCOUNTADMIN,SECURITYADMIN,ORGADMIN, andGLOBALORGADMINare in Snowflake's defaultBLOCKED_ROLES_LISTfor OAuth. Setting any of them means authorization does not complete. Use a custom role or another non-blocked role instead. - Changing this field after install. Requires re-authorization — see Permissions and users below, which explains how to force one.
Paste the OAUTH_CLIENT_ID and OAUTH_CLIENT_SECRET values returned by the SYSTEM$SHOW_OAUTH_CLIENT_SECRETS query you ran earlier.
The configured role is not the whole boundary
The configured role is not the whole boundary
The Snowflake role field sets the session's primary role. If the security integration has OAUTH_USE_SECONDARY_ROLES = IMPLICIT, Snowflake also activates the authorizing user's default secondary roles and the session holds the union of them all — so a connection configured with a read-only role can still write, while the role reported for the session stays the one you chose. This includes roles you could not have selected in the field: ACCOUNTADMIN and ORGADMIN have been measured entering a session as secondary roles.
Every user's default secondary roles are ALL unless someone changed that, and each person brings their own — so the same configured role can mean different privileges for different people.
Each person authorizes the connection separately and works under their own Snowflake identity, so queries are attributed to them individually. Sharing it takes two steps per person:
- Create a Snowflake user for them. Snowflake has no invitations: a user exists only inside your account, created with
CREATE USER. Give them a default warehouse at the same time. - Grant them the configured role.
The role is not per person: Snowflake shows it during authorization with no way to choose another, so one connection cannot give one person read-only access and another write access — that needs separate connections.
To check which setting is in force, run DESCRIBE SECURITY INTEGRATION FRONTEGG_INTEGRATION; in Snowsight and read OAUTH_USE_SECONDARY_ROLES.
To make the configured role the sole boundary, run either of the following as ACCOUNTADMIN:
ALTER SECURITY INTEGRATION FRONTEGG_INTEGRATION SET OAUTH_USE_SECONDARY_ROLES = NONE;
-- or, scoped to one user rather than the whole integration:
ALTER USER <user> SET DEFAULT_SECONDARY_ROLES = ();
The change takes effect on the next authorization, and waiting does not apply it. To force a re-authorization, disable and re-enable the integration, which invalidates the tokens already issued:
ALTER SECURITY INTEGRATION FRONTEGG_INTEGRATION SET ENABLED = FALSE;
ALTER SECURITY INTEGRATION FRONTEGG_INTEGRATION SET ENABLED = TRUE;
With secondary roles inactive, every query runs under the configured role and Snowflake's standard RBAC applies: objects outside the role's grants are reported as not existing, and listings are filtered to what the role can see.
Keep your credentials secure
Keep your credentials secure
Never share or commit your Client Secret to version control.
- Values can be passed separately from the SQL. Placeholders in the statement can be filled from a separate set of values rather than pasted into the query text.
- The session reports its effective privileges. A session-context request returns the active role, any secondary roles active alongside it, and every role granted to the authorizing user — so an admin can confirm in one call whether the connection's privileges are wider than the role they configured.
- A warehouse is required for data queries. Snowflake runs queries on a warehouse, and the OAuth session inherits the default warehouse of the user who authorized the connection. If that user has no default warehouse, any query touching data fails until a warehouse is named explicitly in the request. Assign a default warehouse to the authorizing user, or pass the warehouse per query.
- Quoted identifiers are not accepted by the object tools. Object names must consist of letters, digits, underscores, and
$, with dots separating the parts of a fully qualified name (MYDB.PUBLIC.CUSTOMERS). Names that require double quotes, such as"My Table", must be queried through the plain SQL execution tool instead. - Long-running statements finish asynchronously. Snowflake returns a still-running response with a statement handle for queries that exceed roughly 45 seconds. The connector then polls that handle for the result, so a slow query returns in a later call rather than in the original one.
- Large result sets arrive in partitions. Snowflake splits big results into partitions and returns only the first one plus partition metadata; the remaining partitions are fetched one at a time.
- Name-prefix and paging filters are available only for some object types. Databases, schemas, tables, views, tasks, streams, roles and users can be filtered by name prefix and paged through. Stages, pipes, functions, procedures, sequences, file formats and warehouses accept only a name pattern — Snowflake ignores the other filters on these types instead of reporting an error, so the connector rejects the request rather than returning a result whose filter was silently discarded. Narrow those listings with a name pattern, or scope them to a database or schema.
- Multi-statement scripts must declare how many statements they contain. Snowflake rejects a semicolon-separated script whose statement count was not stated up front. Send the count along with the script, or submit the statements one at a time.