Netlify can be connected to Agen.co two ways, matching the Official / In-house filter in the connector picker:
- Official — Agen.co connects through Netlify's own hosted MCP server (
https://netlify-mcp.netlify.app/mcp), so your AI agents use the same site, deploy, and framework tools Netlify exposes to MCP clients like Claude, Cursor, and VS Code. - In-house — Agen.co wraps the Netlify API directly through its own integration layer, using a dedicated OAuth application you register in your Netlify account.
Pick Official if the built-in Netlify Agent Skills cover what your agents need. Fall back to In-house if you need broader API coverage such as DNS record management.
Prerequisites
Prerequisites
- A Netlify account with access to the sites and teams you want your agents to manage
- In the Agen.co portal, go to Connectors → My connectors and click Add connector.
- In the search bar, type
Netlifyand select it from the results. - Optionally fill in Instance Slug — distinguishes multiple instances of this MCP connector by prefixing each imported tool as
slug__tool. Use lowercase kebab-case; leave empty for a single instance. This value is immutable after creation. - Click Connect.
You're redirected to Netlify to sign in and approve access. No Client ID, Client Secret, or personal access token needs to be entered manually.
Once connected, Netlify appears under My connectors with Agent Skills spanning:
| Area | What it covers |
|---|---|
| Sites & deploys | Managing sites, triggering and inspecting deploys, and build configuration |
| Functions & Edge Functions | Creating and managing serverless and edge functions |
| Data & storage | Netlify Blobs and Netlify DB |
| Media & forms | Image CDN and Netlify Forms |
| Frameworks & caching | Framework-specific guidance and caching configuration |
| AI Gateway | Configuring Netlify's AI Gateway |
Enabling the Netlify connector isn't enough on its own. Tool calls remain denied until you create a policy that grants access to the specific tools you want to expose.
Netlify is a cloud platform for building, deploying, and managing web projects. Integrating Netlify with Frontegg allows your application to manage sites, deploys, builds, forms, and DNS records on behalf of your users through OAuth 2.0 authentication.
Prerequisites
Prerequisites
- A Netlify account with access to User Settings → Applications
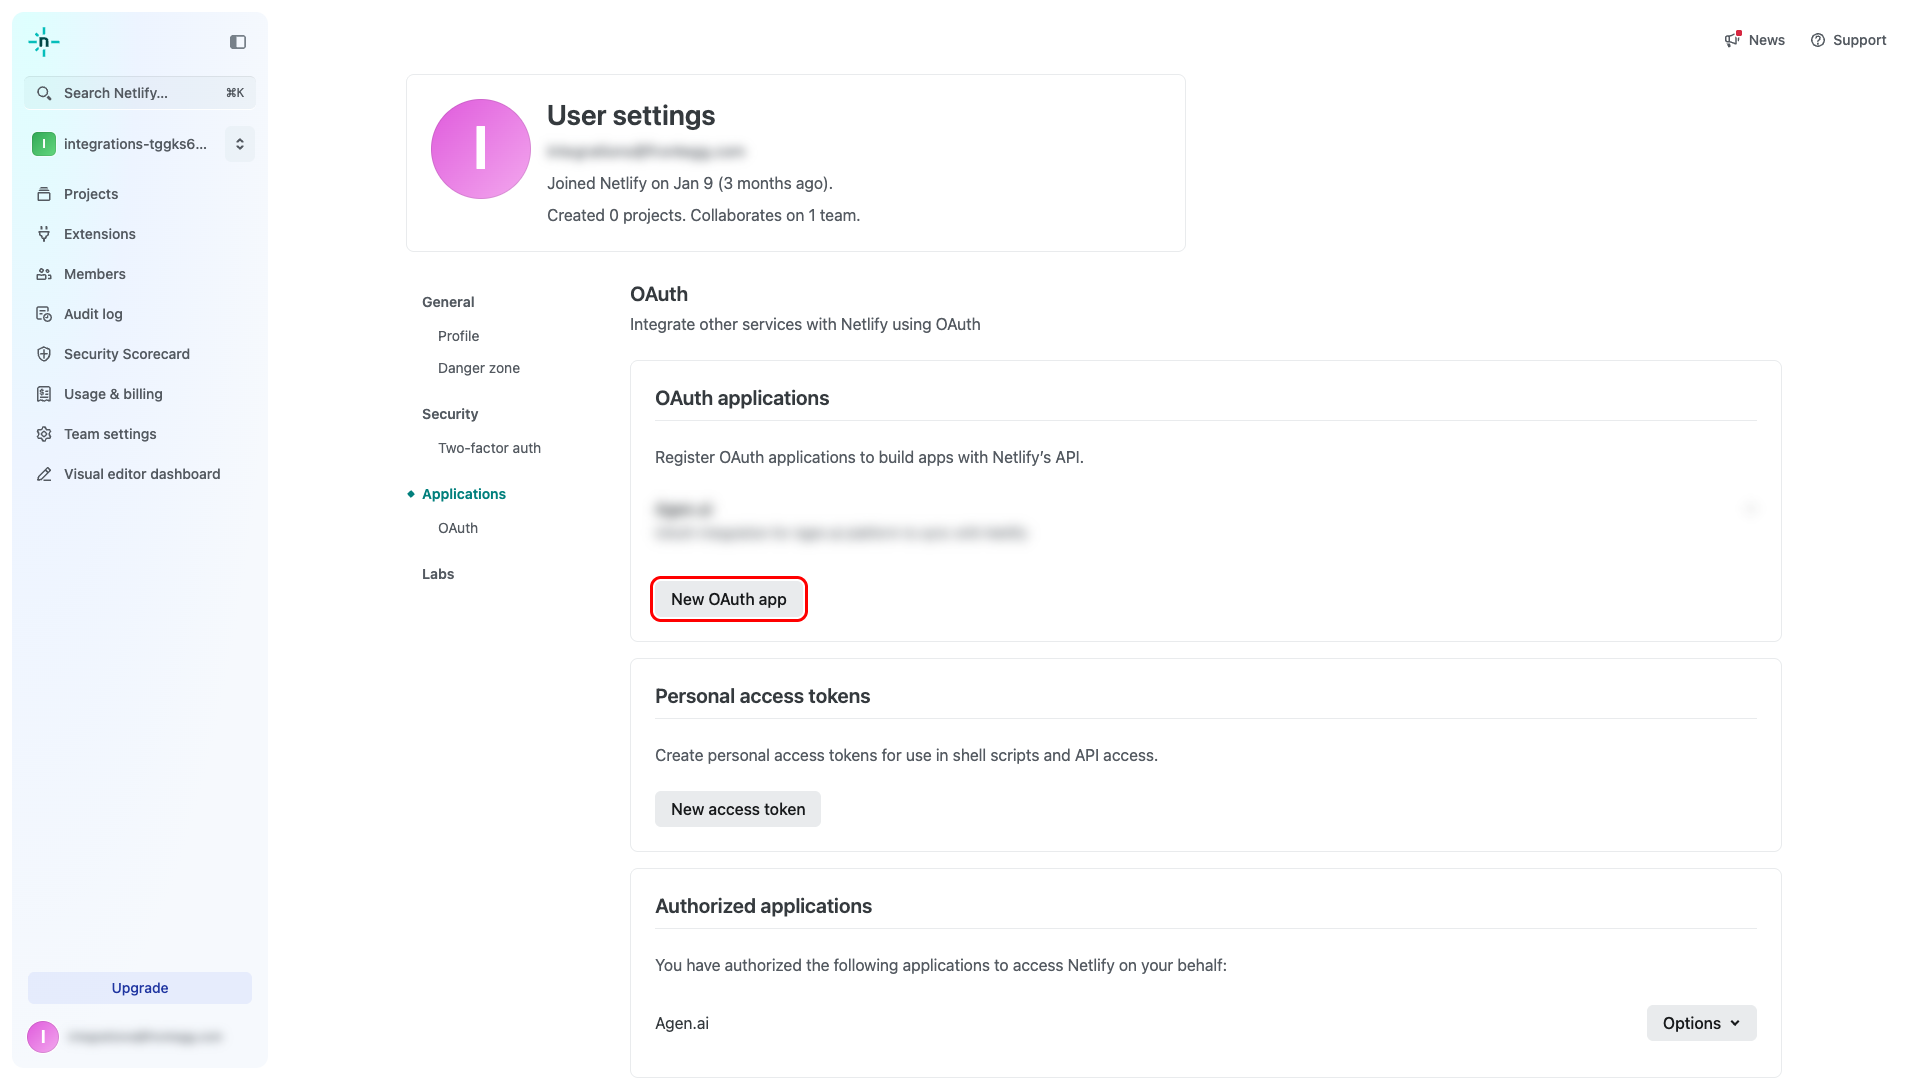
Sign in to Netlify and navigate to User Settings → Applications at https://app.netlify.com/user/applications. This page lists all OAuth applications registered under your account.
Click New OAuth app.
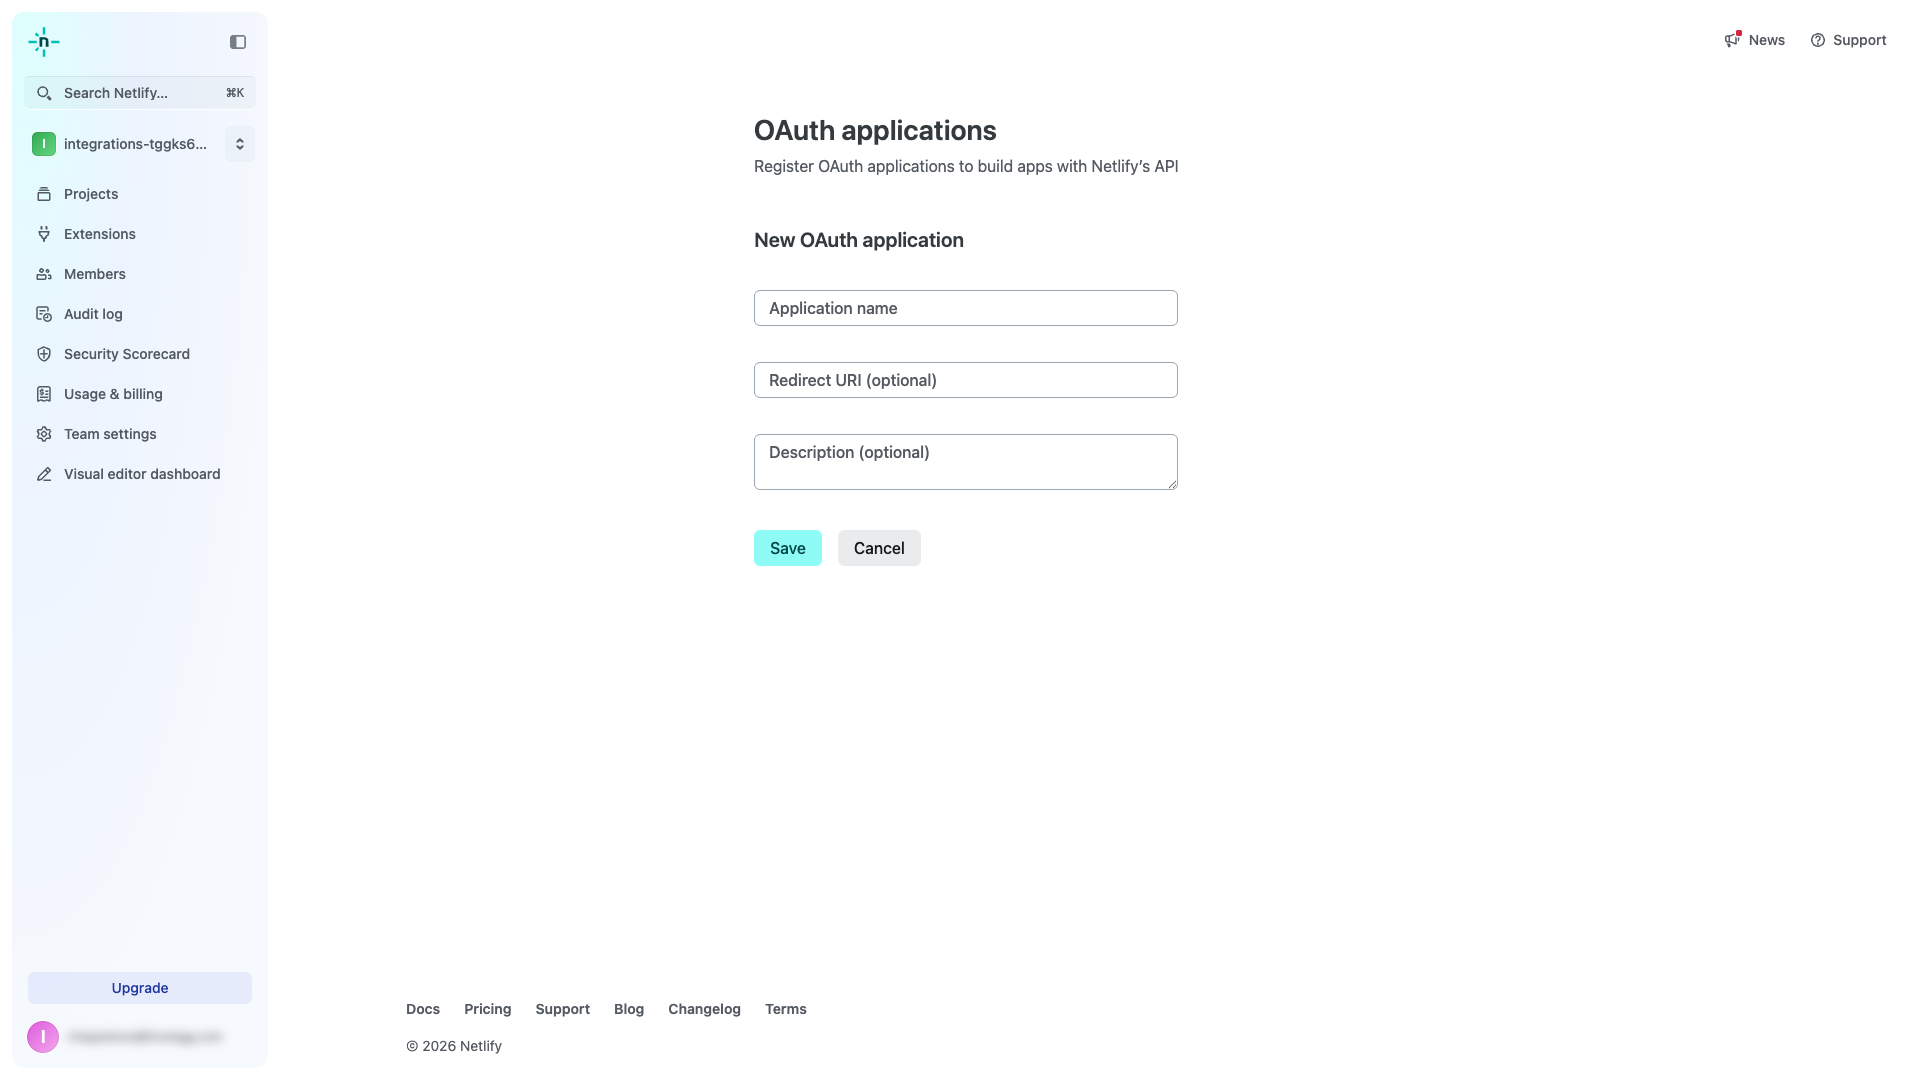
On the New OAuth application form, you will see the following fields:
| Field | Value |
|---|---|
| Application name | A descriptive name, e.g., Frontegg Integration |
| Redirect URI | The Frontegg callback URI (see step 3) |
| Description | Optional description of your application |
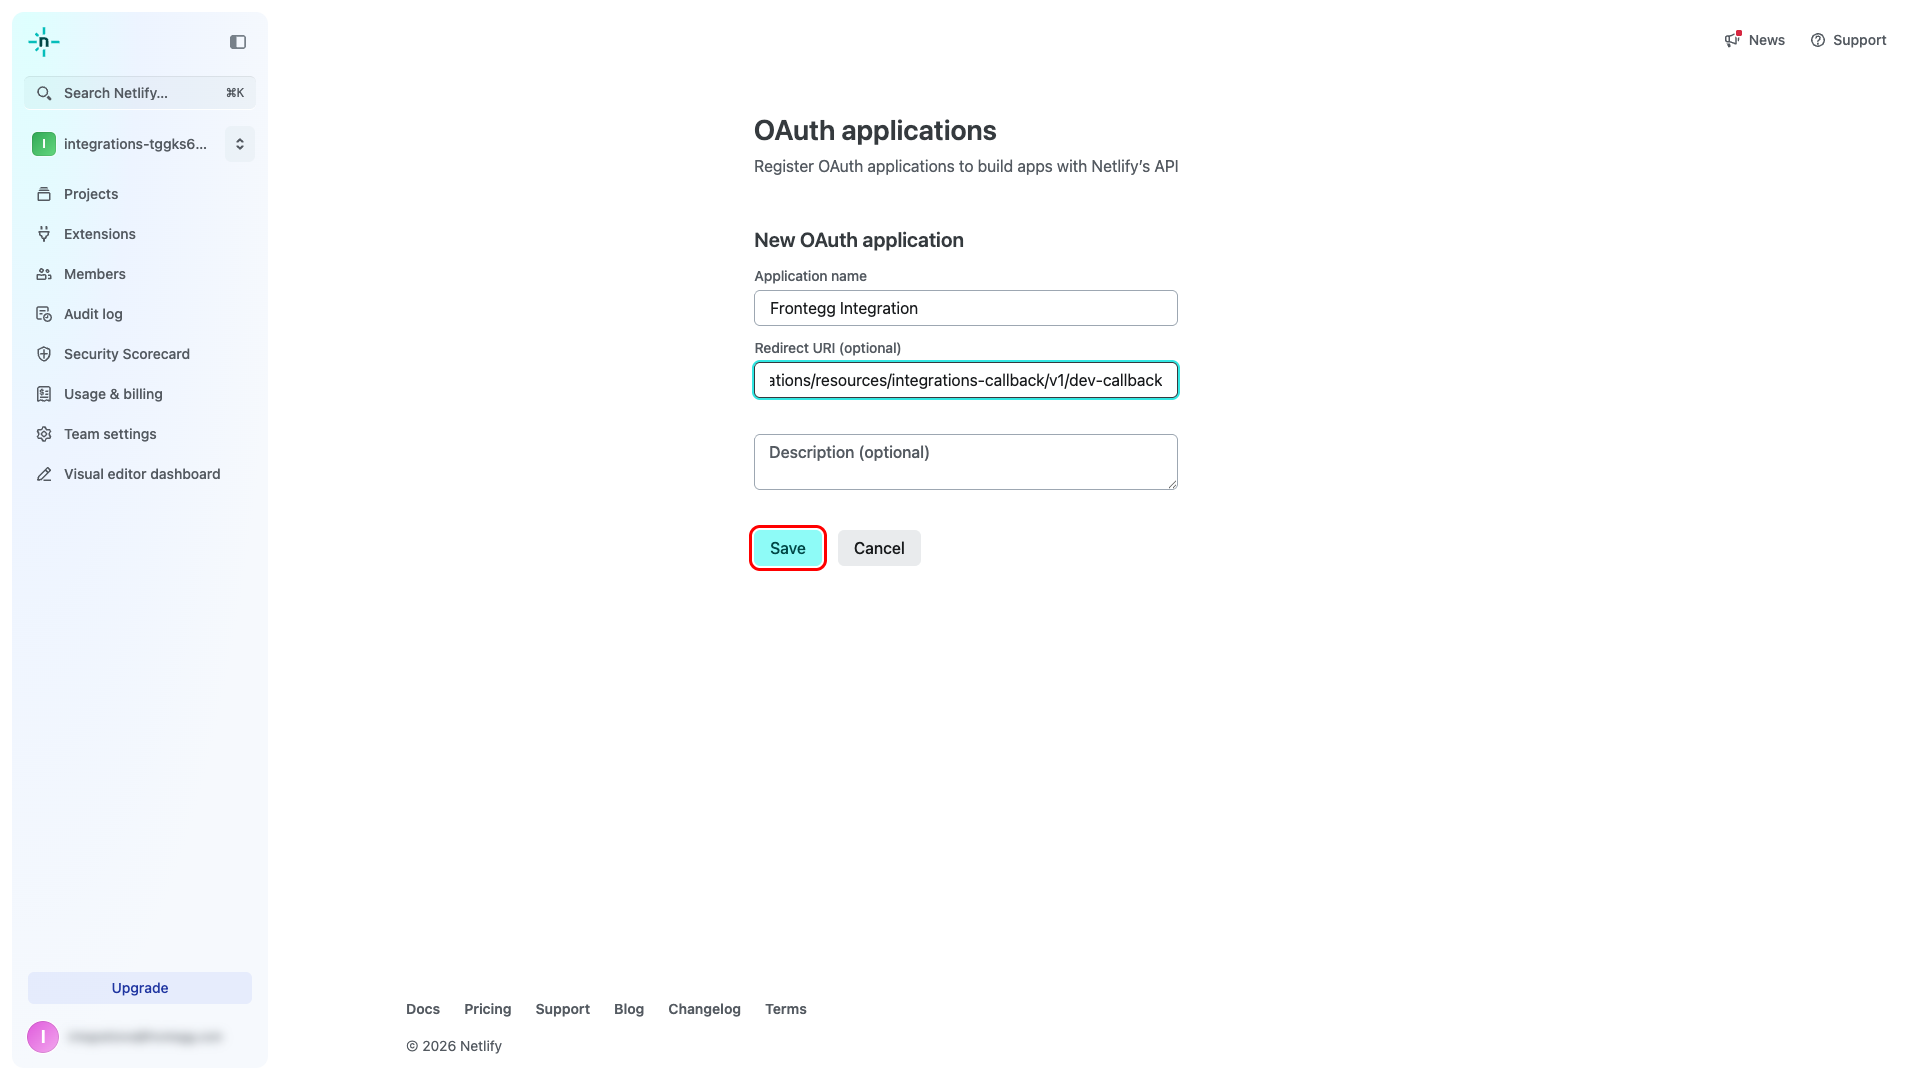
Enter the following values:
- Application name:
Frontegg Integration - Redirect URI:
https://YOUR_MCP_GATEWAY_URL/integration-callback
Click Save.
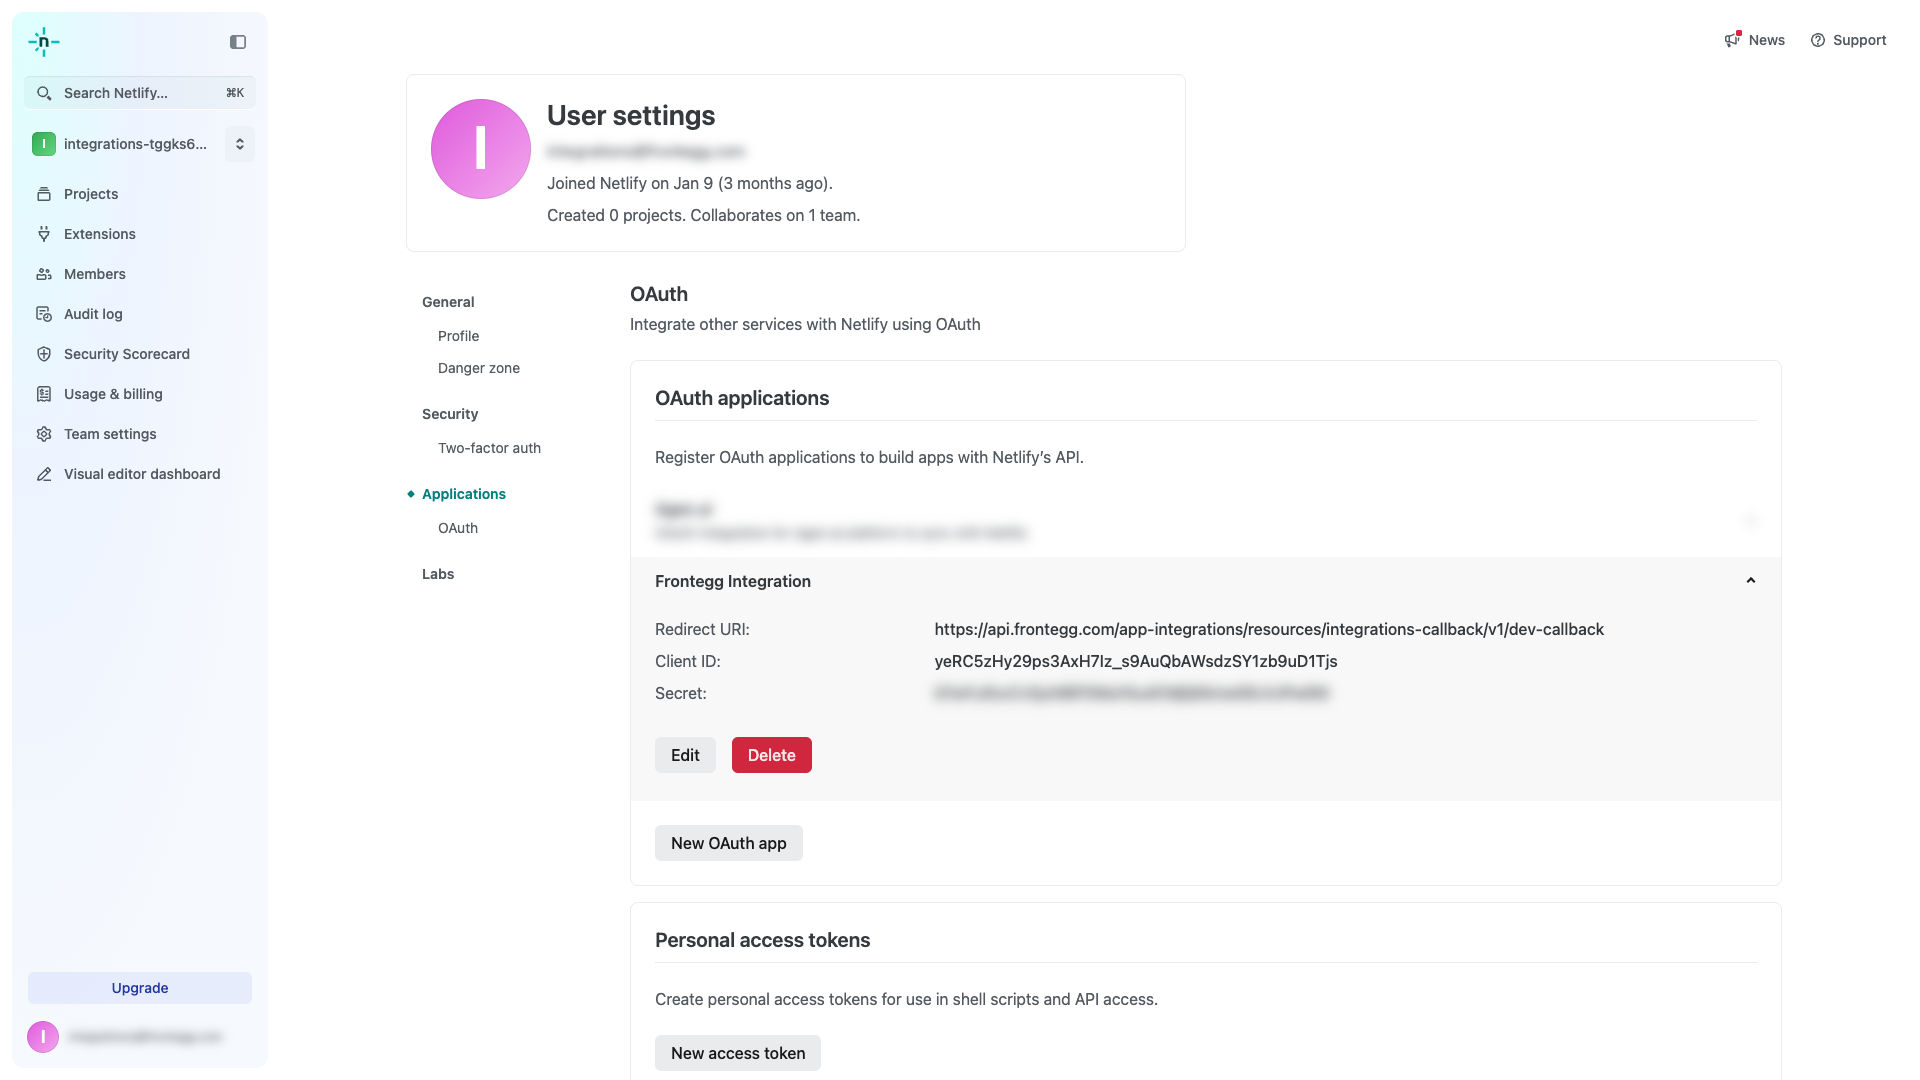
After saving, Netlify displays the Client ID and Secret for your application. Copy both values and store them securely.
Keep your credentials secure
Keep your credentials secure
The Client Secret is displayed in plain text on this page. Store it securely — never commit it to version control or share it publicly.
Once you have the Client ID and Secret from the steps above, enter them in the integration configuration page of the Frontegg portal:
- Open the Frontegg portal and navigate to [ENVIRONMENT] → Integrations → Netlify.
- Enter the Client ID and Client Secret in the corresponding fields.
- Click Save.