Microsoft Power Automate is Microsoft's workflow automation service. Cloud flows are stored as Dataverse rows, so this integration talks to the Dataverse Web API of your environment. Integrating Power Automate with Frontegg lets your application read and manage cloud flows on behalf of your users through Frontegg's integration layer. Authentication is OAuth 2.0 (Authorization Code flow) via Microsoft Entra, and the access token is issued for your Dataverse environment as its own resource — so, in addition to a Client ID and Client Secret, you provide your Dataverse environment host.
Prerequisites
Prerequisites
- A Microsoft Power Automate account with a Dataverse environment, and access to the Microsoft Entra admin center
- Permission to register applications in your Microsoft Entra directory (and, for organization-wide use, to grant admin consent)
You register an application in Microsoft Entra. The app provides the Application (client) ID and a Client Secret, and defines the redirect URI that Microsoft returns users to after they authorize access. You also provide your Dataverse environment host and, for single-tenant apps, your Directory (tenant) ID.
Sign in to the Microsoft Entra admin center and go to Entra ID → App registrations. Click New registration, enter a name (for example Frontegg Integration), choose the supported account types that match your use case, and click Register.
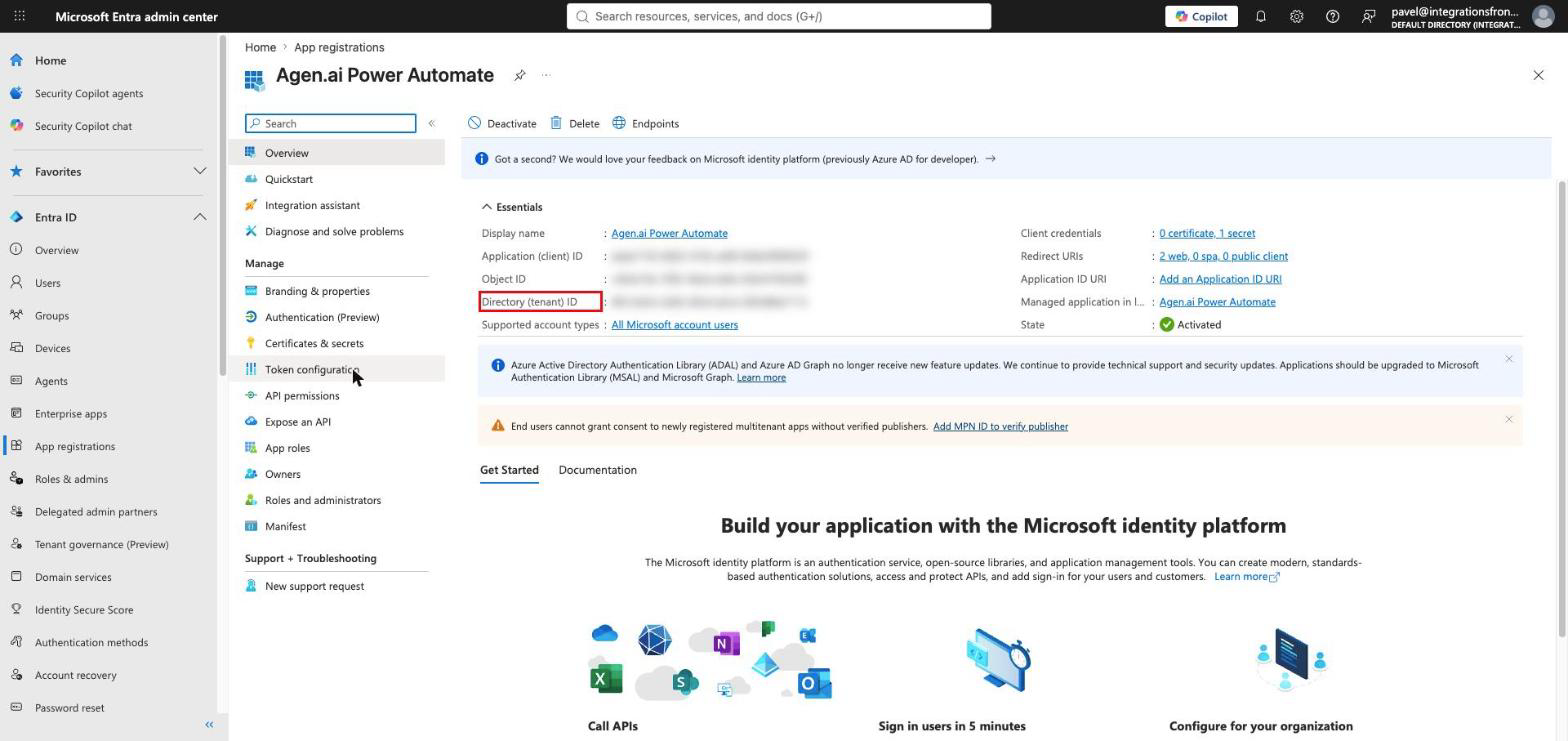
On the app's Overview page, copy the Application (client) ID — this is your Client ID. If your app is single-tenant, also copy the Directory (tenant) ID. For multi-tenant apps, you can leave the tenant ID as common in Frontegg.
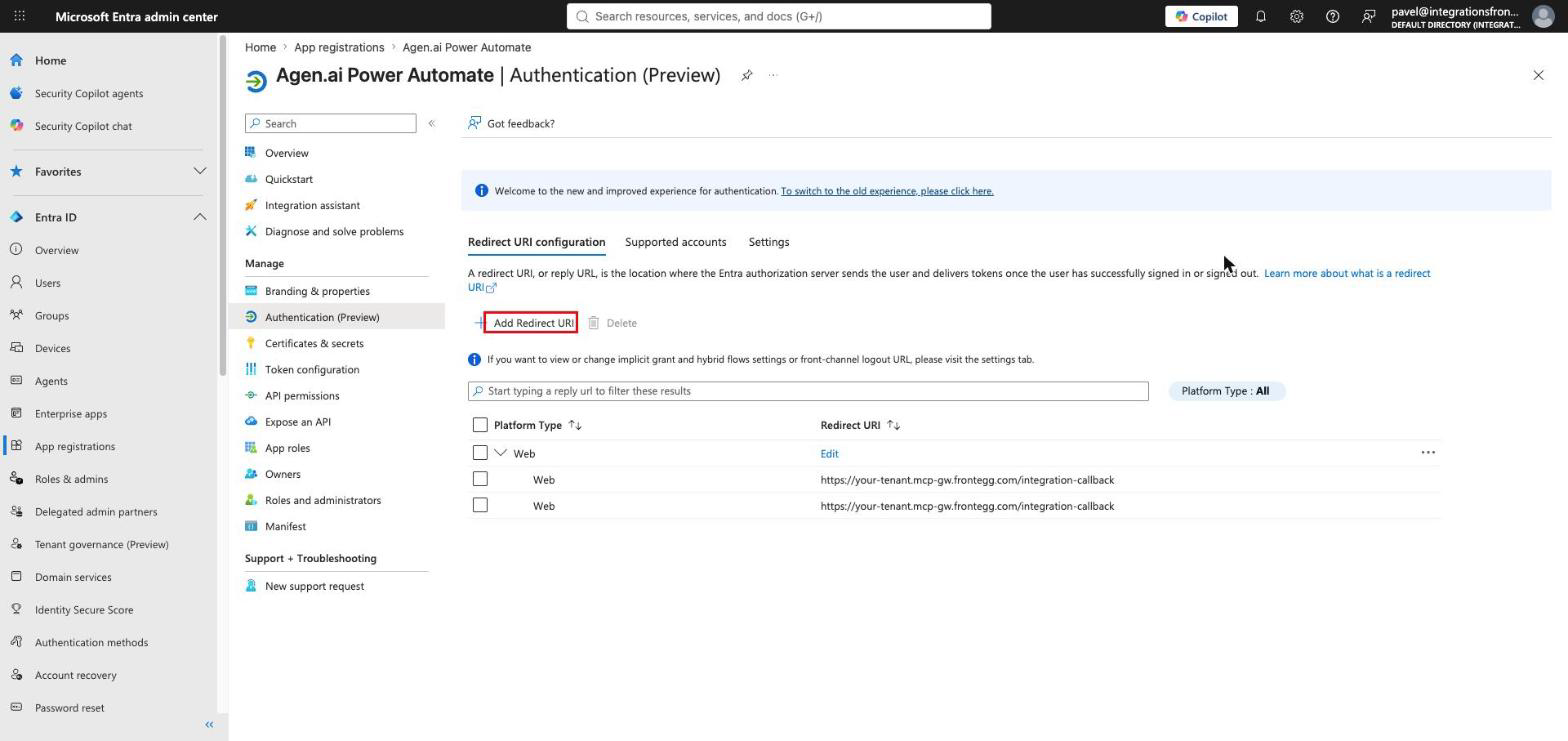
Open Authentication, add a Web platform (if not already present), and set the redirect URI to your Frontegg Redirect URL: https://YOUR_MCP_GATEWAY_URL/integration-callback
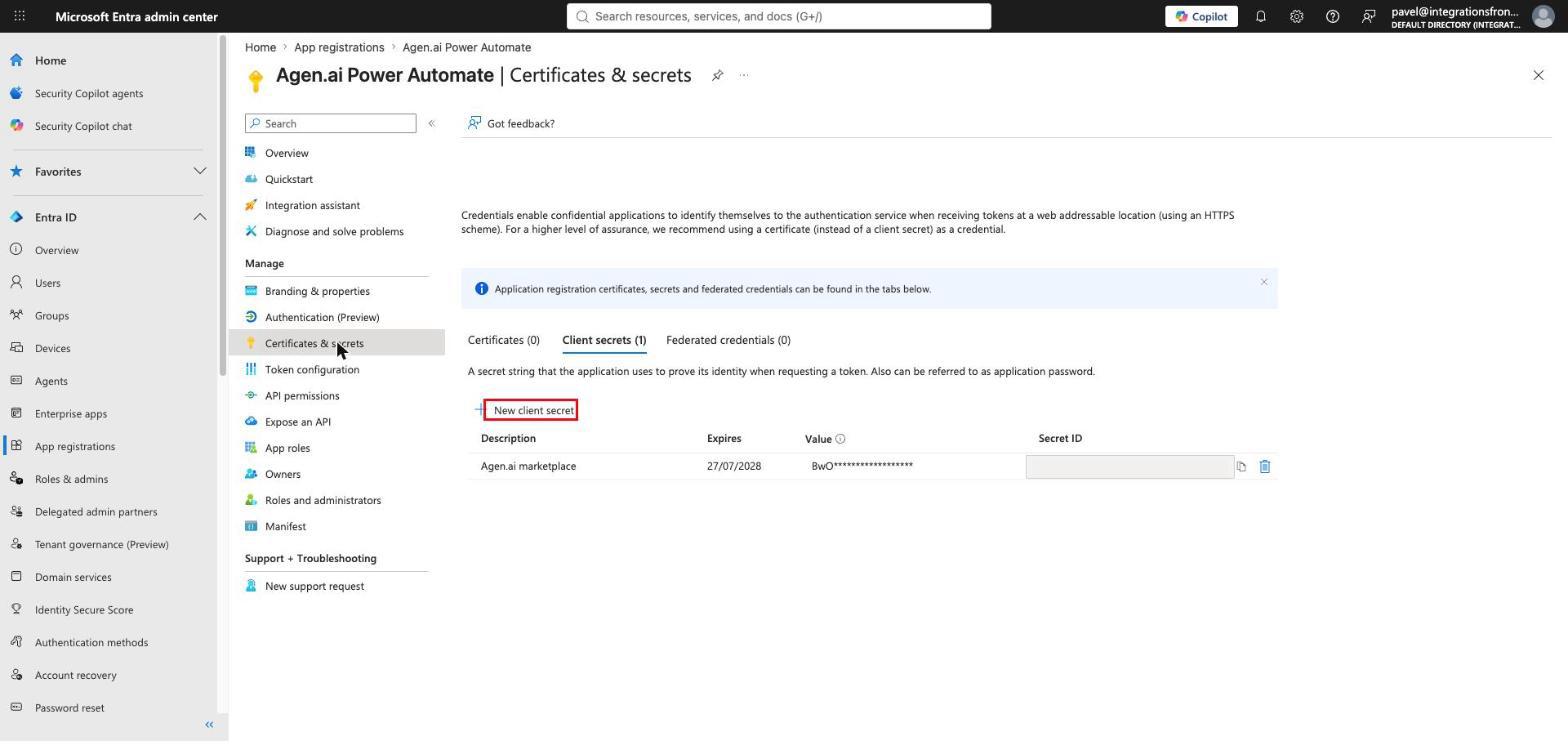
Open Certificates & secrets → Client secrets and click New client secret. Add a description and an expiry, then click Add. Copy the secret Value immediately.
Copy your Client Secret now
Copy your Client Secret now
The secret Value is shown only once, right after you create it — Entra masks it afterward and shows only the Secret ID. Copy it immediately and store it securely; treat it like a password. If you lose it, create a new client secret.
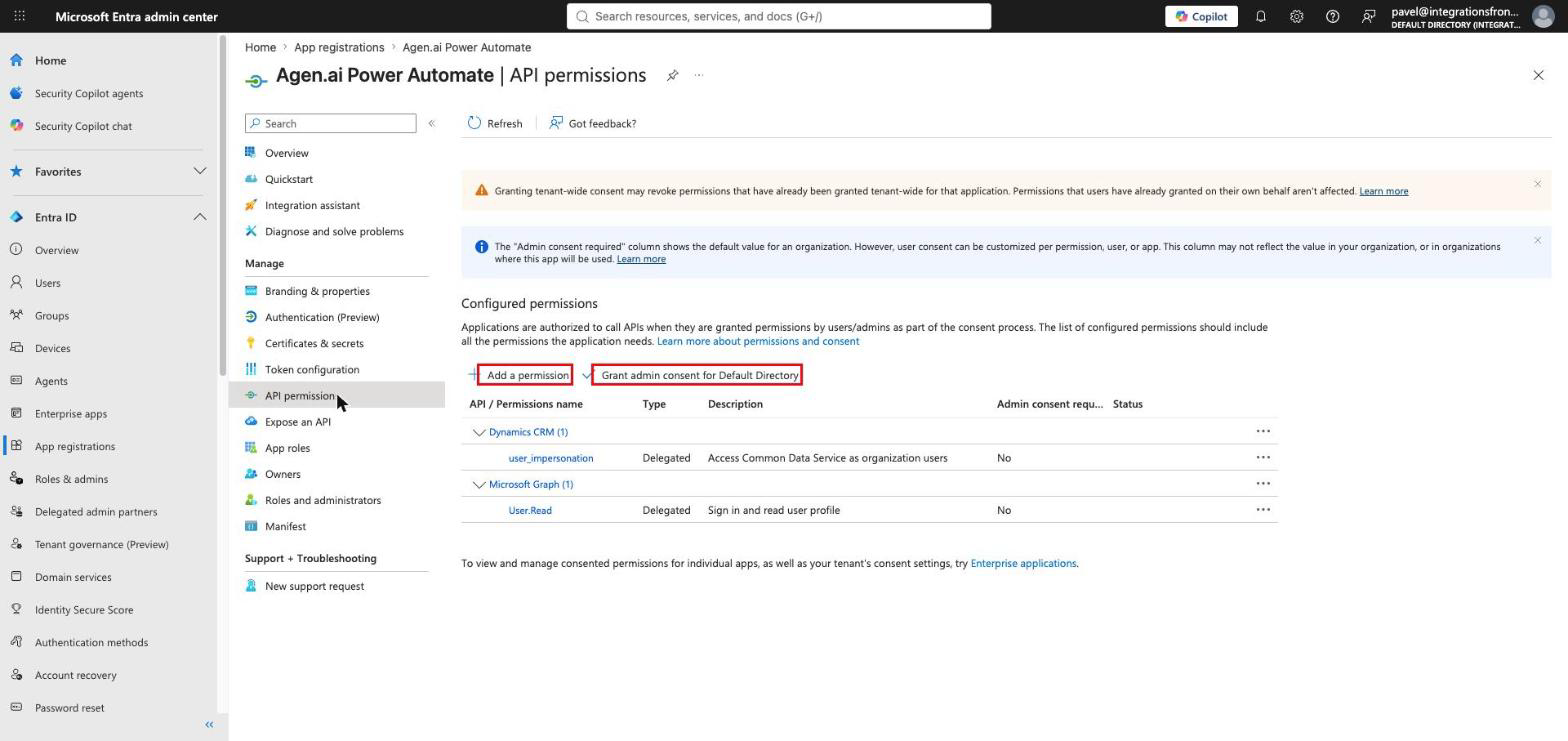
Open API permissions → Add a permission → Dynamics CRM, select the user_impersonation delegated permission ("Access Common Data Service as organization users"), and add it. For organization-wide use, an administrator may need to click Grant admin consent.
Your Dataverse environment host is the host of the environment that holds your flows, without the scheme — for example contoso.crm4.dynamics.com. Find it in Power Automate under Settings → Session details, or in the Power Platform admin center under your environment's details.
Once you have your Client ID, Client Secret, and Dataverse environment host, configure the integration in the Frontegg portal:
- Open the Frontegg portal and navigate to [ENVIRONMENT] → Integrations → Microsoft Power Automate.
- Enter the Client ID (Application (client) ID) and the Client Secret.
- Enter your Dataverse environment host (for example,
contoso.crm4.dynamics.com). - Enter your Directory (tenant) ID for a single-tenant app, or leave it as
commonfor a multi-tenant app. - Click Save.
Keep your credentials secure
Keep your credentials secure
Never share or commit your Client Secret to version control.
Frontegg requests the Dataverse user_impersonation scope (scoped to your environment host), plus openid and offline_access for the auth handshake and refresh tokens:
| Scope | Description |
|---|---|
user_impersonation | Access the Dataverse Web API (Common Data Service) as the signed-in user |
openid | OpenID Connect sign-in |
offline_access | Obtain a refresh token for long-lived access |