Jira is a project management and issue tracking platform by Atlassian used for planning, tracking, and releasing software. The Jira integration with Frontegg allows your application to access and manage Jira issues, projects, and user data on behalf of your users.
Prerequisites
Prerequisites
- An Atlassian account with access to the Atlassian Developer Console
- Permission to create OAuth 2.0 apps in the Atlassian Developer Console
Go to developer.atlassian.com/console/myapps and sign in with your Atlassian account.
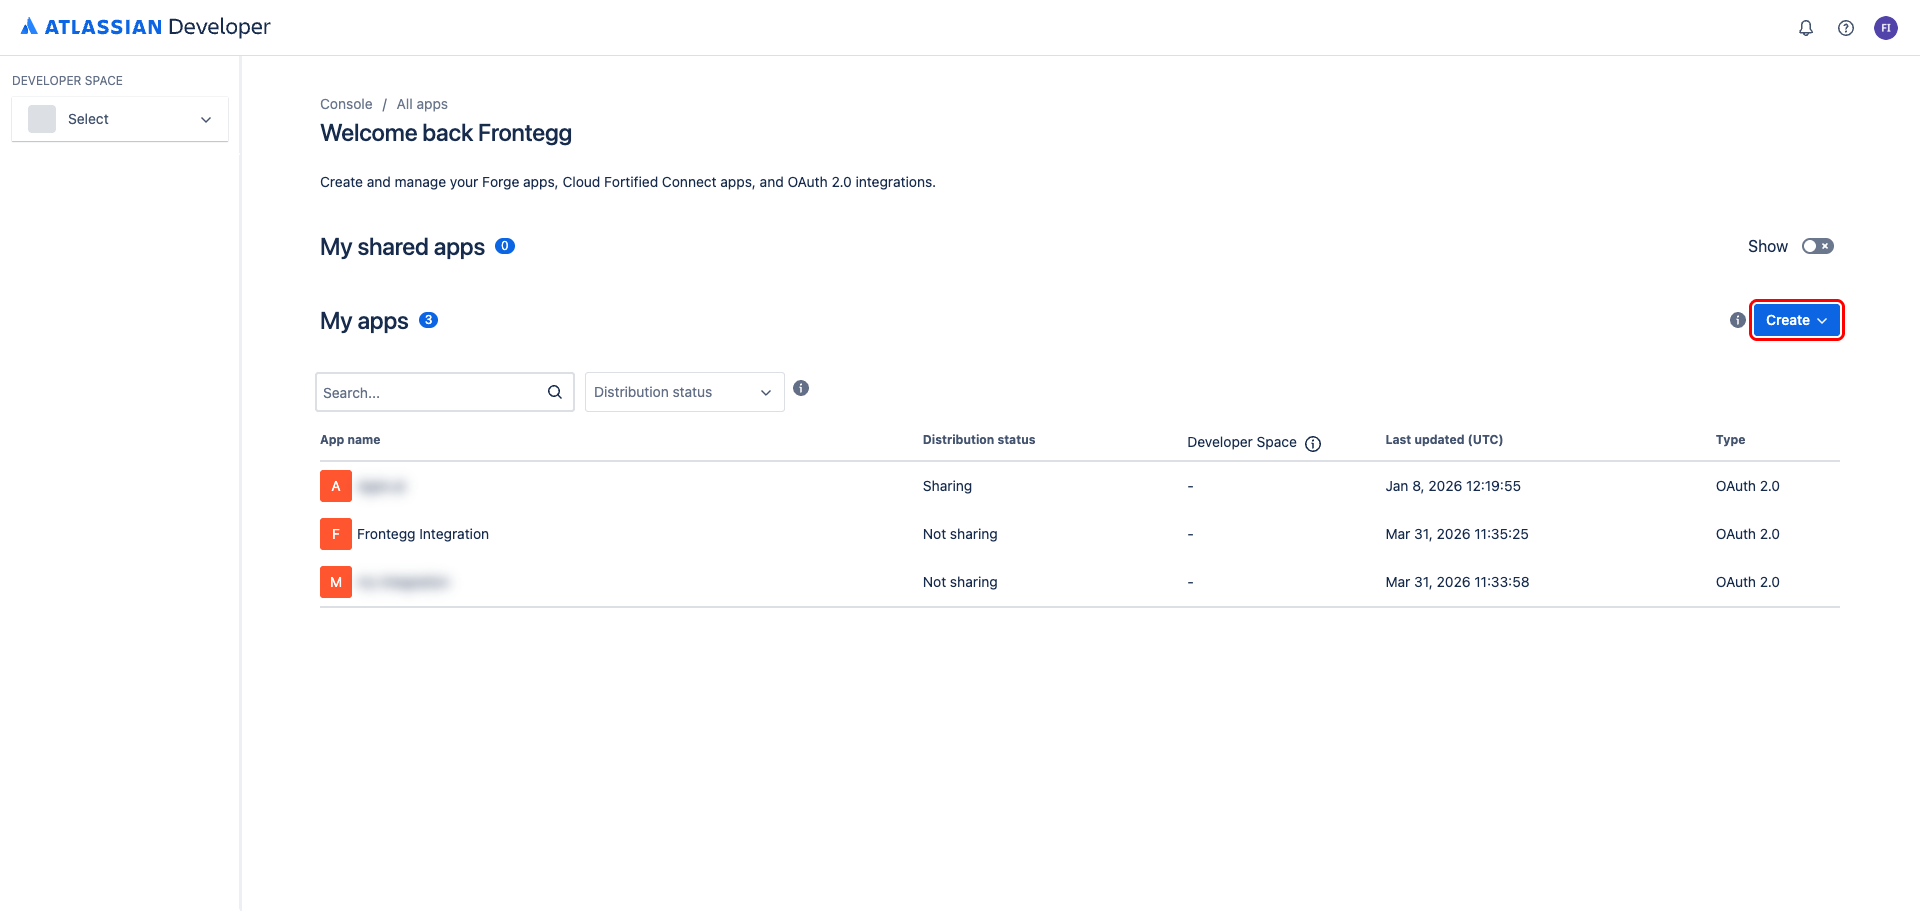
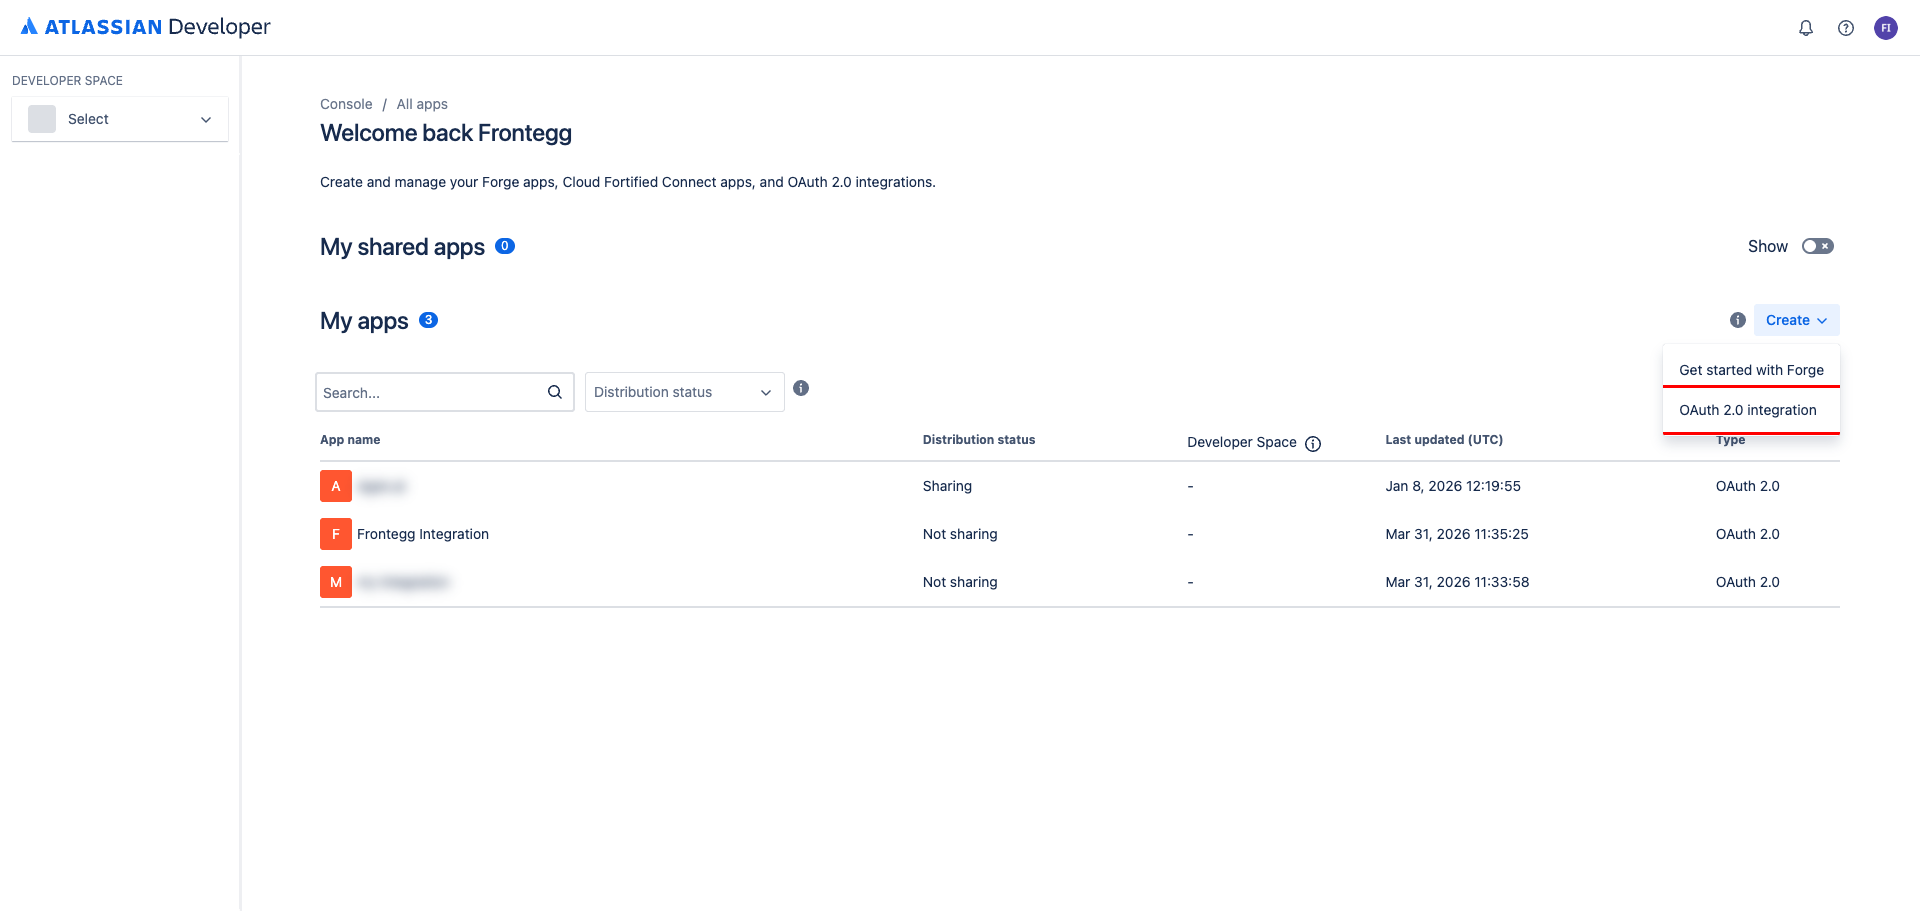
Click Create and select OAuth 2.0 integration from the dropdown.
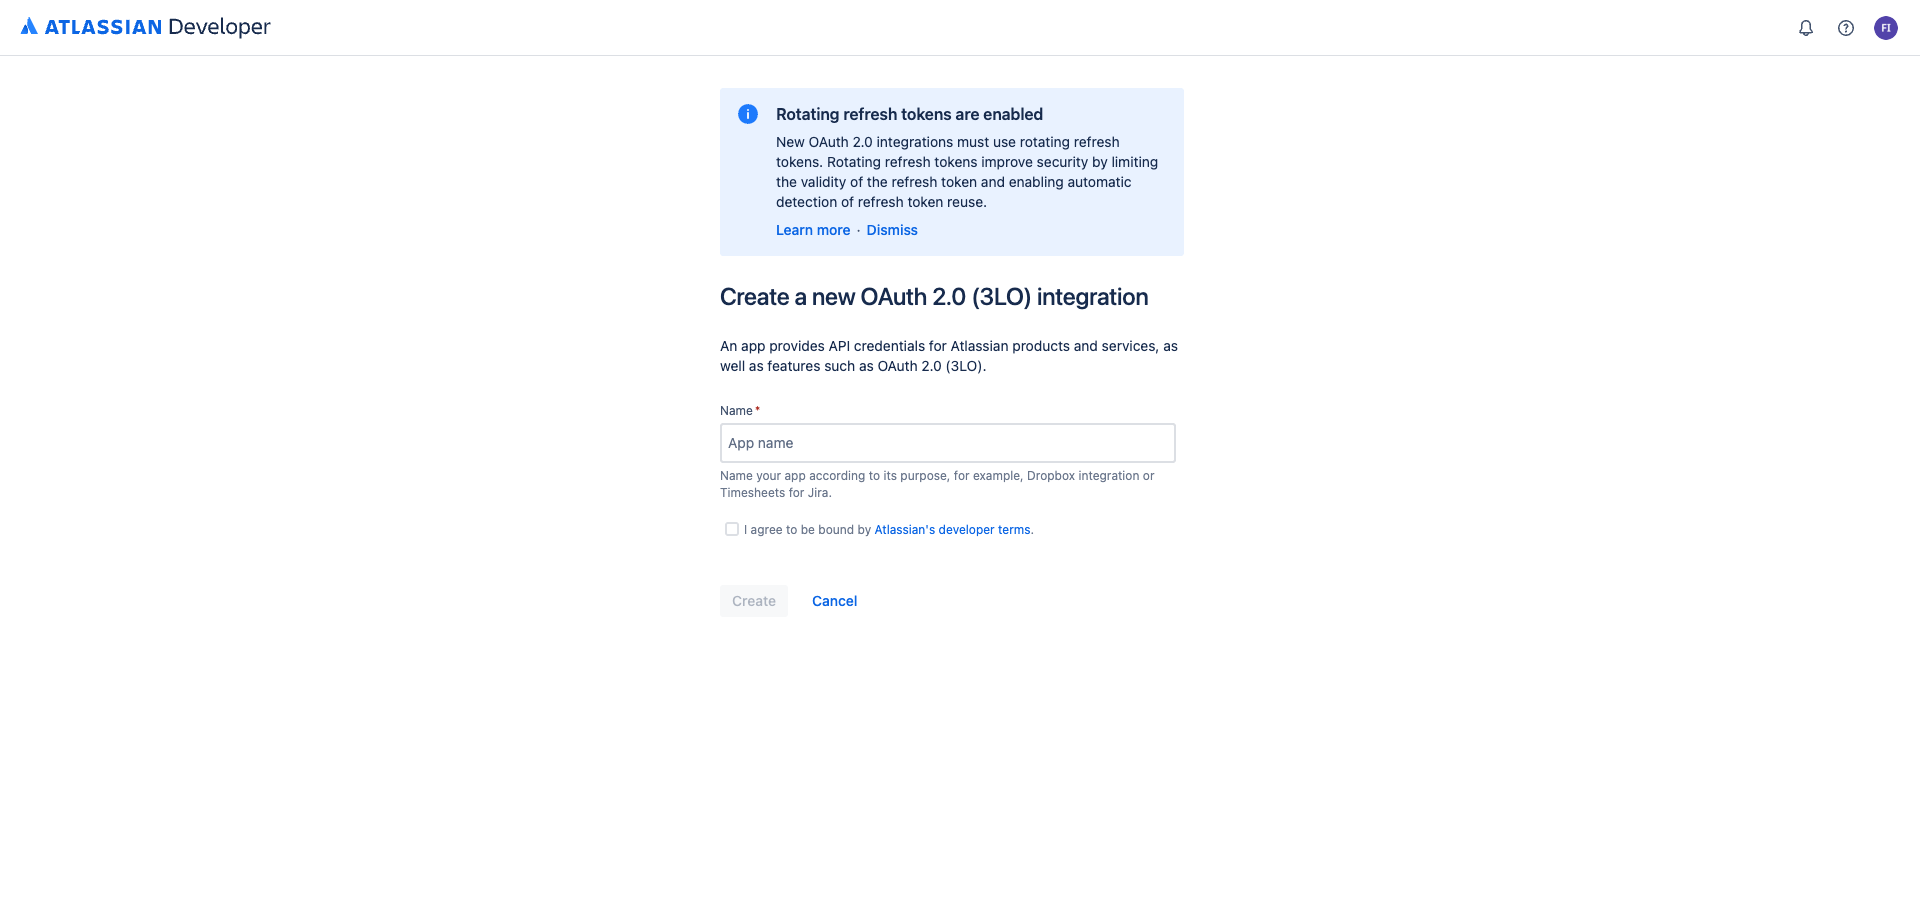
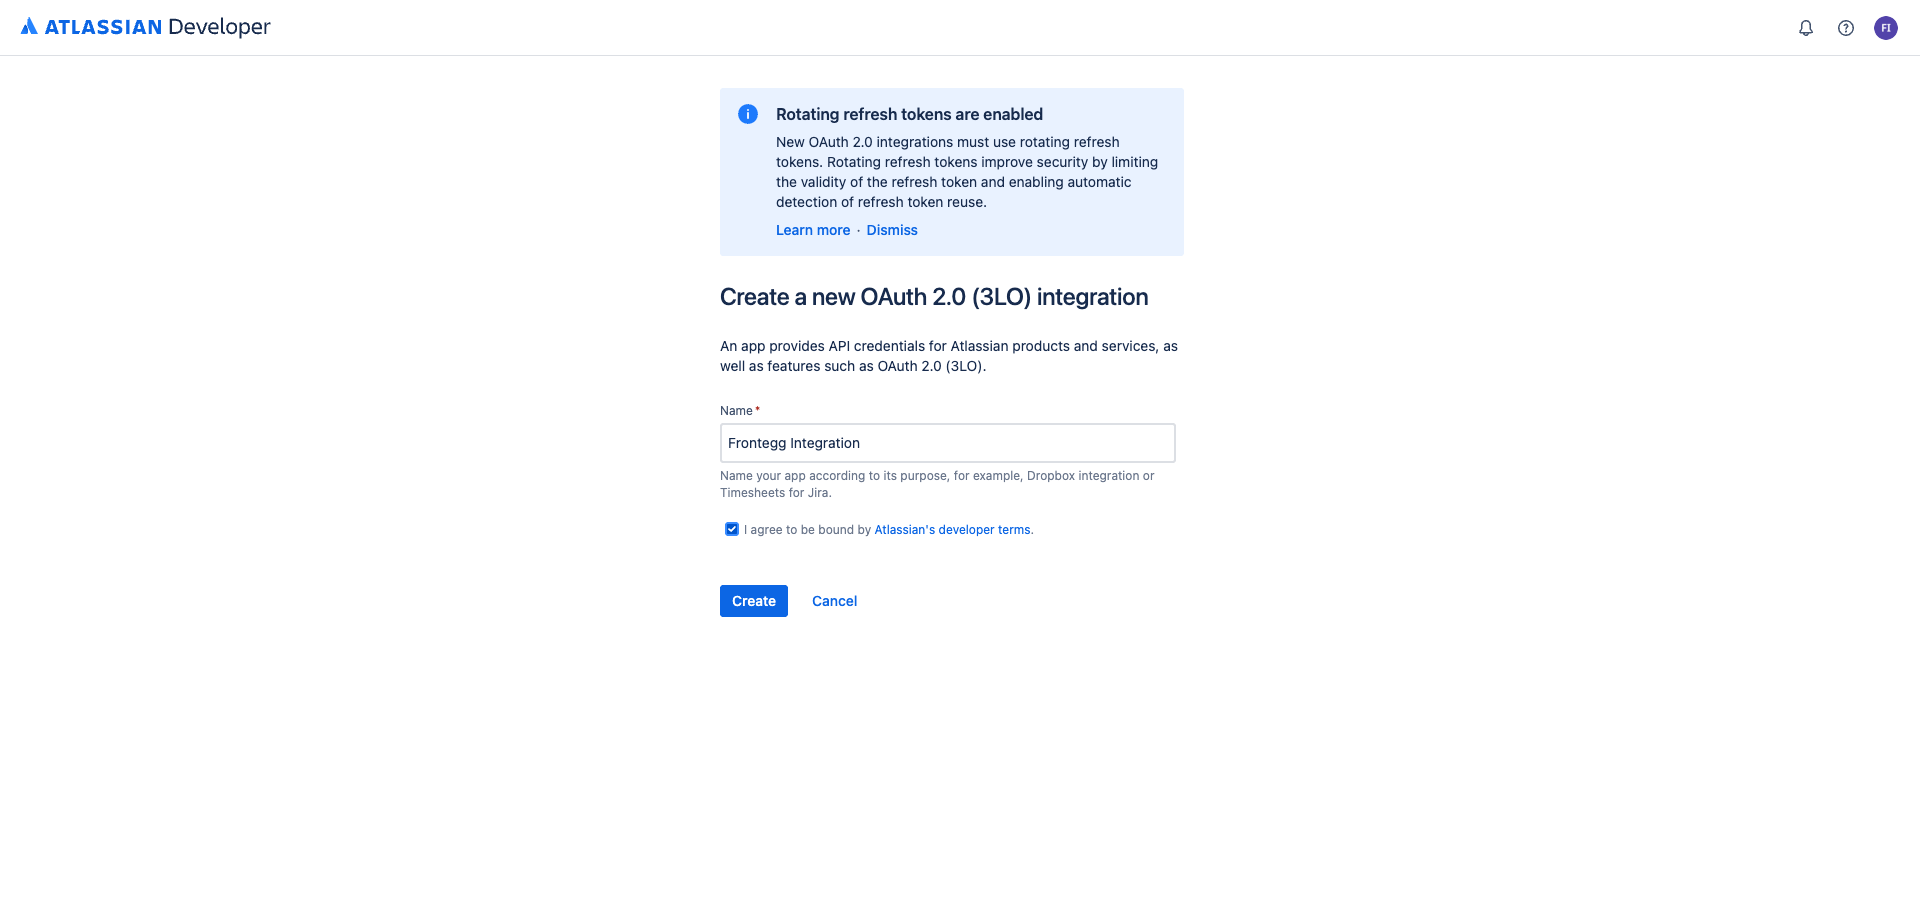
In the dialog that appears, enter the app name and accept the terms:
- App name:
Frontegg Integration - Check I agree to the Atlassian developer terms
Click Create.
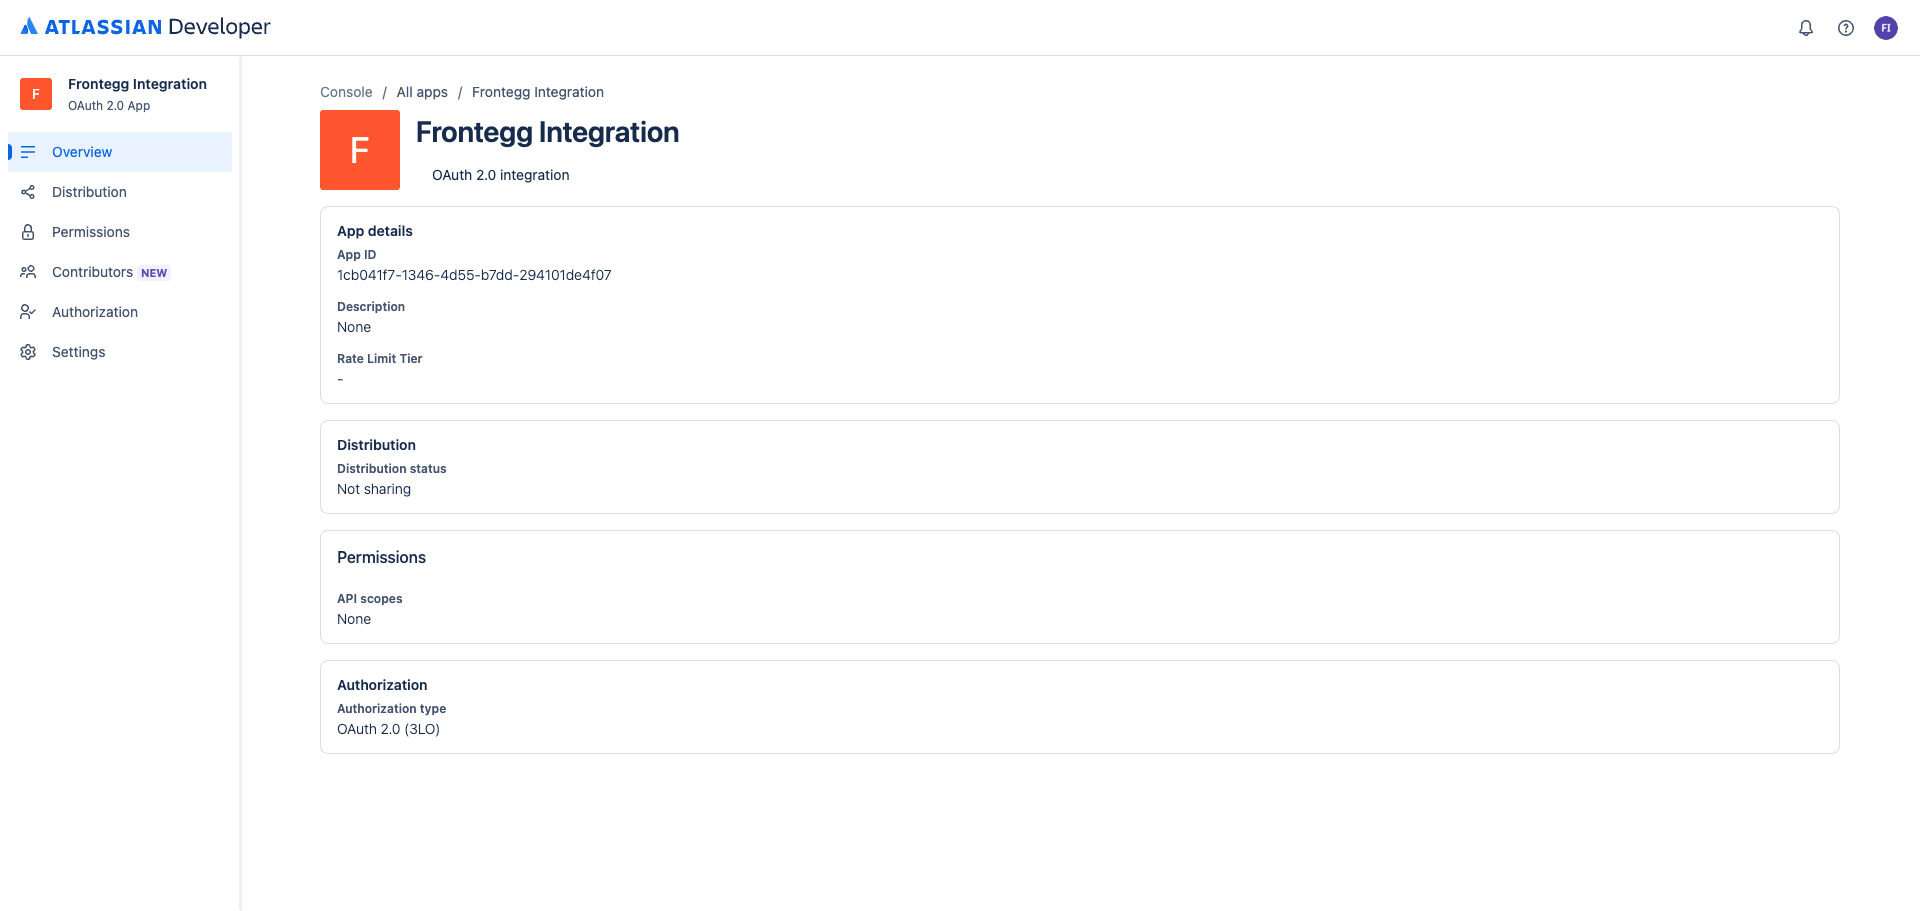
After creation, you are taken to the app overview page. This shows your app's details and navigation tabs.
Navigate to Settings to find your Client ID and Secret.
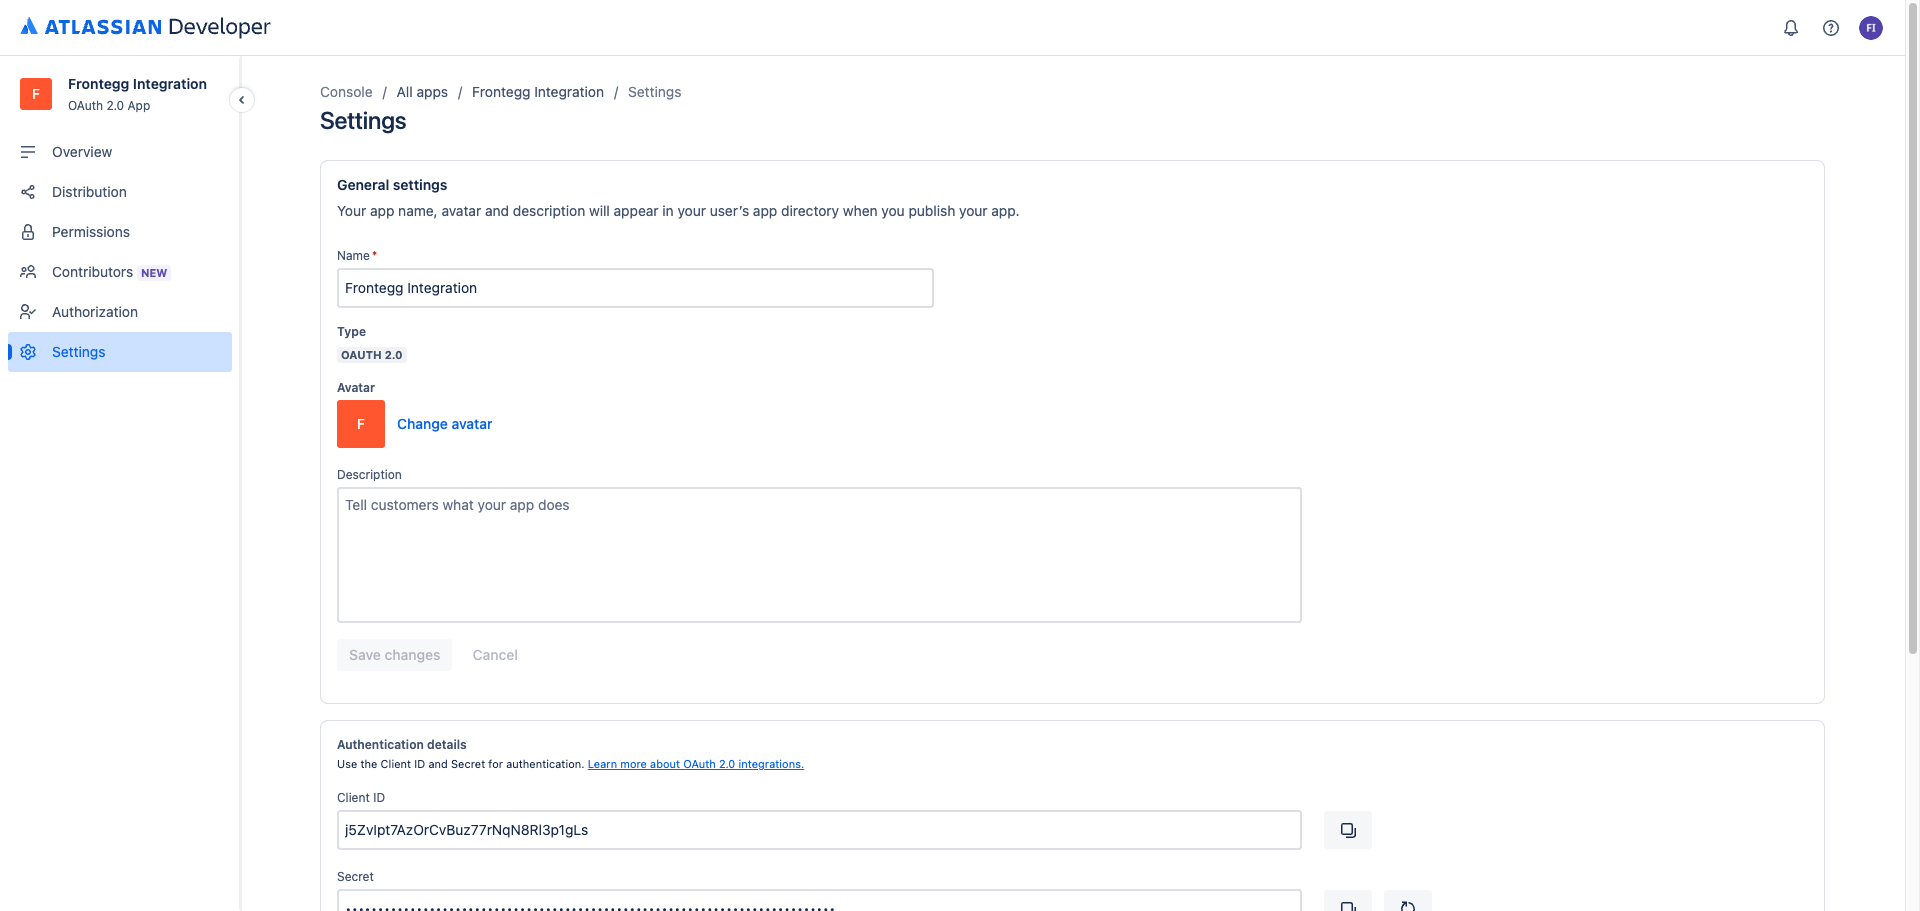
Save your Secret now
Save your Secret now
Copy the Secret immediately and store it securely. You will need it when configuring the Frontegg portal.
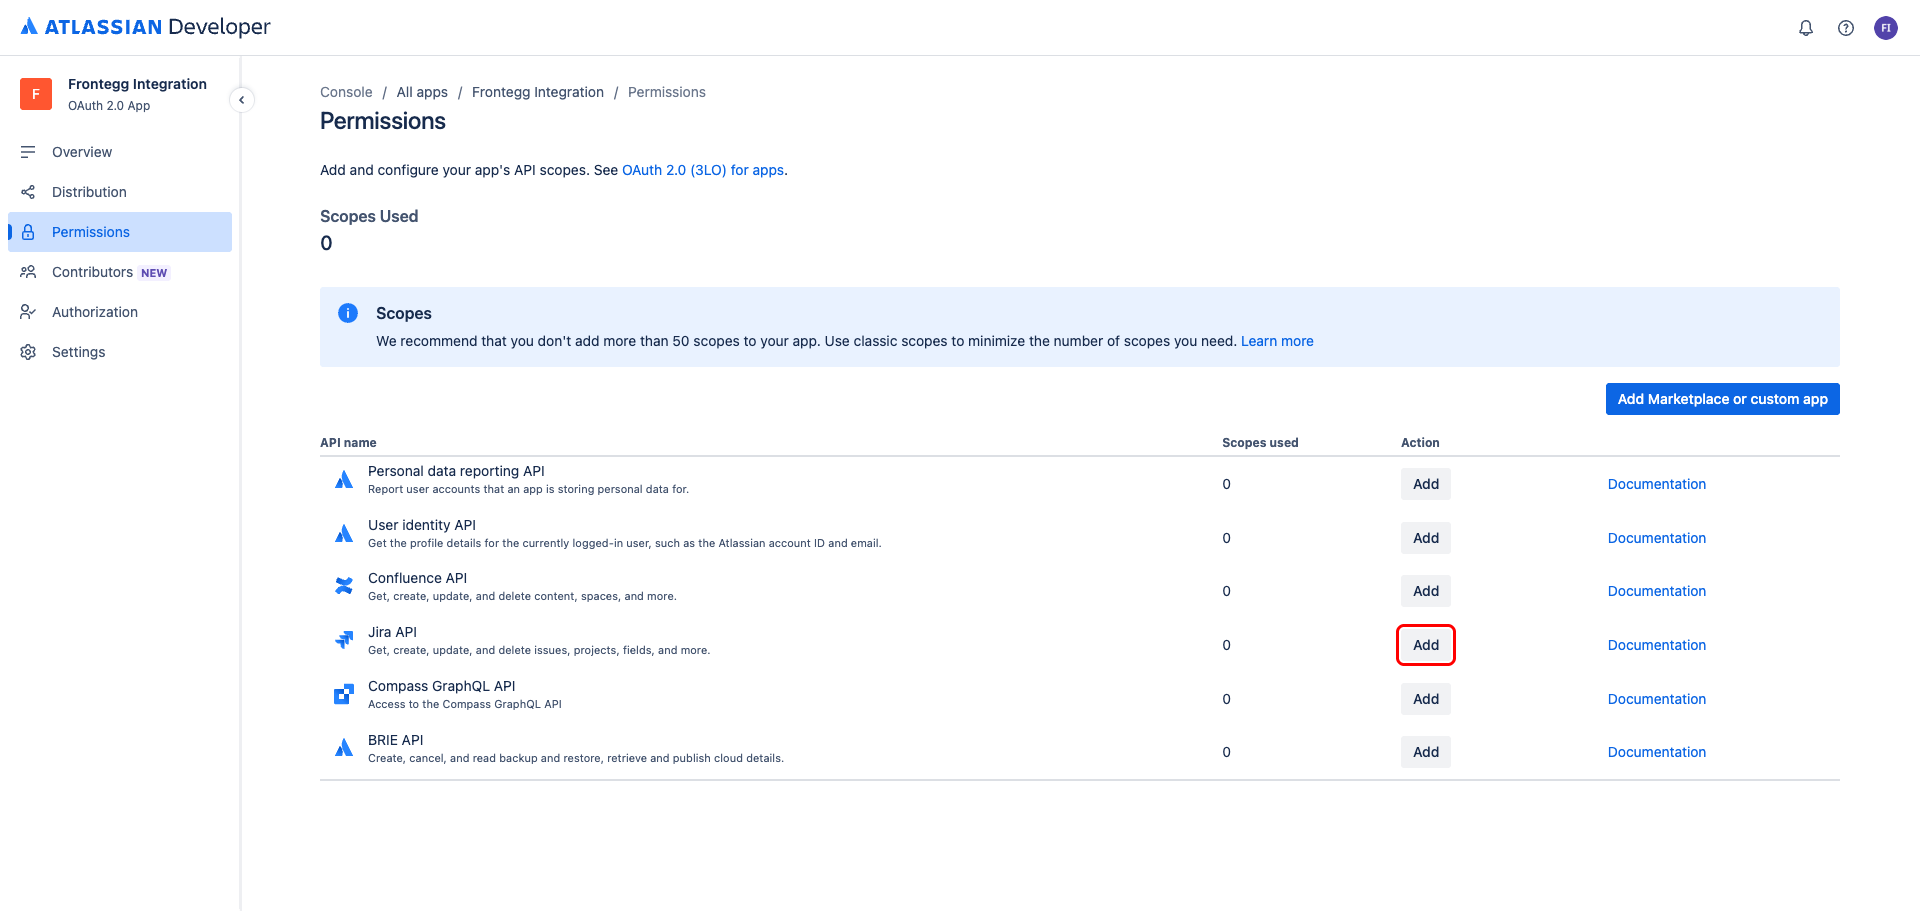
Navigate to the Permissions tab. In the API list, find Jira API and click Add.
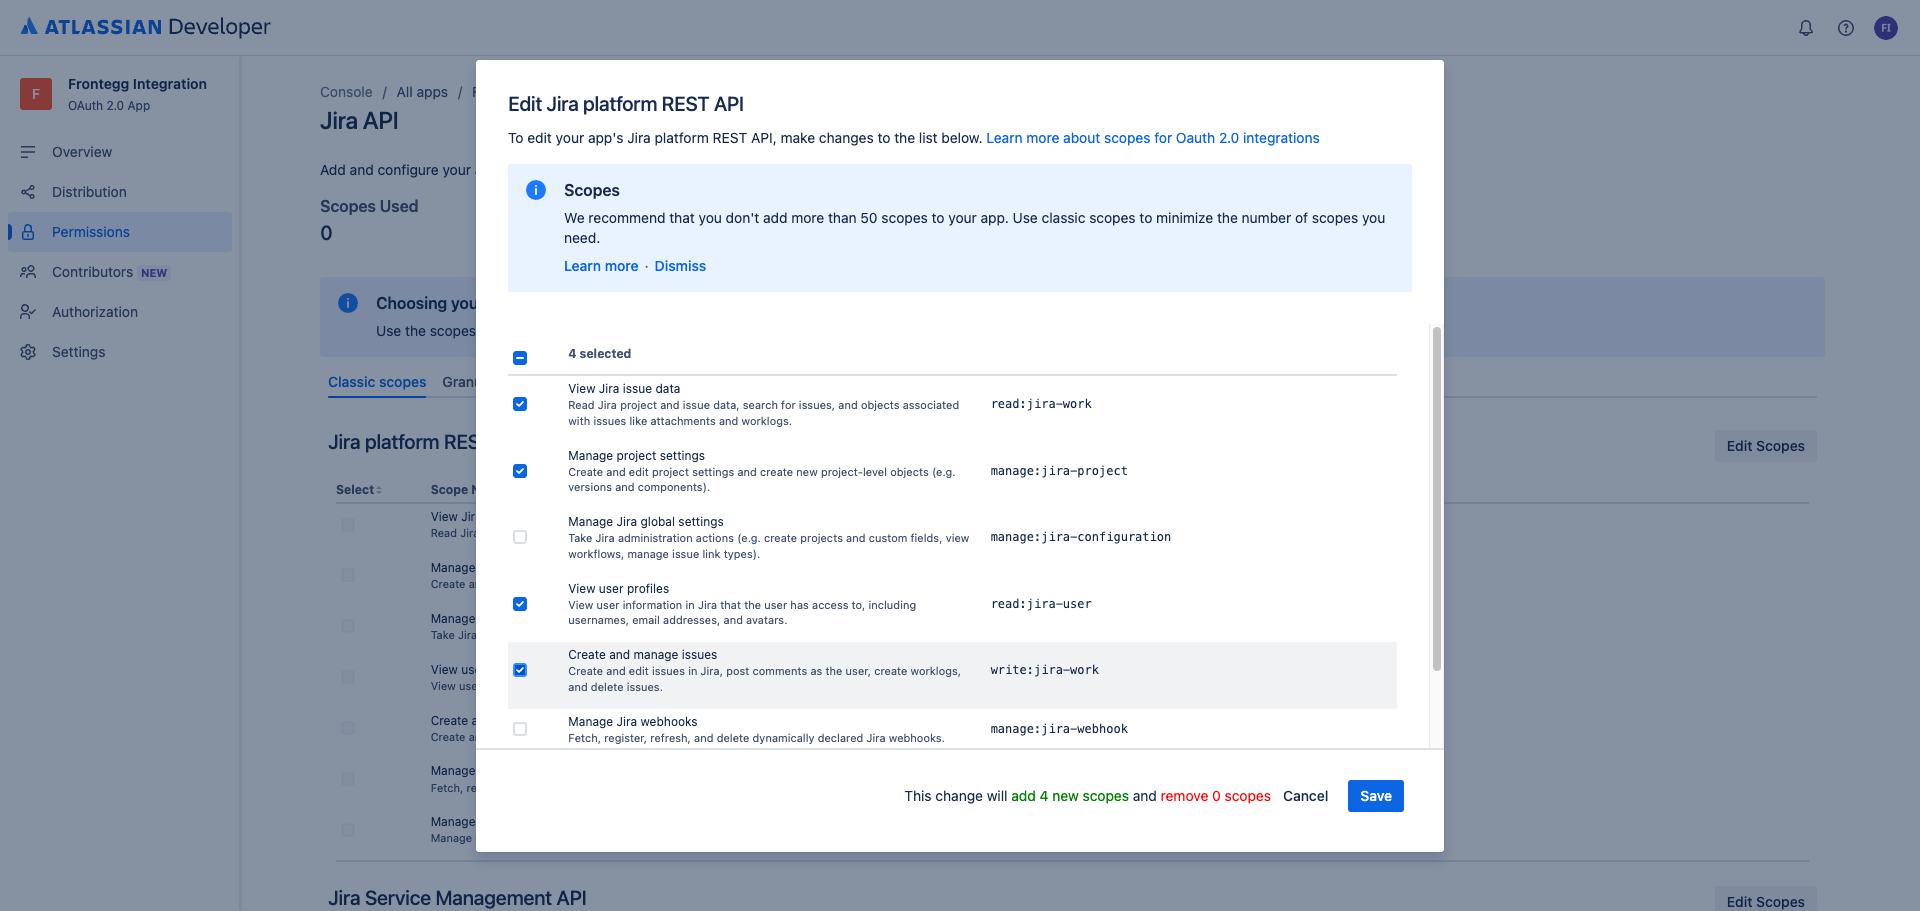
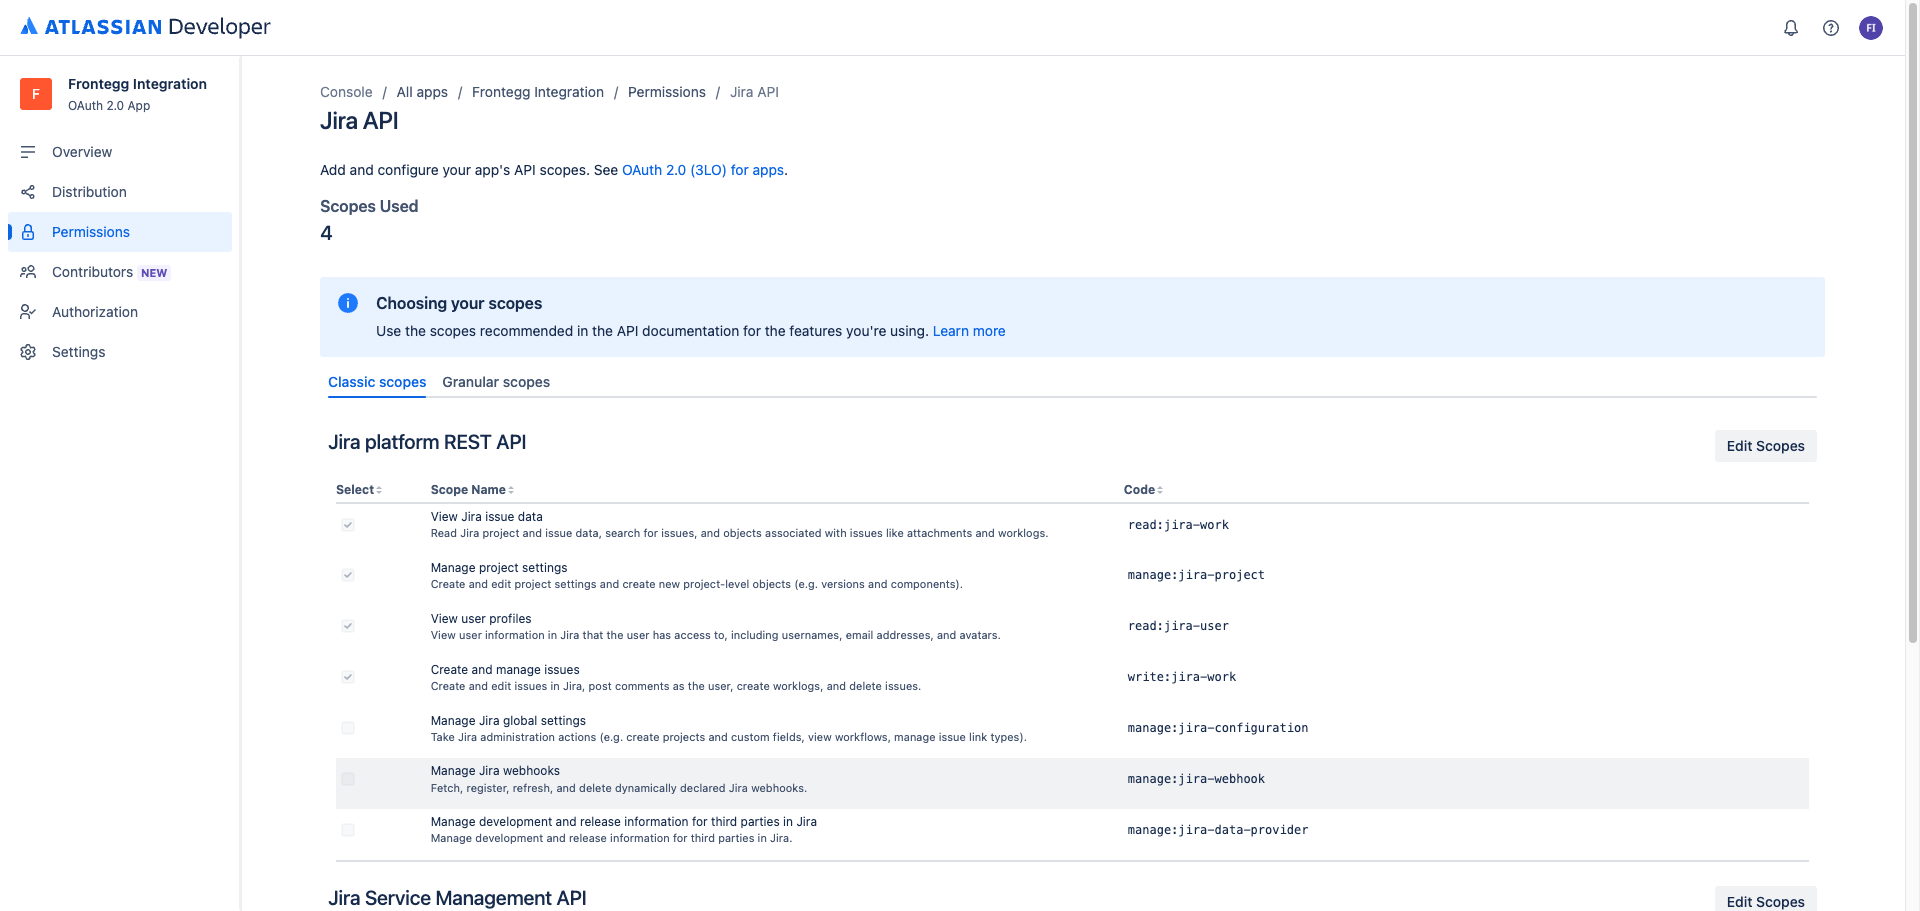
After adding the Jira API, click Configure next to it. On the scopes page, click Edit Scopes under Jira platform REST API.
In the dialog, select the following scopes:
| Scope | Description |
|---|---|
read:jira-work | Read Jira project and issue data, search for issues, and objects associated with issues |
manage:jira-project | Create and edit project settings and create new project-level objects |
read:jira-user | View user information in Jira that the user has access to |
write:jira-work | Create and edit issues in Jira, post comments, create worklogs, and delete issues |
Click Save.
Refresh tokens are handled automatically
Refresh tokens are handled automatically
Frontegg requests the offline_access scope at authorization time to obtain a refresh token and keep the integration connected without re-prompting your users. You do not need to add offline_access here — it is not part of the Jira platform REST API scope list and is appended to the authorization request automatically.
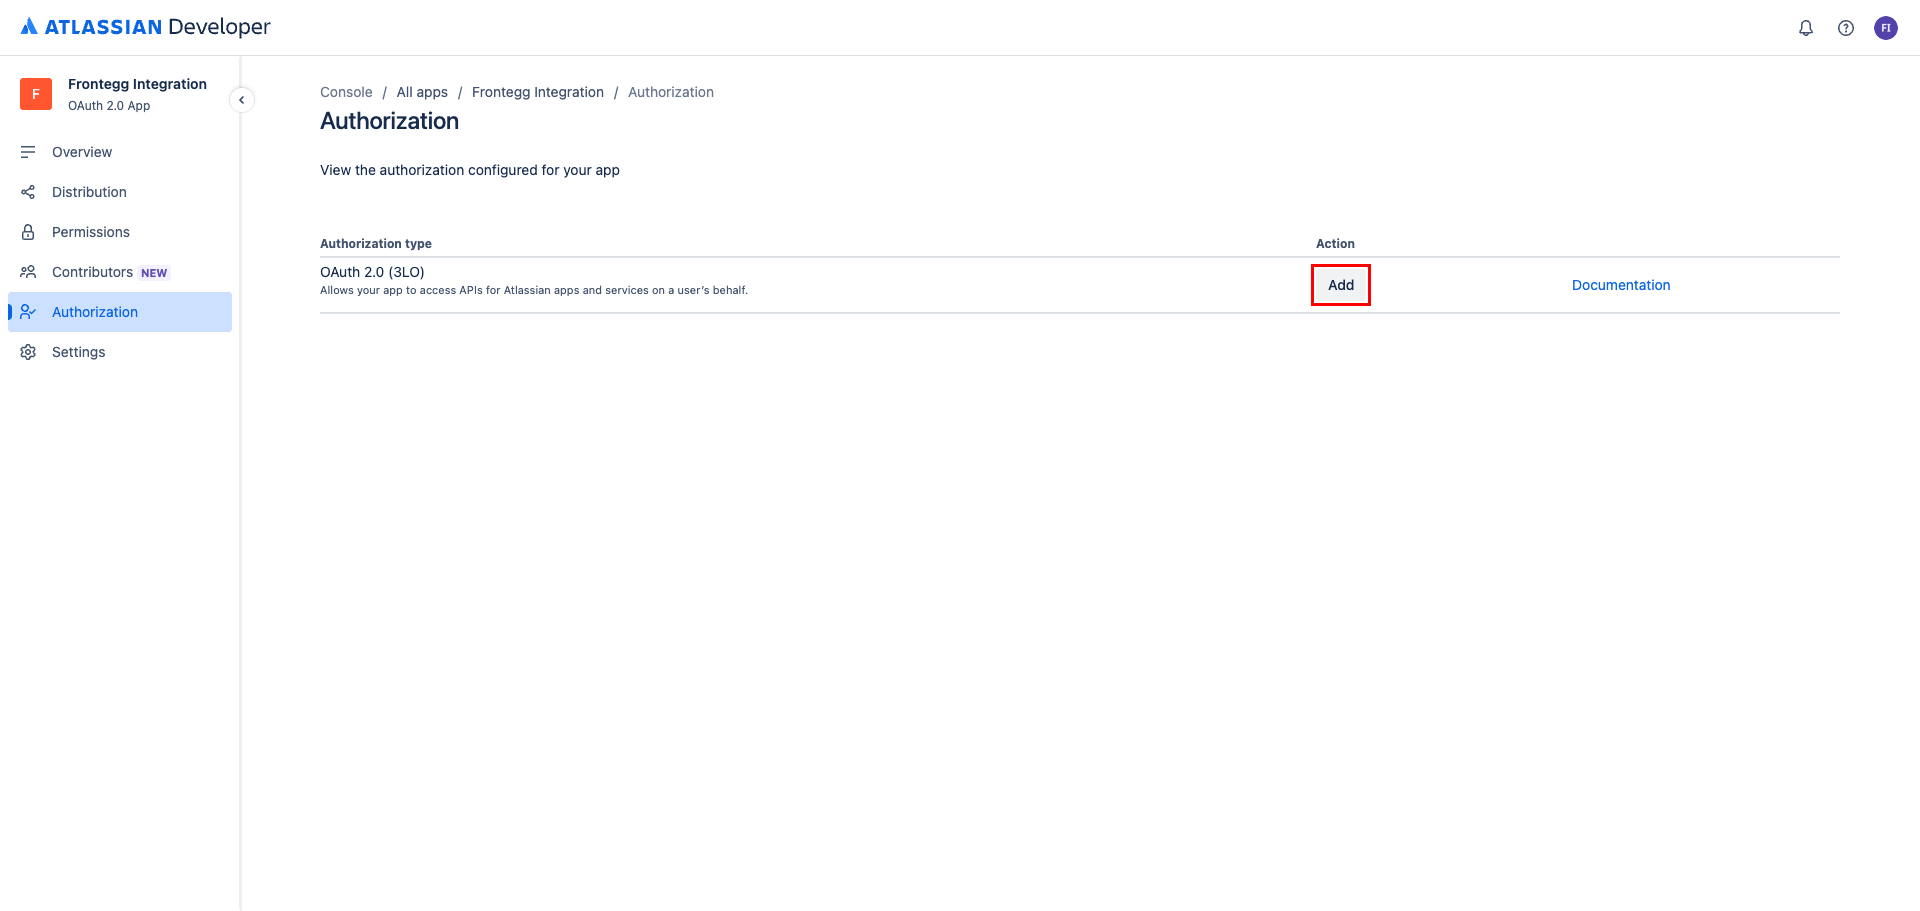
Navigate to the Authorization tab and click Add next to OAuth 2.0 (3LO).
In the Callback URLs field, enter the following URLs, one per line:
https://YOUR_MCP_GATEWAY_URL/integration-callback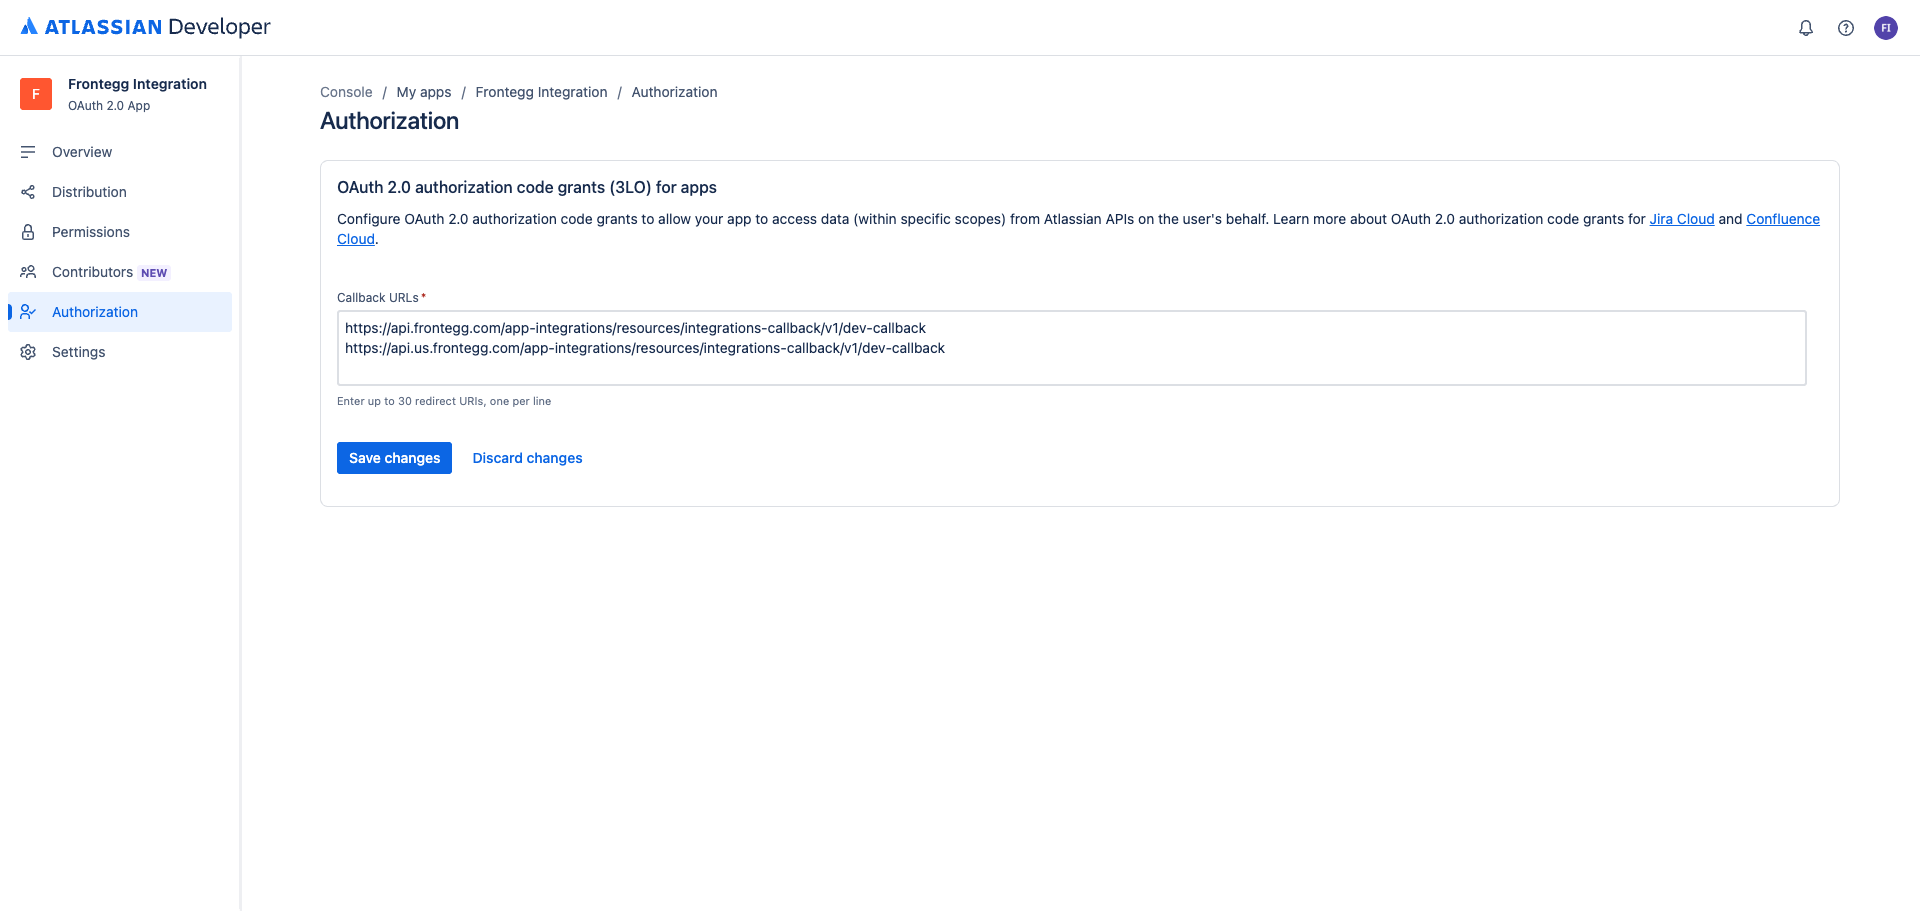
Click Save changes.
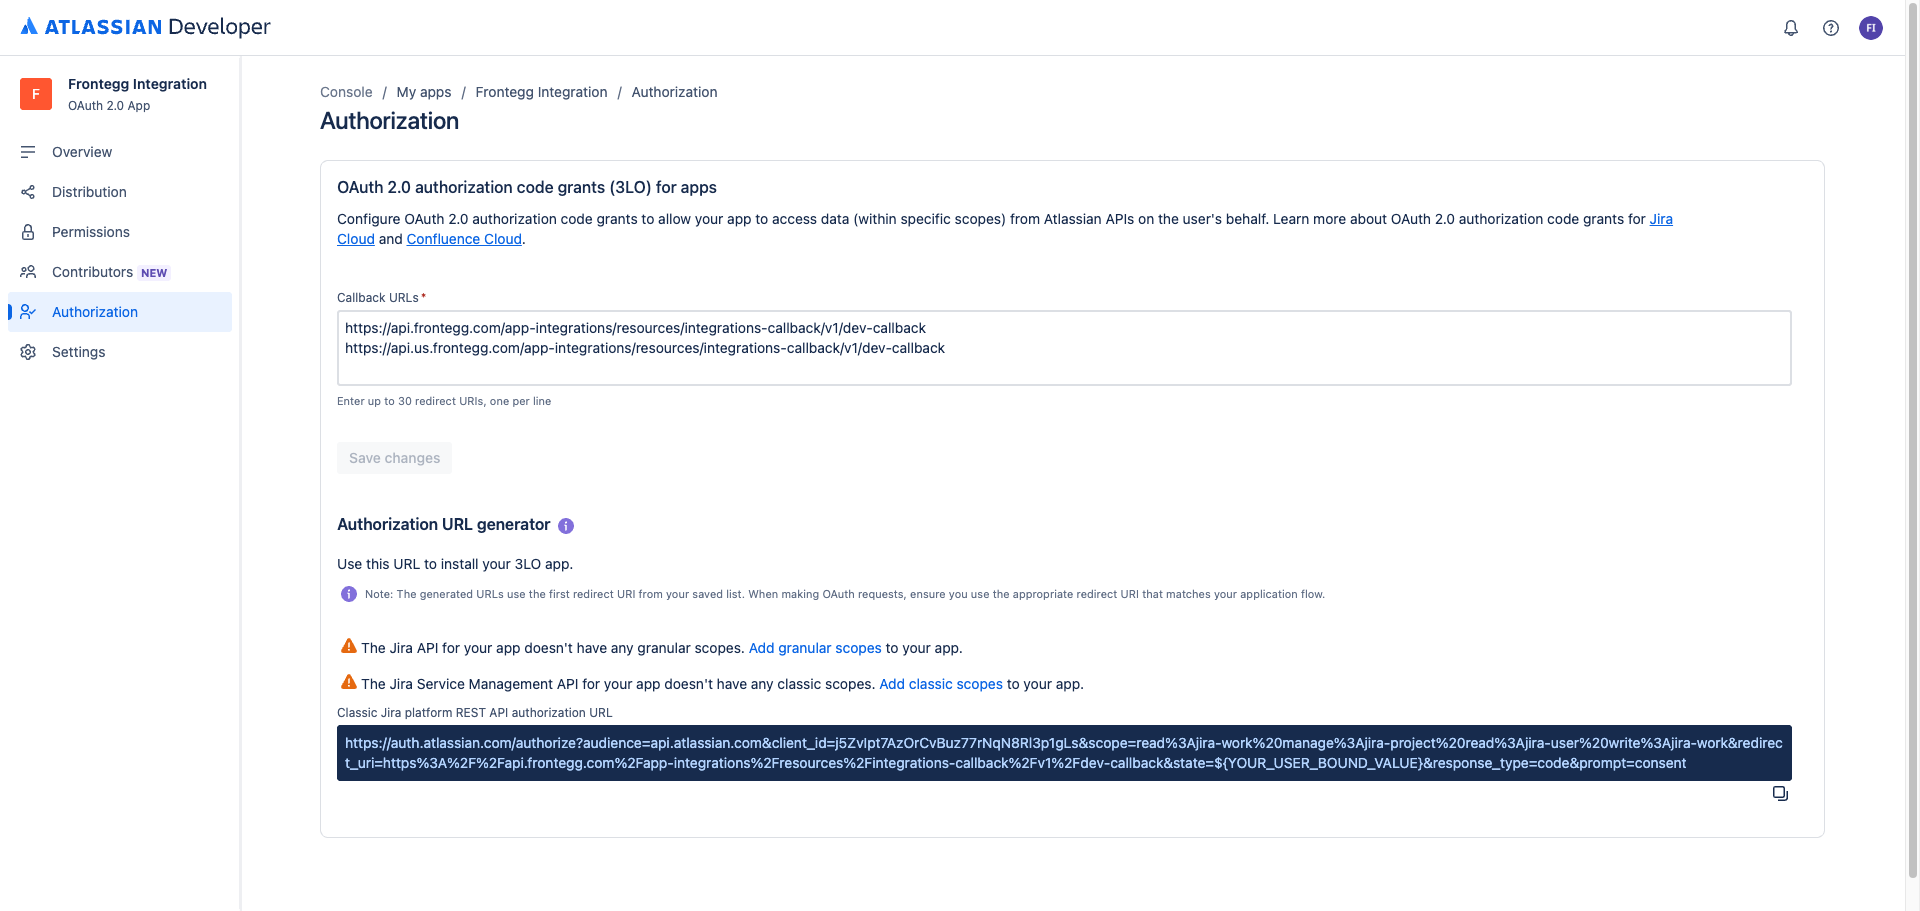
A new OAuth 2.0 app starts with the Development distribution status, which lets only the Atlassian account that created the app authorize it. Anyone else who tries to connect Jira sees this error instead of the consent screen:
You don't have access to this app. This application is in development - only the owner of this application may grant it access to their account.
Navigate to the Distribution tab and enable sharing:
- Click Edit and change the distribution status from Development to Sharing.
- Complete any details the console asks for, such as vendor name, privacy policy URL, terms of use URL, and whether your app stores personal data.
- Click Save changes.
Sharing does not publish your app
Sharing does not publish your app
Enabling sharing only allows the users you send the authorization link to grant access. It does not list your app on the Atlassian Marketplace and requires no Atlassian review. Until you optionally submit the app for Marketplace approval, users see a notice on the consent screen that the app has not yet been reviewed by Atlassian.
Who completes the consent flow
Who completes the consent flow
The user who authorizes the connection must be a member of the target Jira site with permission to grant apps access to it. Authorizing with an Atlassian account from a different organization produces the same access error.
Once you have your Client ID and Secret from the Settings page, enter them in the Frontegg portal:
- Open the Frontegg portal and navigate to [ENVIRONMENT] → Integrations → Jira.
- Enter the Client ID and Secret in the corresponding fields.
- Click Save.
Keep your credentials secure
Keep your credentials secure
Never share or commit your Secret to version control.